> ## Documentation Index
> Fetch the complete documentation index at: https://www.referly.so/docs/llms.txt
> Use this file to discover all available pages before exploring further.
# Setting up your affiliate or referral program
> Create your Referly affiliate or referral program with the onboarding wizard: business type, program goal, website, name, subdomain, logo, and commission structure.
When you sign in to Referly for the first time, a six-step wizard walks you through creating your program. By the end you have a live program, an affiliate portal, and a commission structure, and you land on your dashboard. It takes a couple of minutes.
This guide covers each step so you know what every field does and what to expect. It stops at the point where you connect a payment or ecommerce integration, which has its own guide, and points you there as the next step.
You need a Referly account to start. If you have not created one yet, [sign up here](https://referly.so/sign-up). New accounts open the onboarding wizard automatically at `/onboarding`.
## What you set up during onboarding
The wizard moves through six steps, shown by a progress bar at the top:
1. **Welcome** to Referly.
2. **Tell us about your business**: your business type and category.
3. **What do you want your program to do**: your program goal.
4. **Set up your referral program**: website, name, subdomain, and logo. Your program is created here.
5. **Set up your commission structure**: how affiliates are rewarded.
6. **You're all set**: choose a plan and go to your dashboard.
You can go **Back** at any step, and you can change every choice later in [program settings](/docs/help-center/settings/program/general).
## Step through the wizard
### Welcome
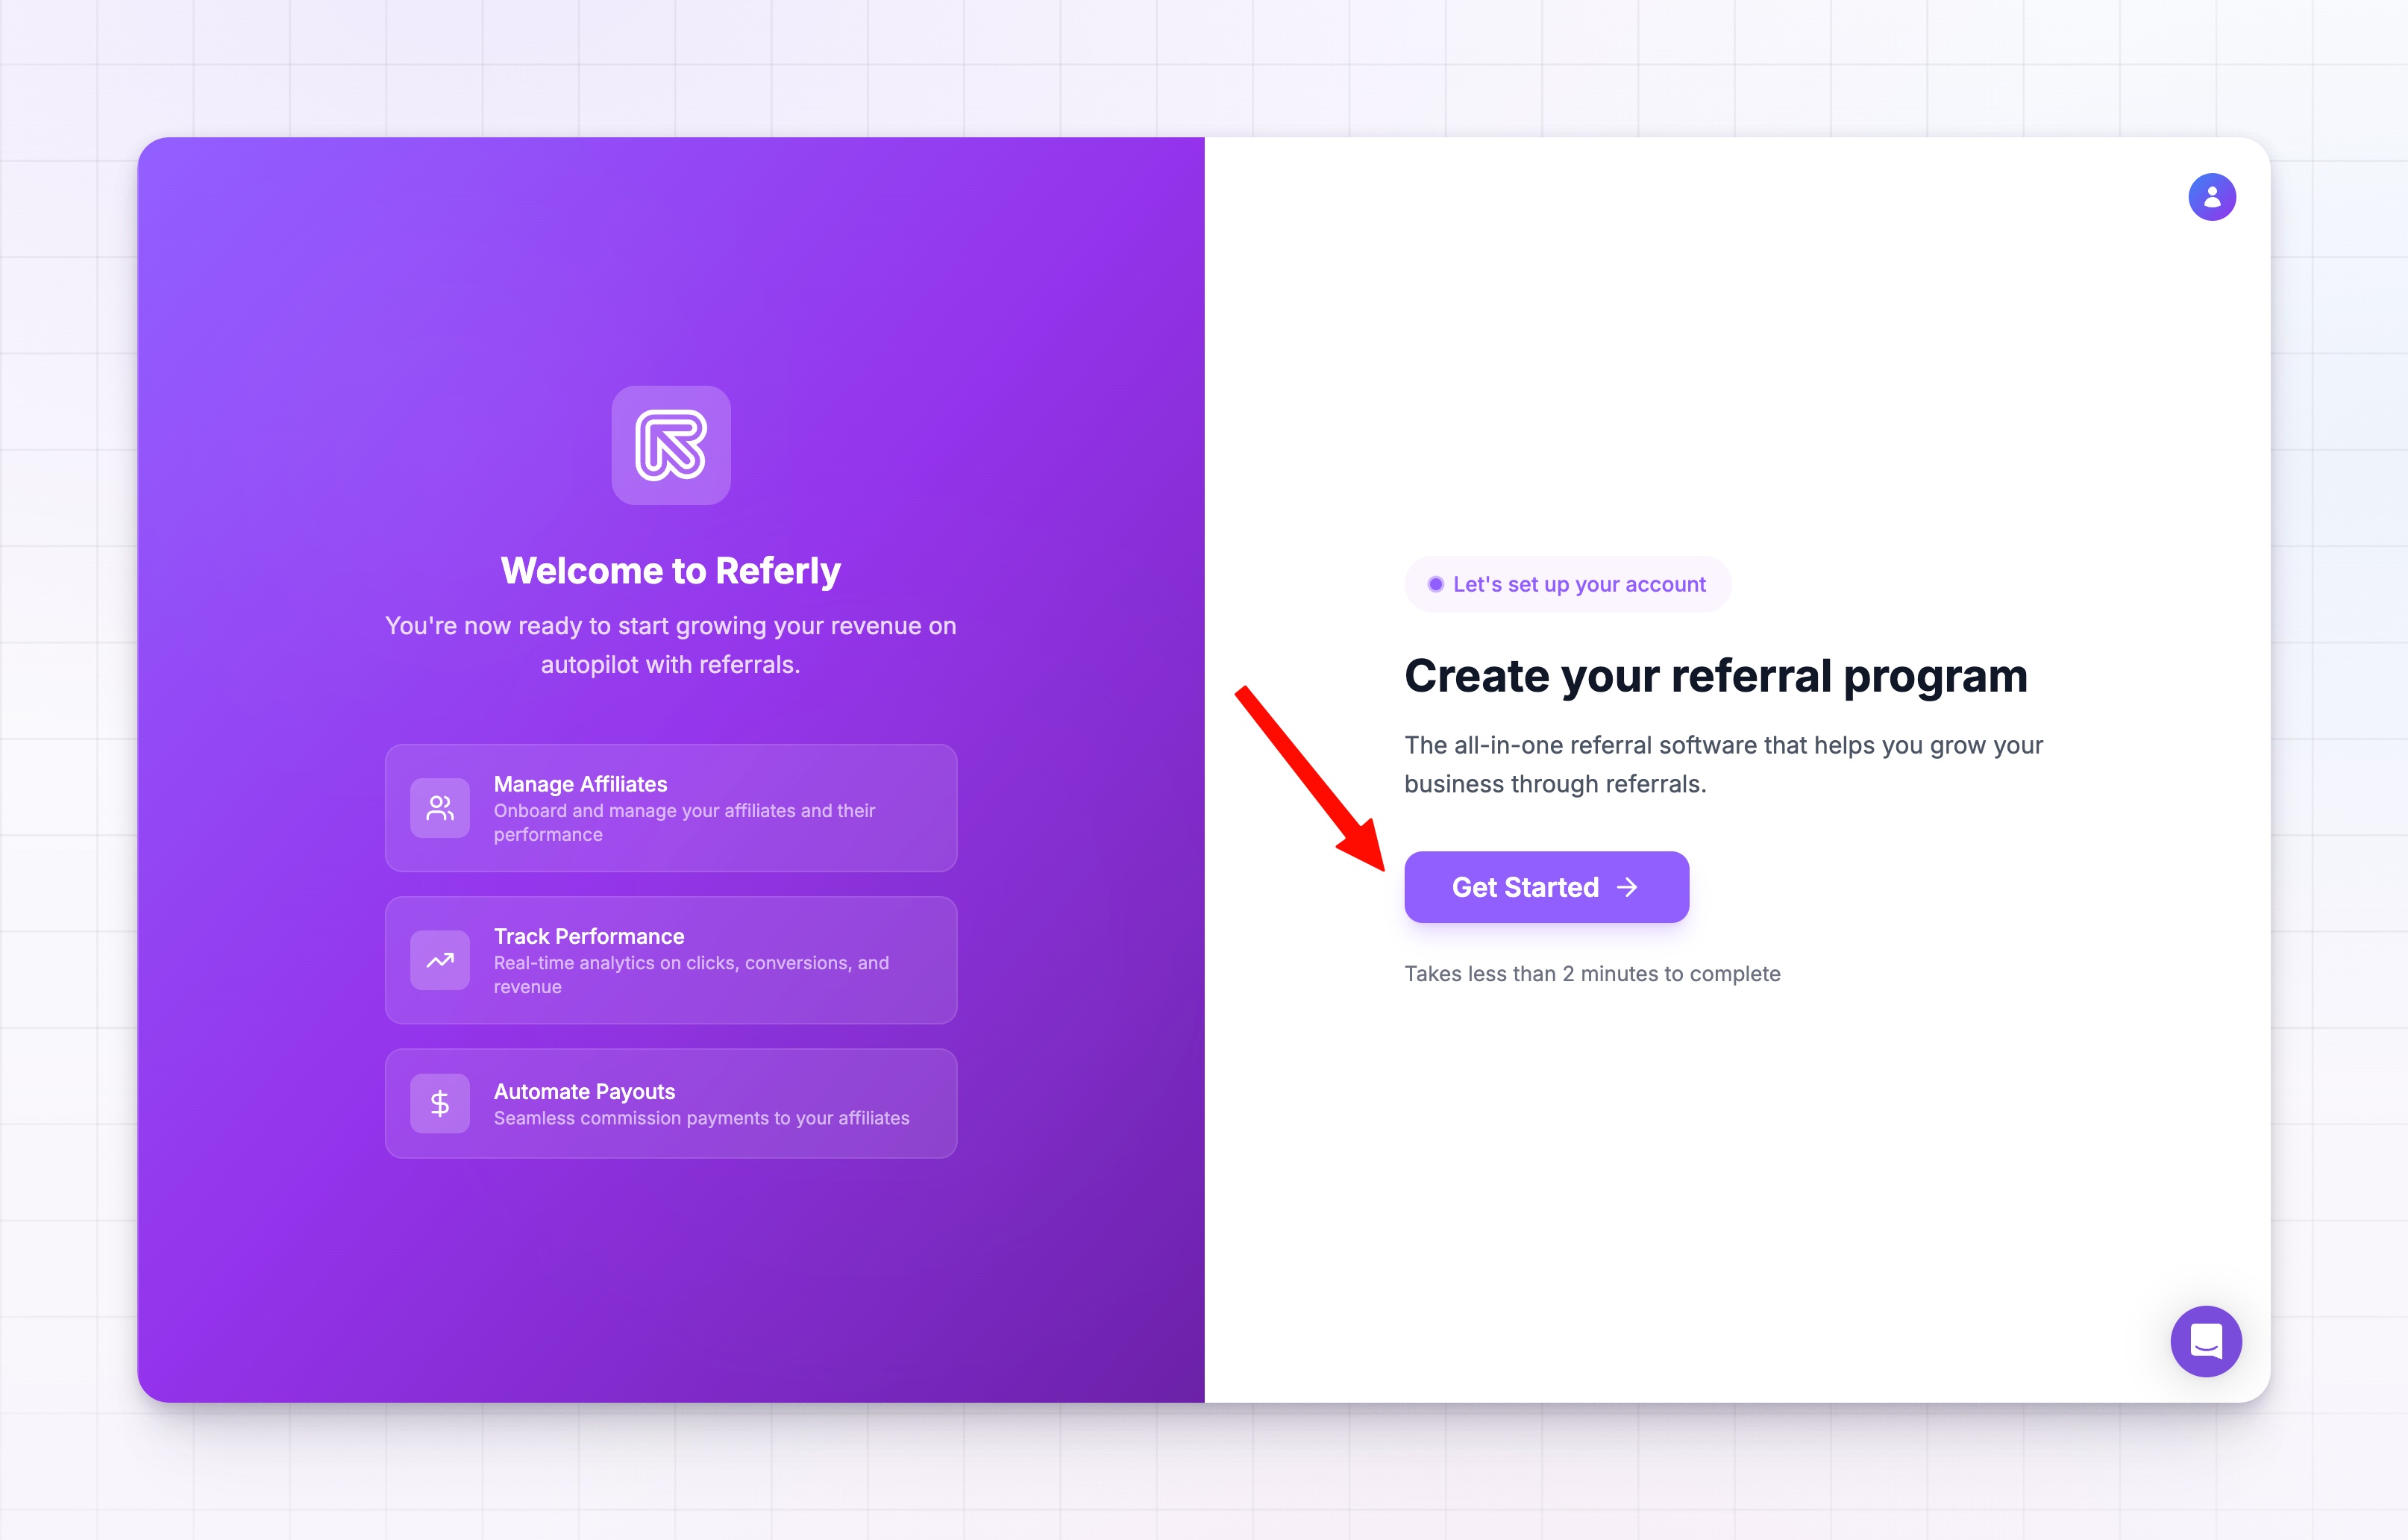
The first screen introduces Referly and what you are about to build. Select **Get Started** to begin.
### Tell us about your business
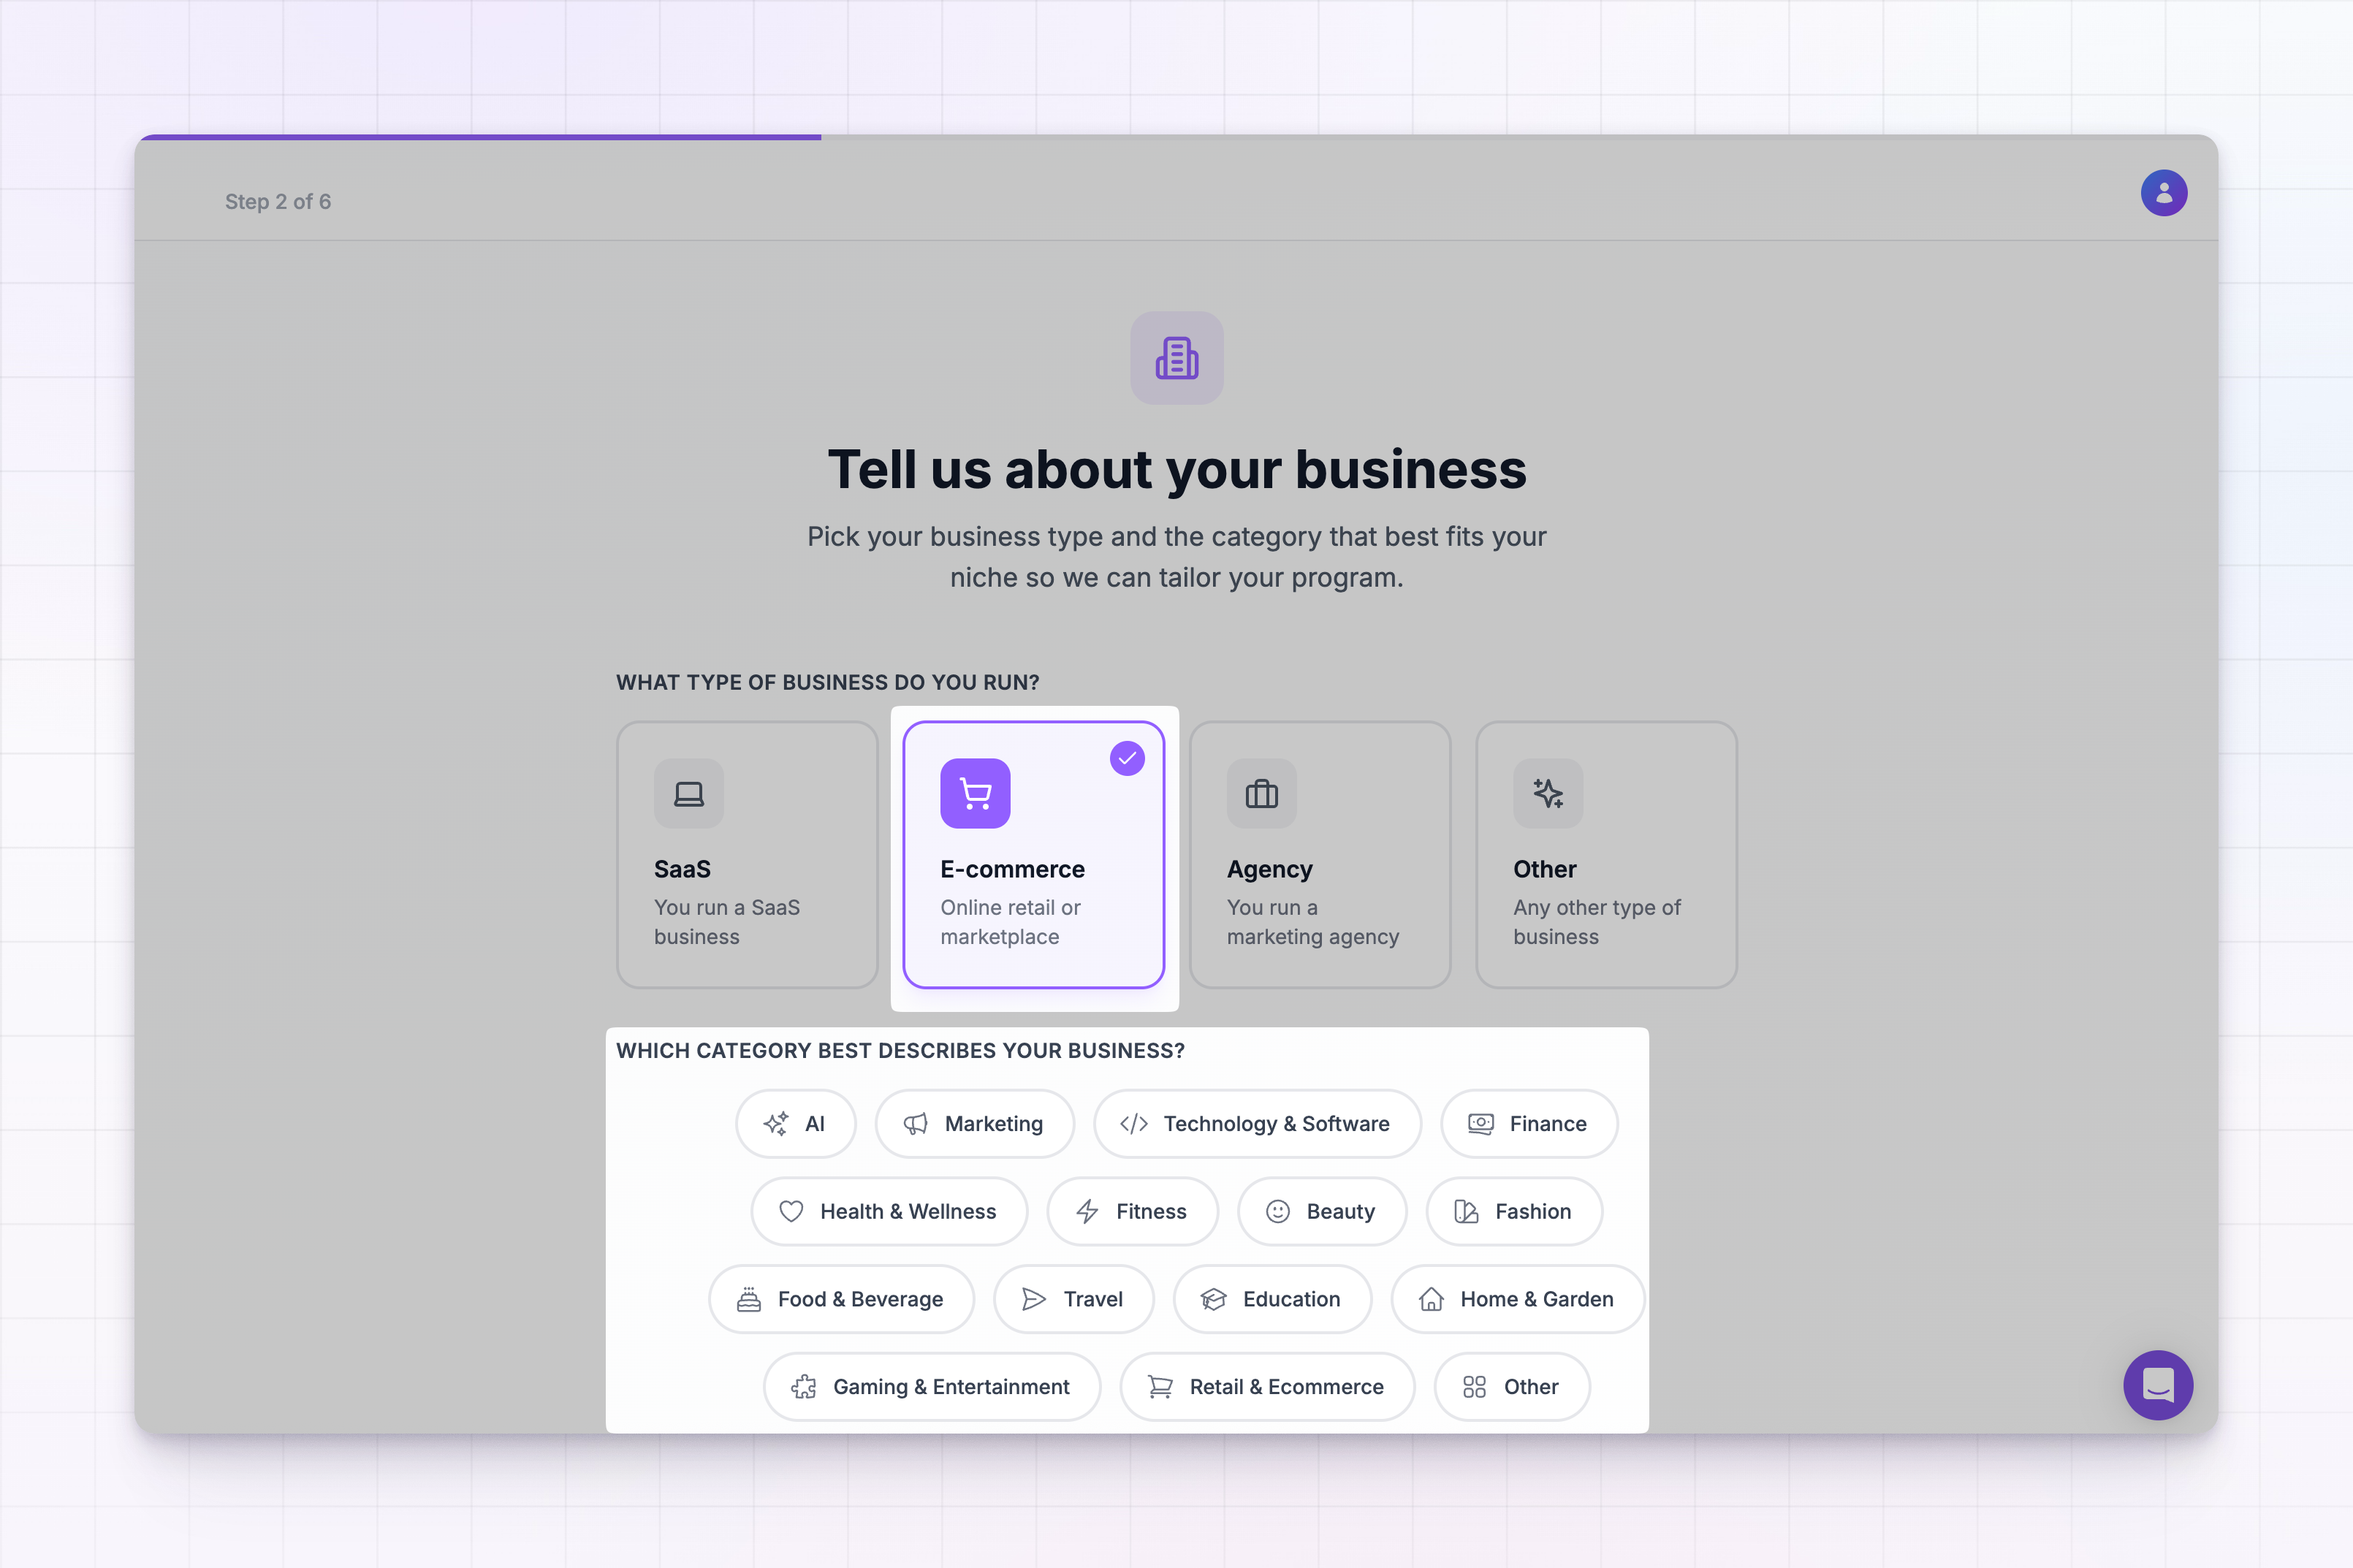
Pick the business type that fits you best: **SaaS**, **E-commerce**, **Agency**, or **Other**. Once you choose a type, a row of category chips appears below it. Select the category that best describes your niche.
Referly uses these answers to tailor the rest of your setup. Both a type and a category are required before you can continue.
### Choose your program goal
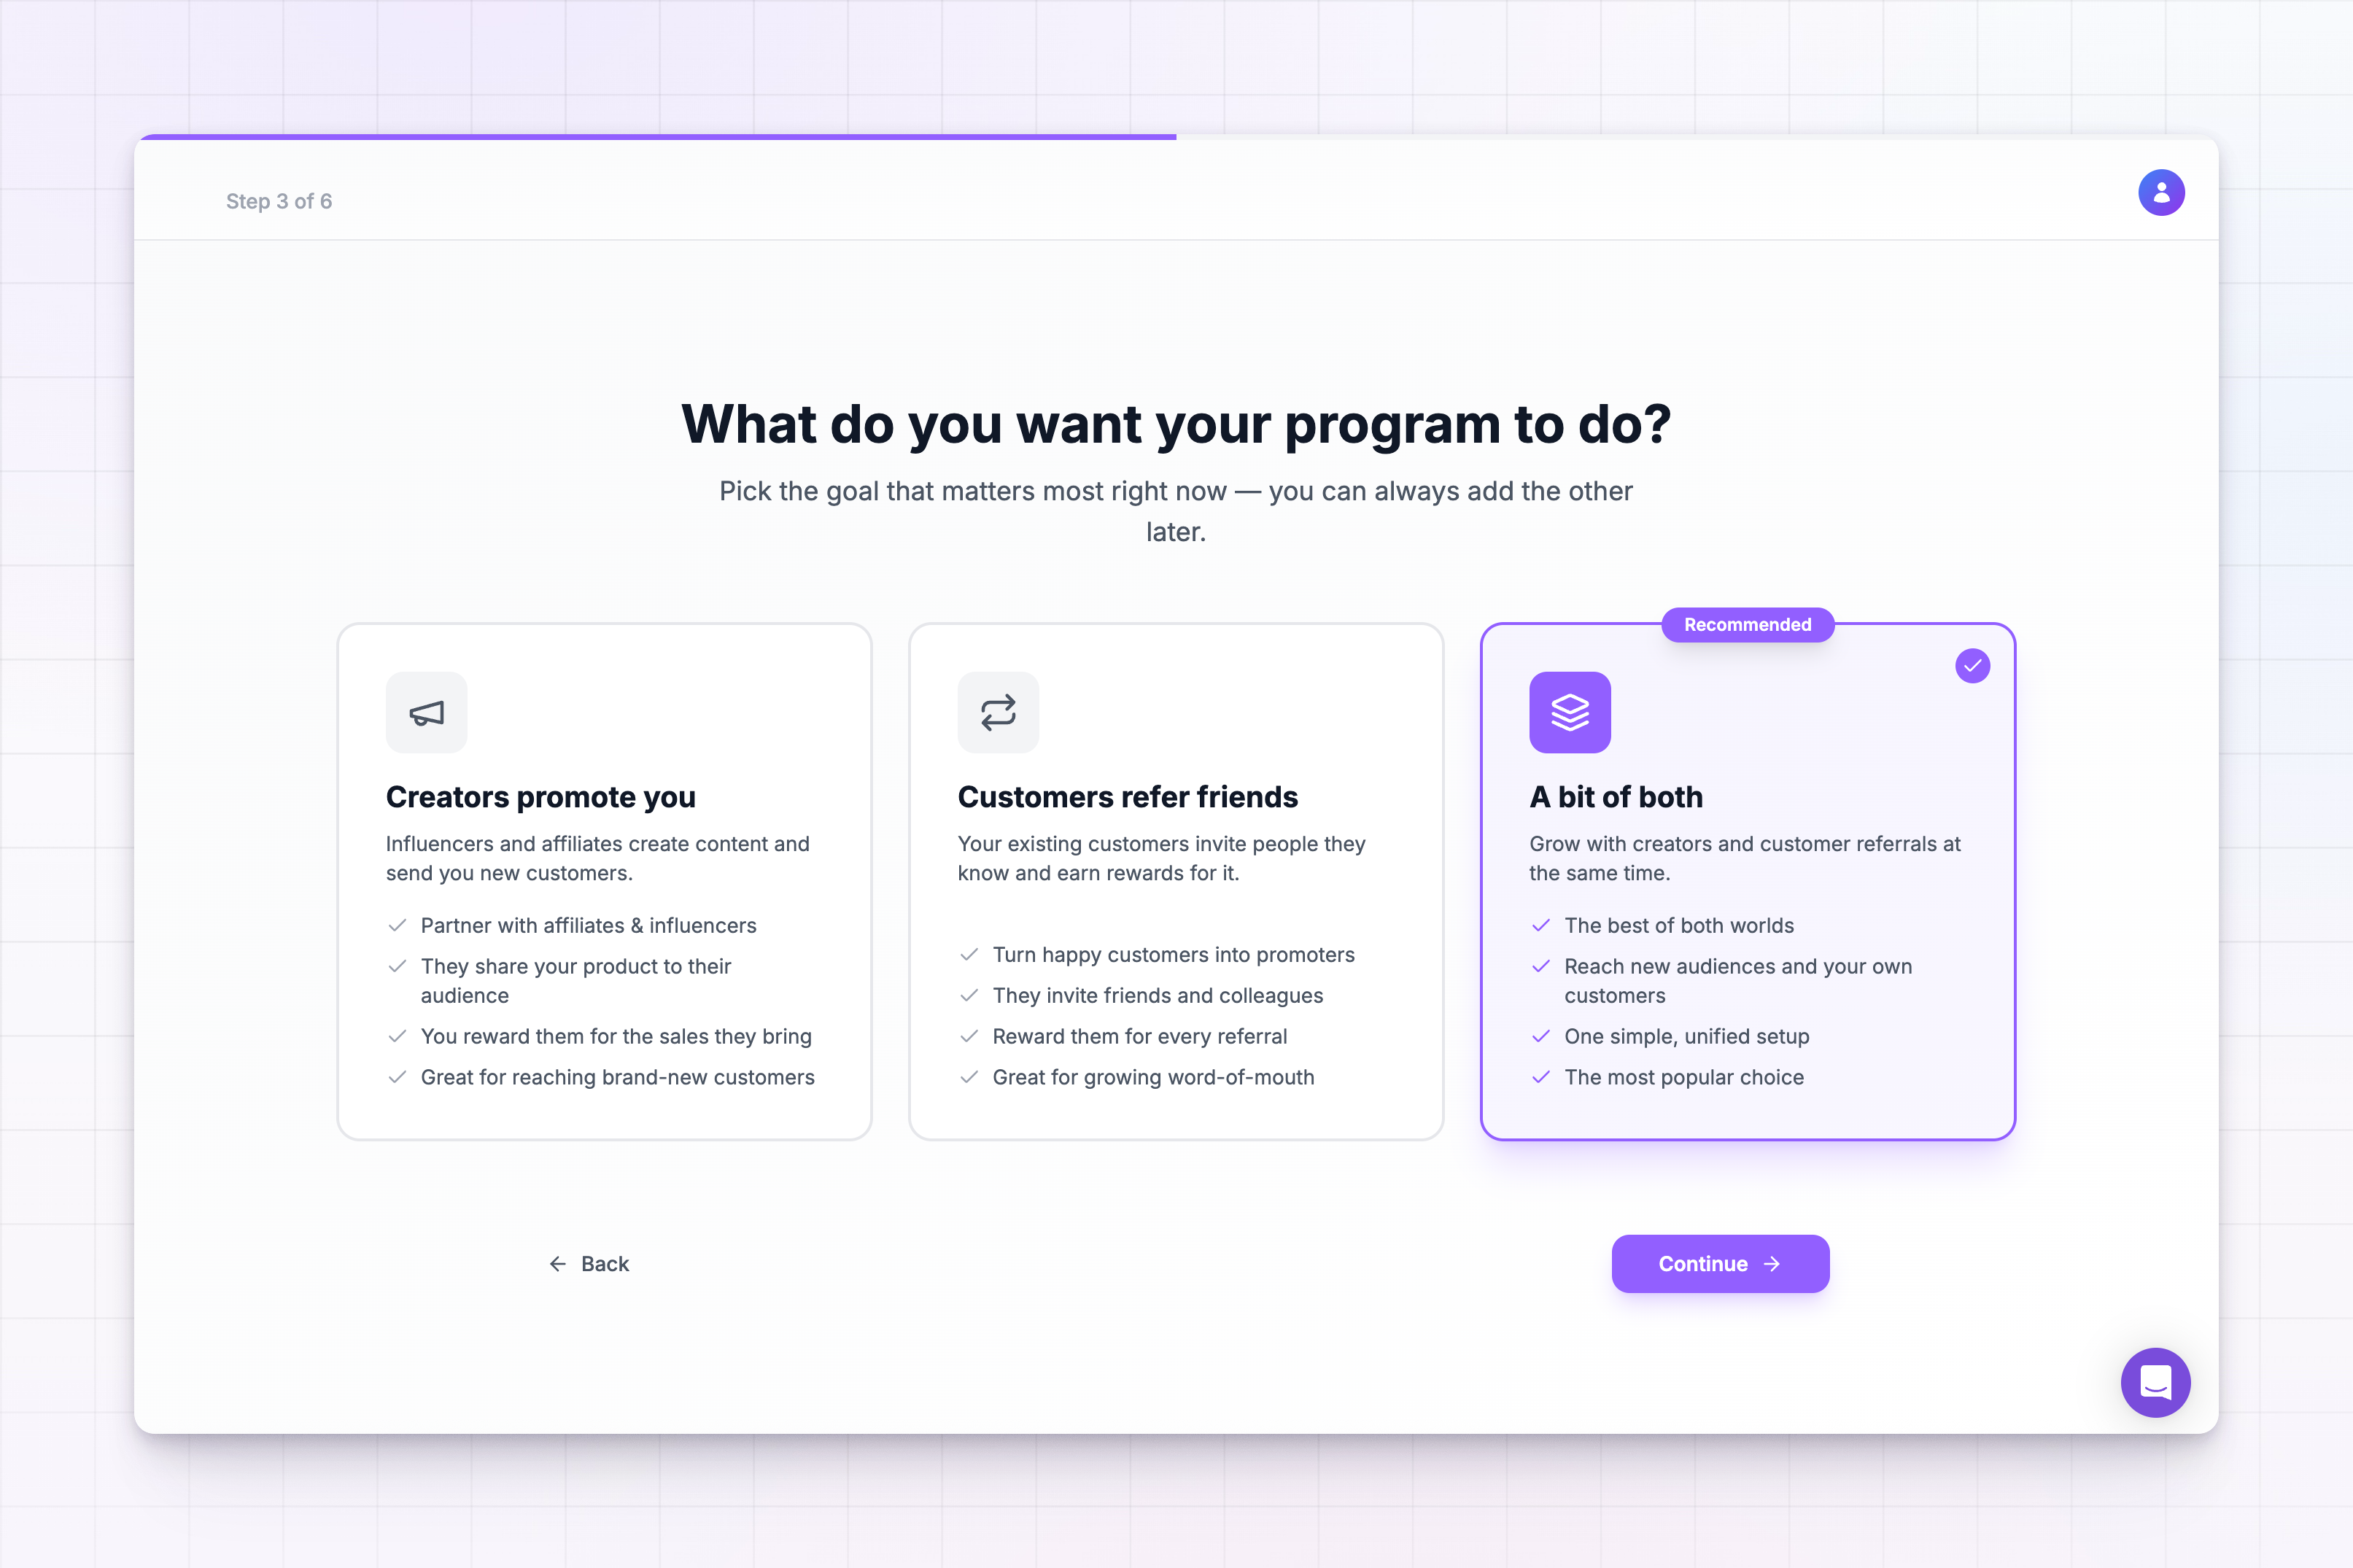
Tell Referly what you want your program to do. There are three options:
* **Creators promote you**: affiliates and influencers send you new customers.
* **Customers refer friends**: your existing customers invite people they know.
* **A bit of both**: run creator and customer referrals together. This is the recommended, most popular choice.
Pick the goal that matters most right now. You can add the other later.
### Enter your program details
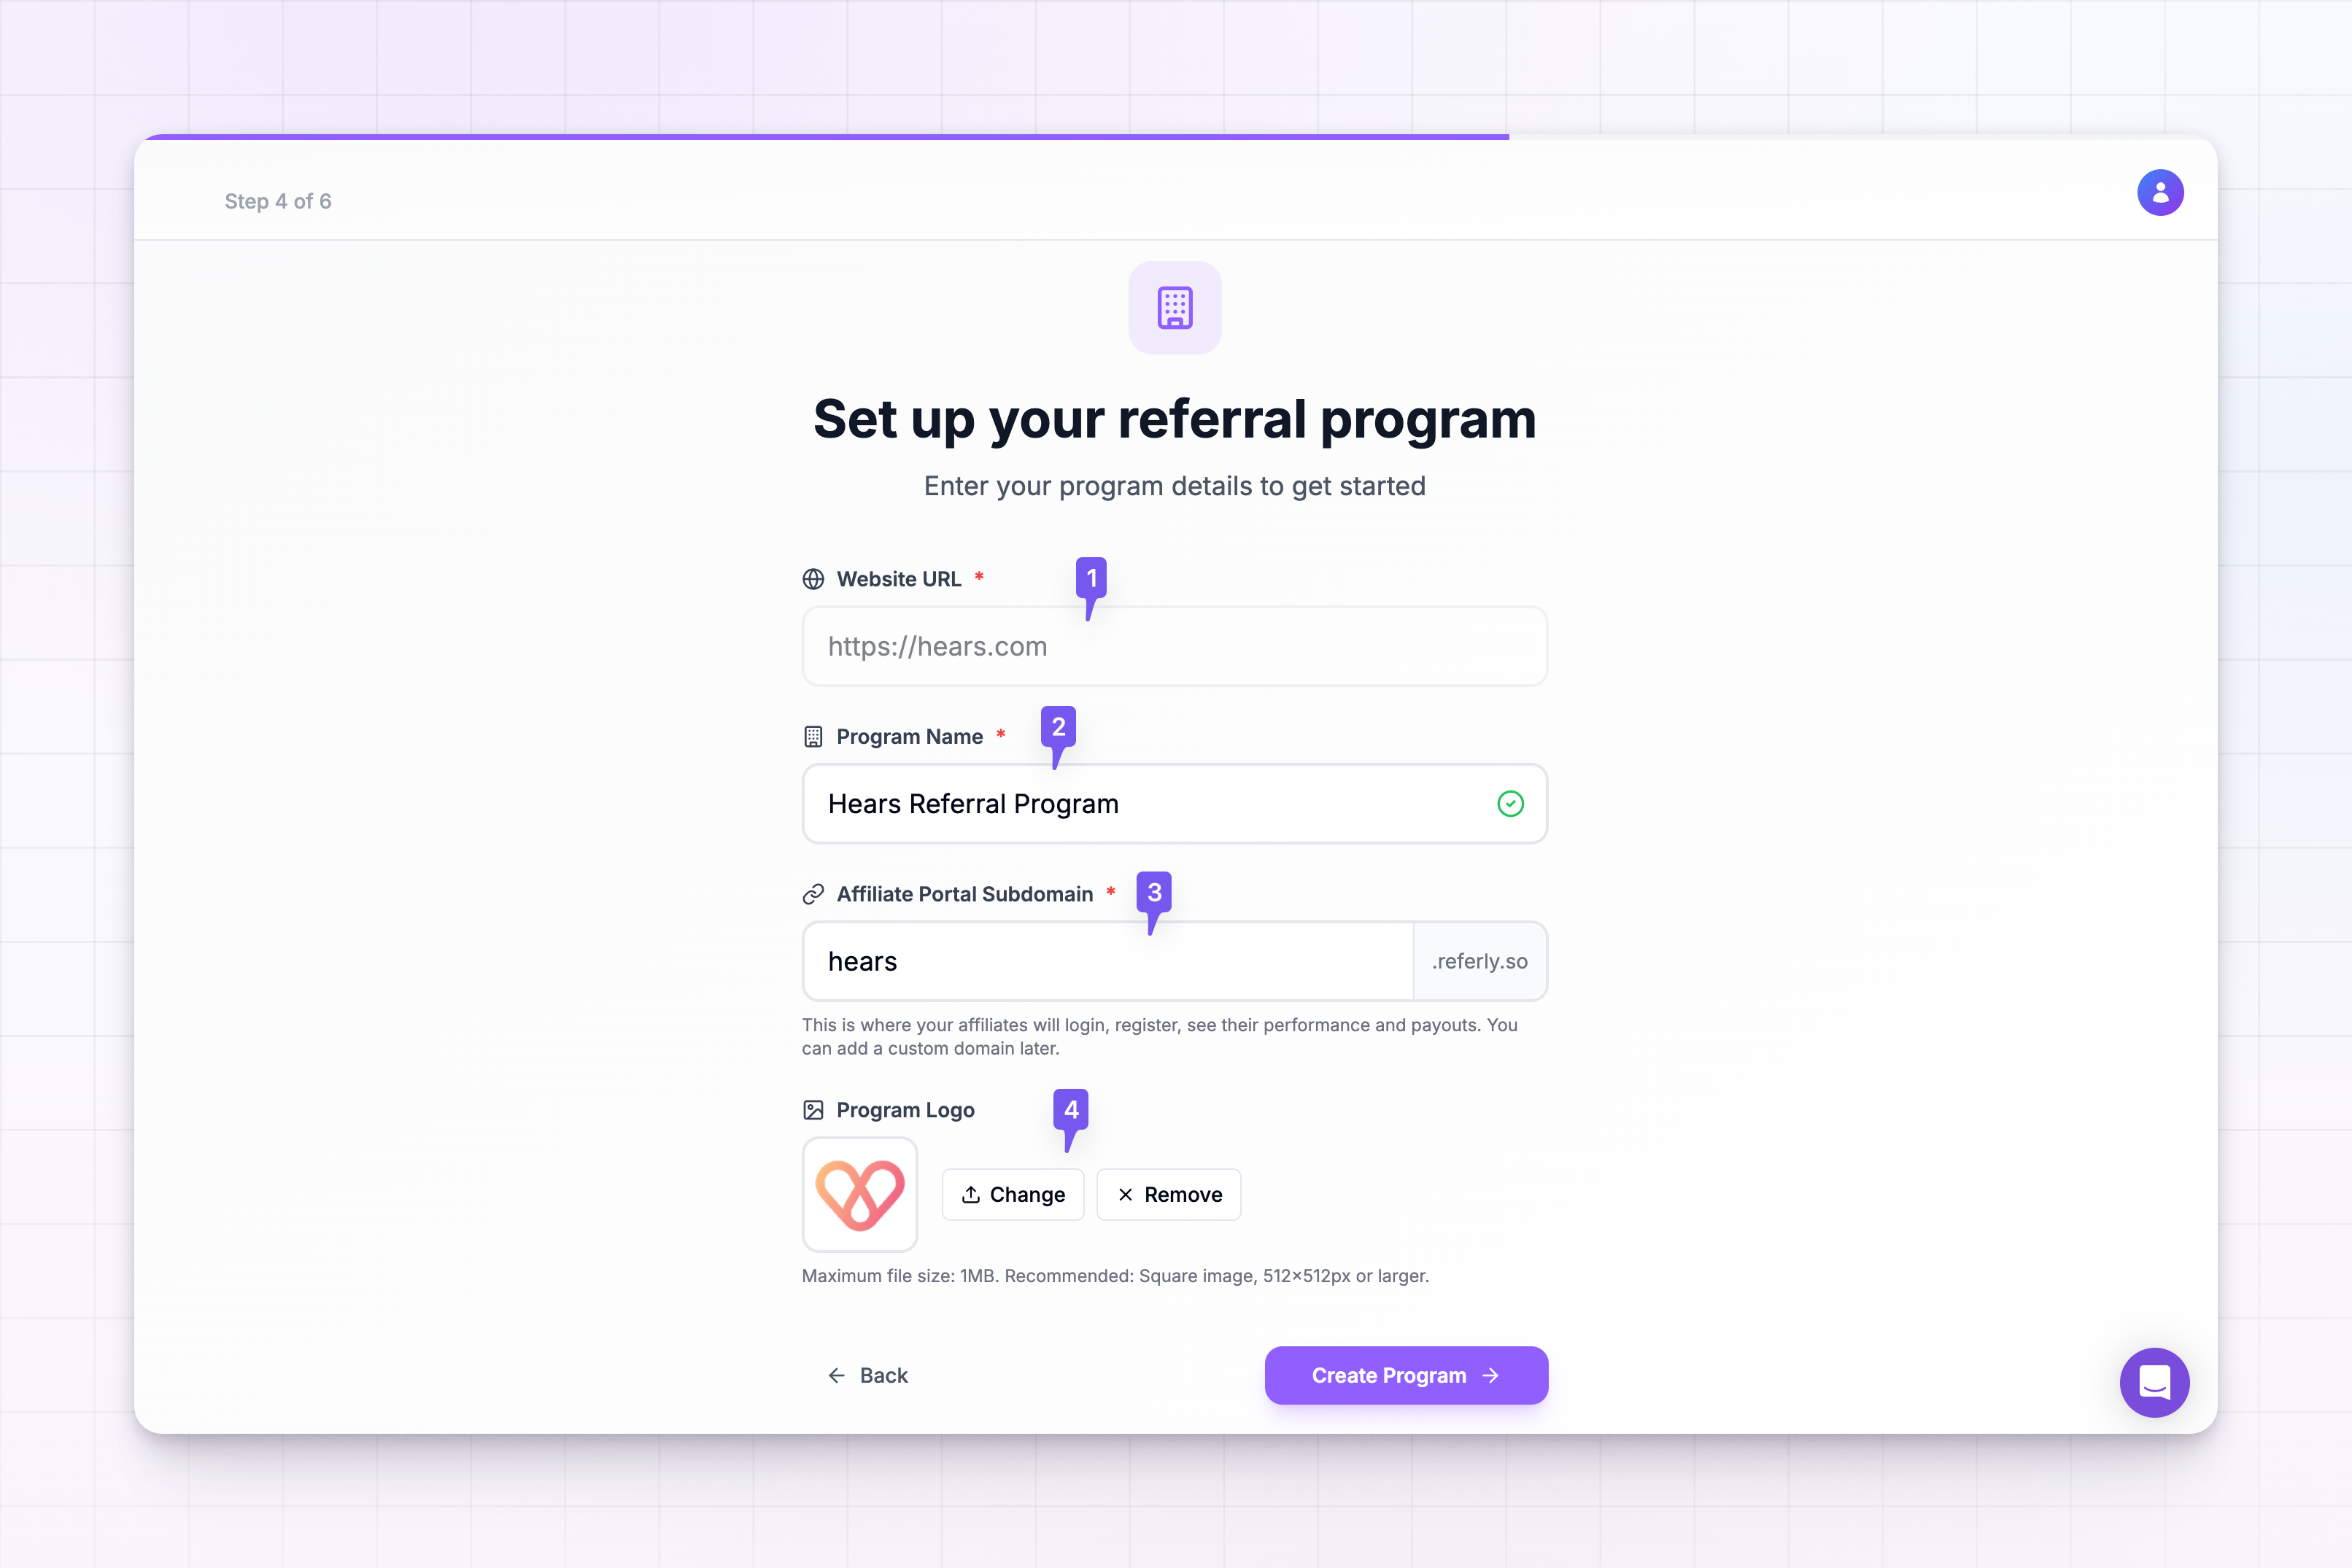
This is where your program is created. Start by entering your **Website URL**, then select **Continue**.
Referly reads your website and pre-fills the rest of the form for you:
The address of the site you run your program for. It has to be a valid URL. Referly adds `https://` if you leave it off.
Auto-suggested from your domain, for example `Acme Referral Program`. This is the name affiliates see. Edit it to anything you like.
The web address where affiliates log in, register, and track their performance and payouts, for example `acme.referly.so`. Referly suggests one and checks it for availability as you type. A green check means it is free; a red message means it is taken, so try another. You can add a [custom domain](/docs/help-center/settings/portal/custom-domain) later.
Auto-fetched from your website. Select **Change** to upload your own image, or **Remove** to clear it. Maximum file size is 1 MB, and a square image of 512 by 512 pixels or larger works best.
When the details look right, select **Create Program**. Referly creates your program and the affiliate portal, then moves you to the commission step.
If you go back to this step later in the flow, Referly reuses the program you already created instead of making a duplicate.
### Set your commission structure
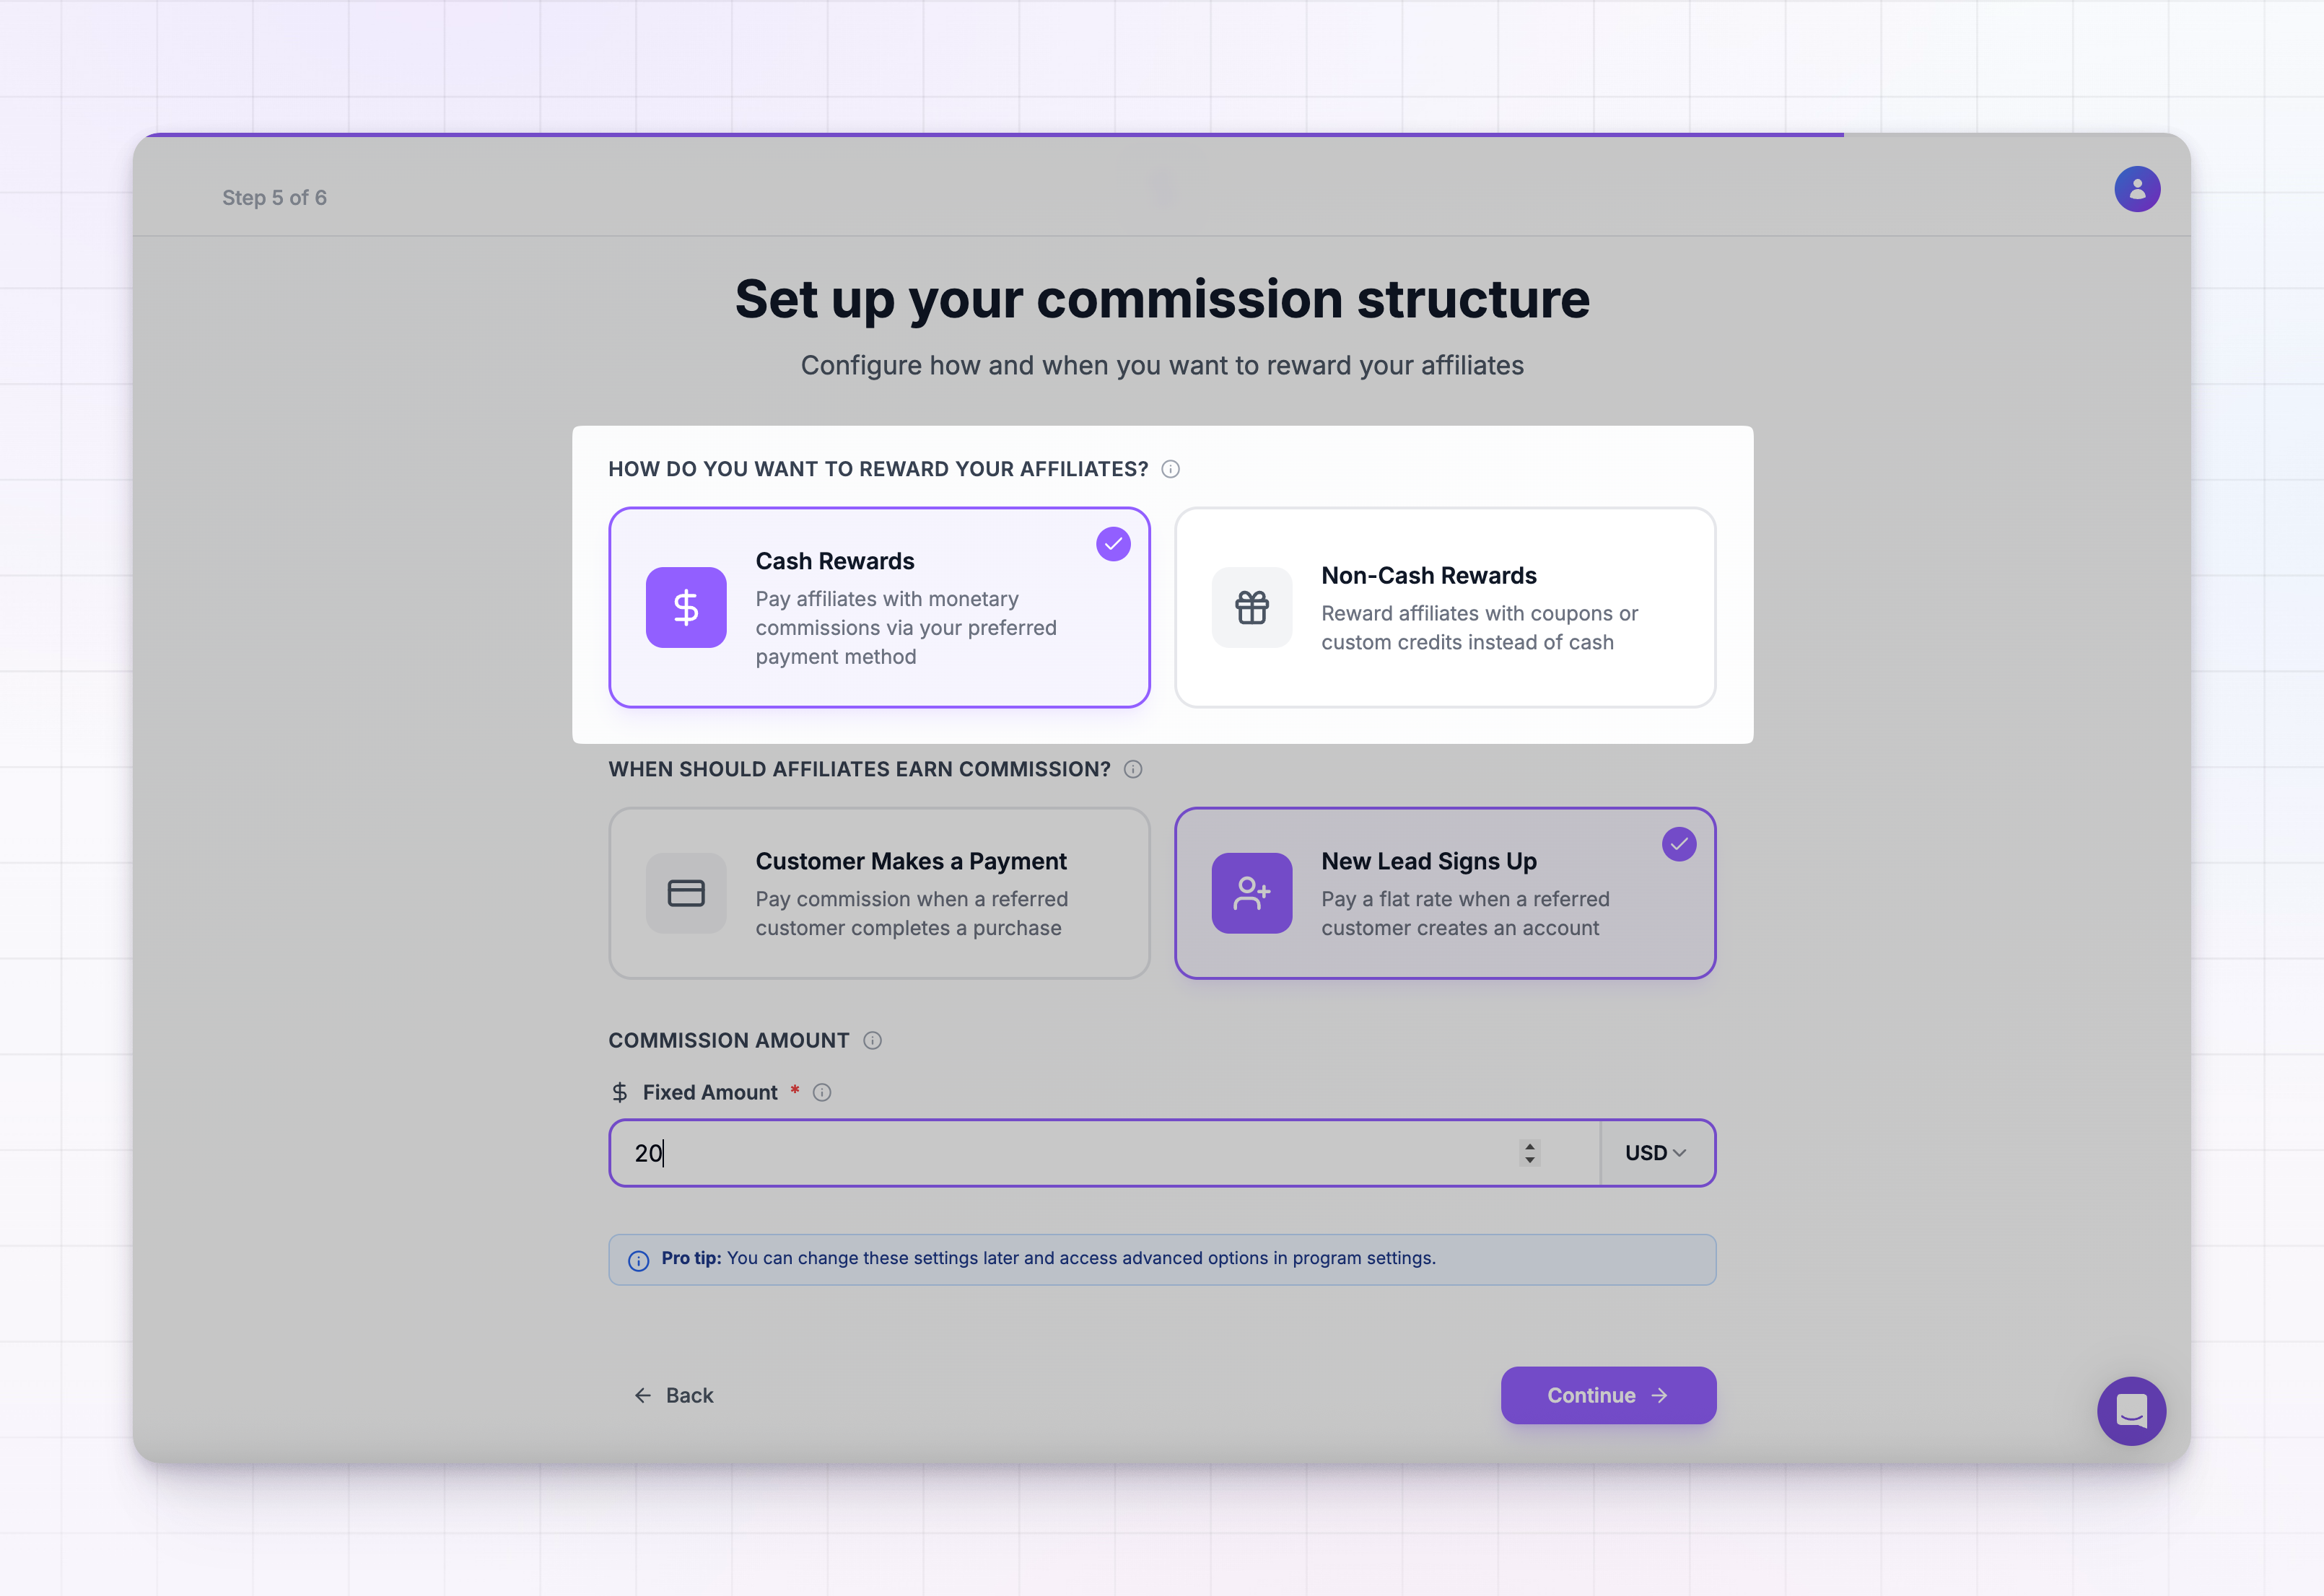
Decide how and when you reward affiliates. First choose a reward type:
Pay affiliates a monetary commission. Configure:
* **When affiliates earn commission**: **Customer Makes a Payment** (pay when a referred customer buys) or **New Lead Signs Up** (pay a flat rate when a referred person creates an account).
* **Commission frequency** (payment trigger only): **First Payment Only**, or **Recurring Basis** to pay on multiple customer payments. If you choose recurring, set a limit: until the customer cancels, by number of months, by number of payments, or both.
* **Commission type and rate** (payment trigger only): **Percentage** (a share of each sale, for example 10%) or **Flat Rate** (a fixed amount per sale). Sign-up commissions are always a fixed amount.
* **Currency**: shown next to a fixed amount. It defaults to USD.
Reward affiliates with coupons or custom credits instead of cash. You choose the reward type, when it is earned, and its settings. Non-cash rewards are a paid feature, so this option may be locked depending on your plan. See [non-cash rewards](/docs/help-center/getting-started/commissions/non-cash-rewards) for the full setup.
Select **Continue** to save your commission settings to the program. You can refine them and reach advanced options anytime — see the [commissions overview](/docs/help-center/getting-started/commissions/overview) to learn how commissions work.
### Finish and land on your dashboard
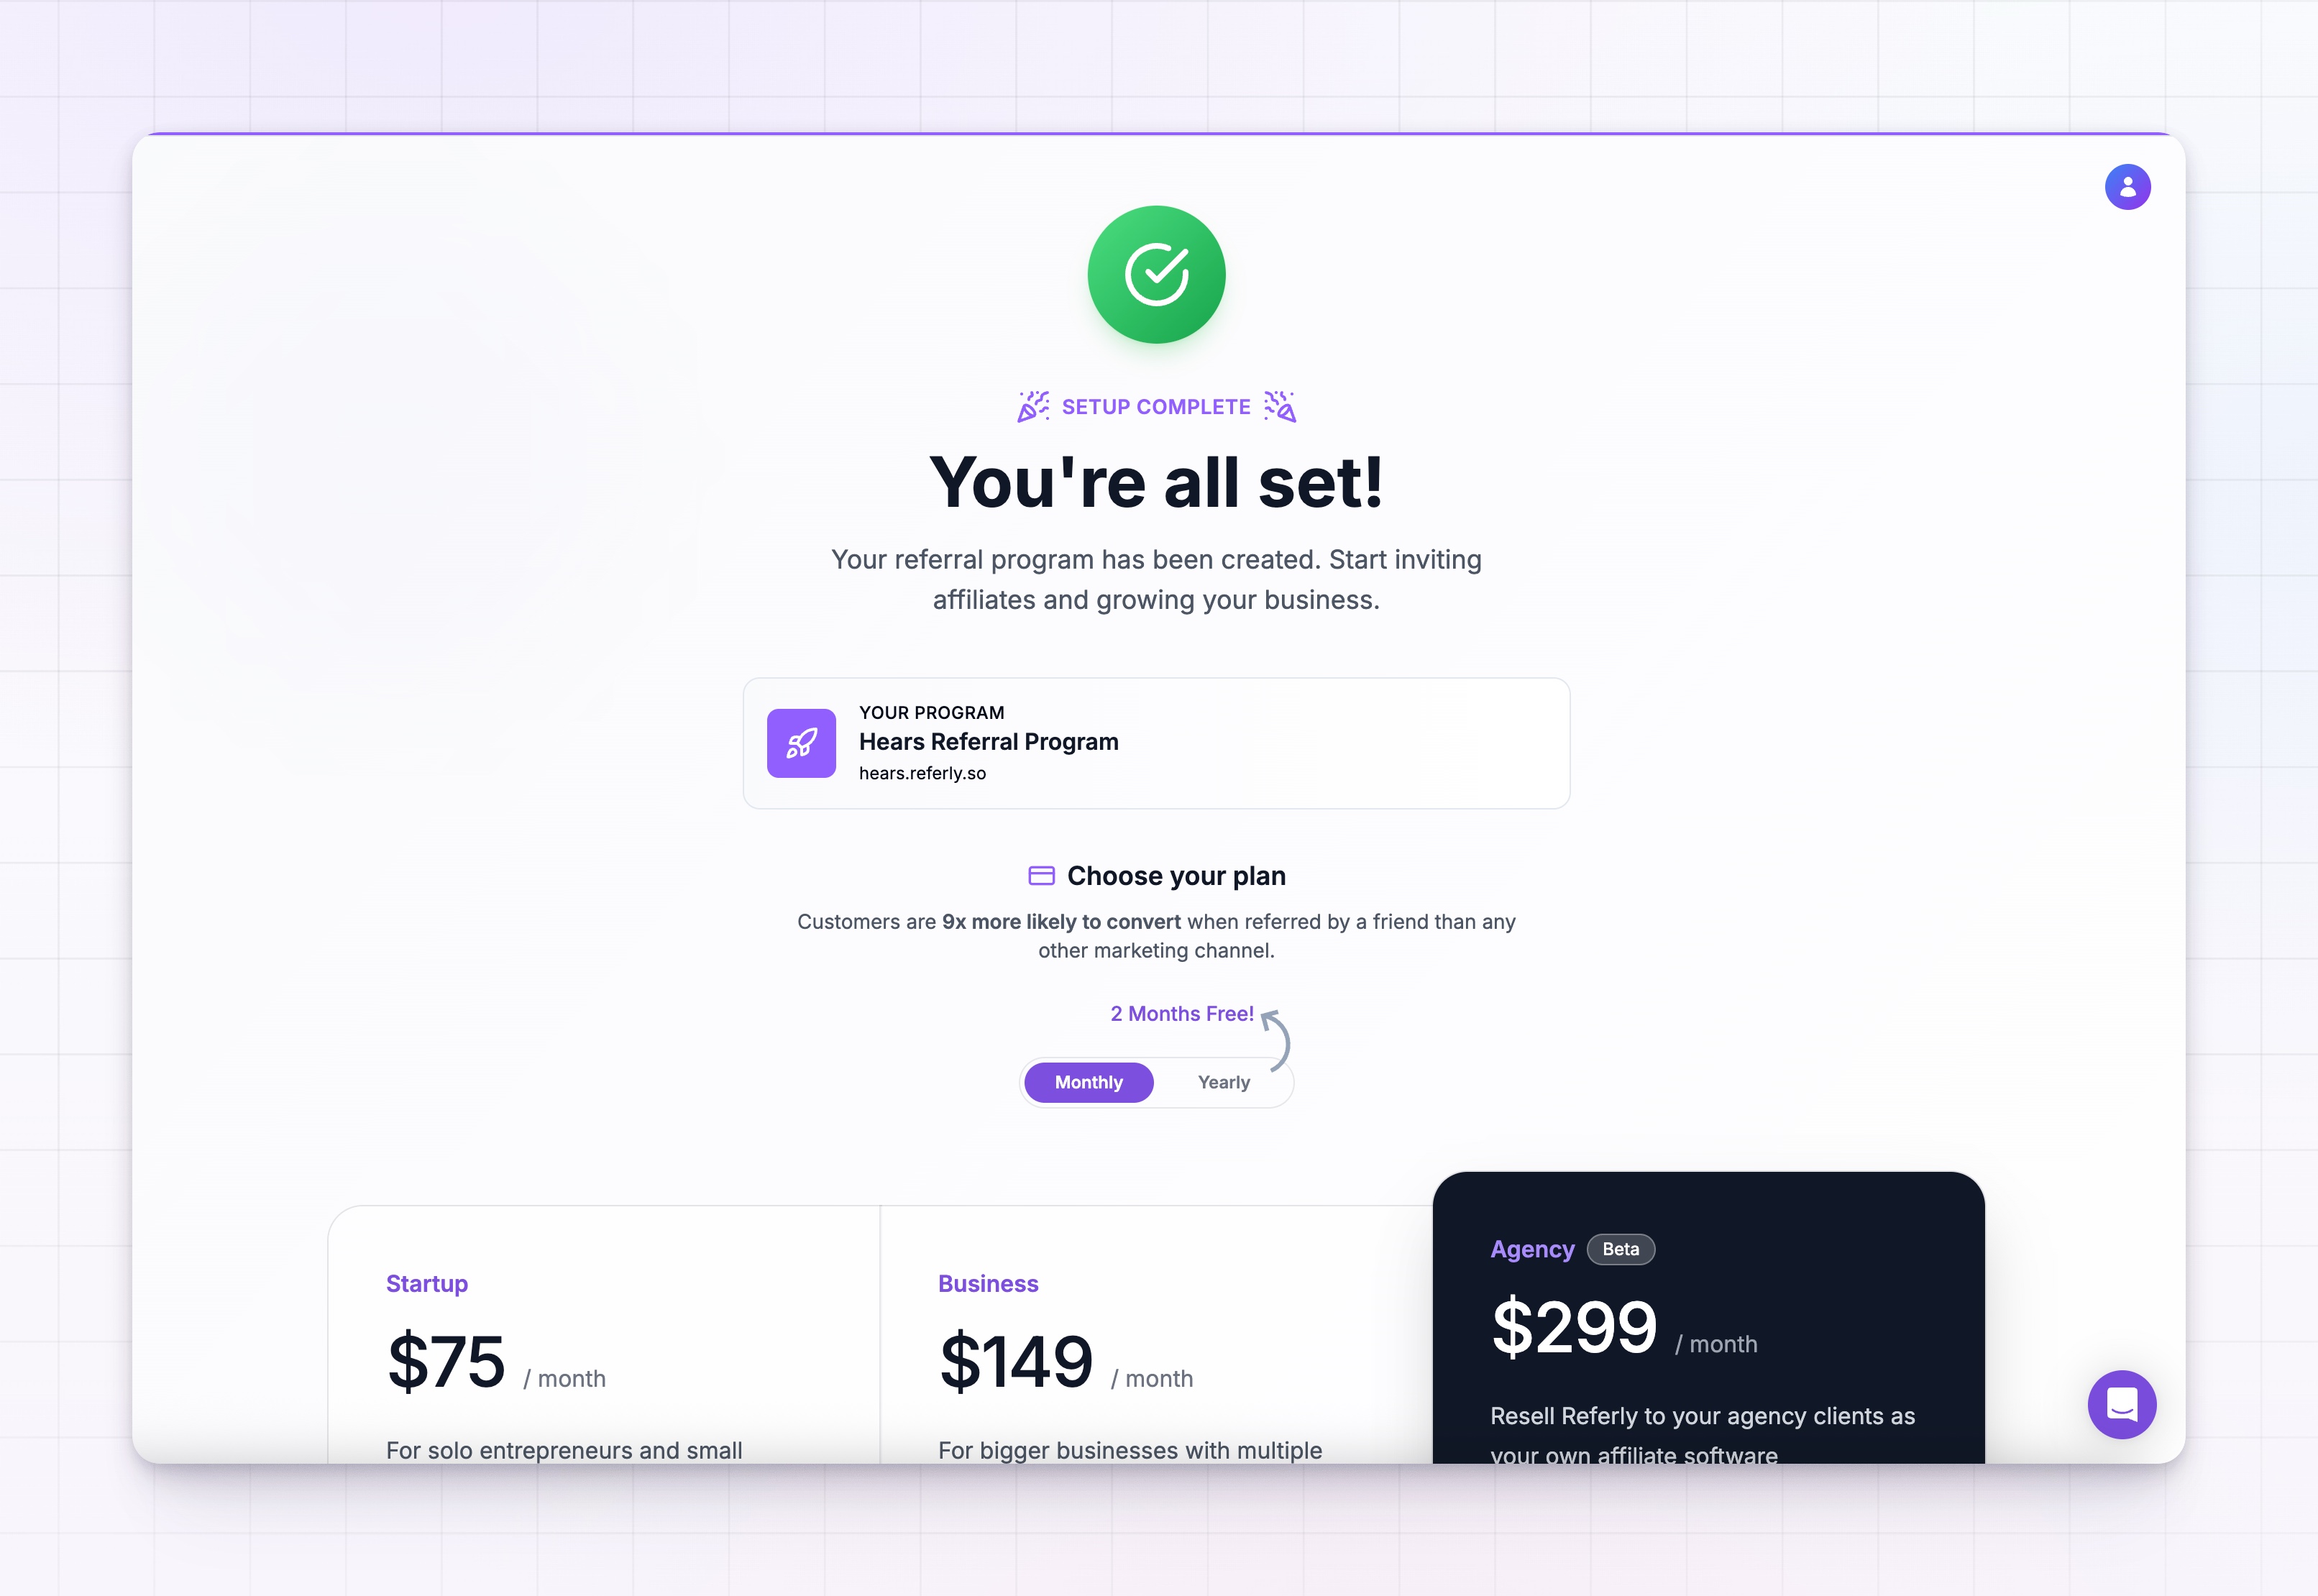
The final screen confirms your program is created, with a summary of your program name and affiliate portal link.
* If your account already has a plan, select **Go to Dashboard** to finish.
* If you have not subscribed yet, choose a plan here first. See [plans and features](/docs/help-center/billing/plans-and-features) for what each one includes.
Either way, you land on your program dashboard.
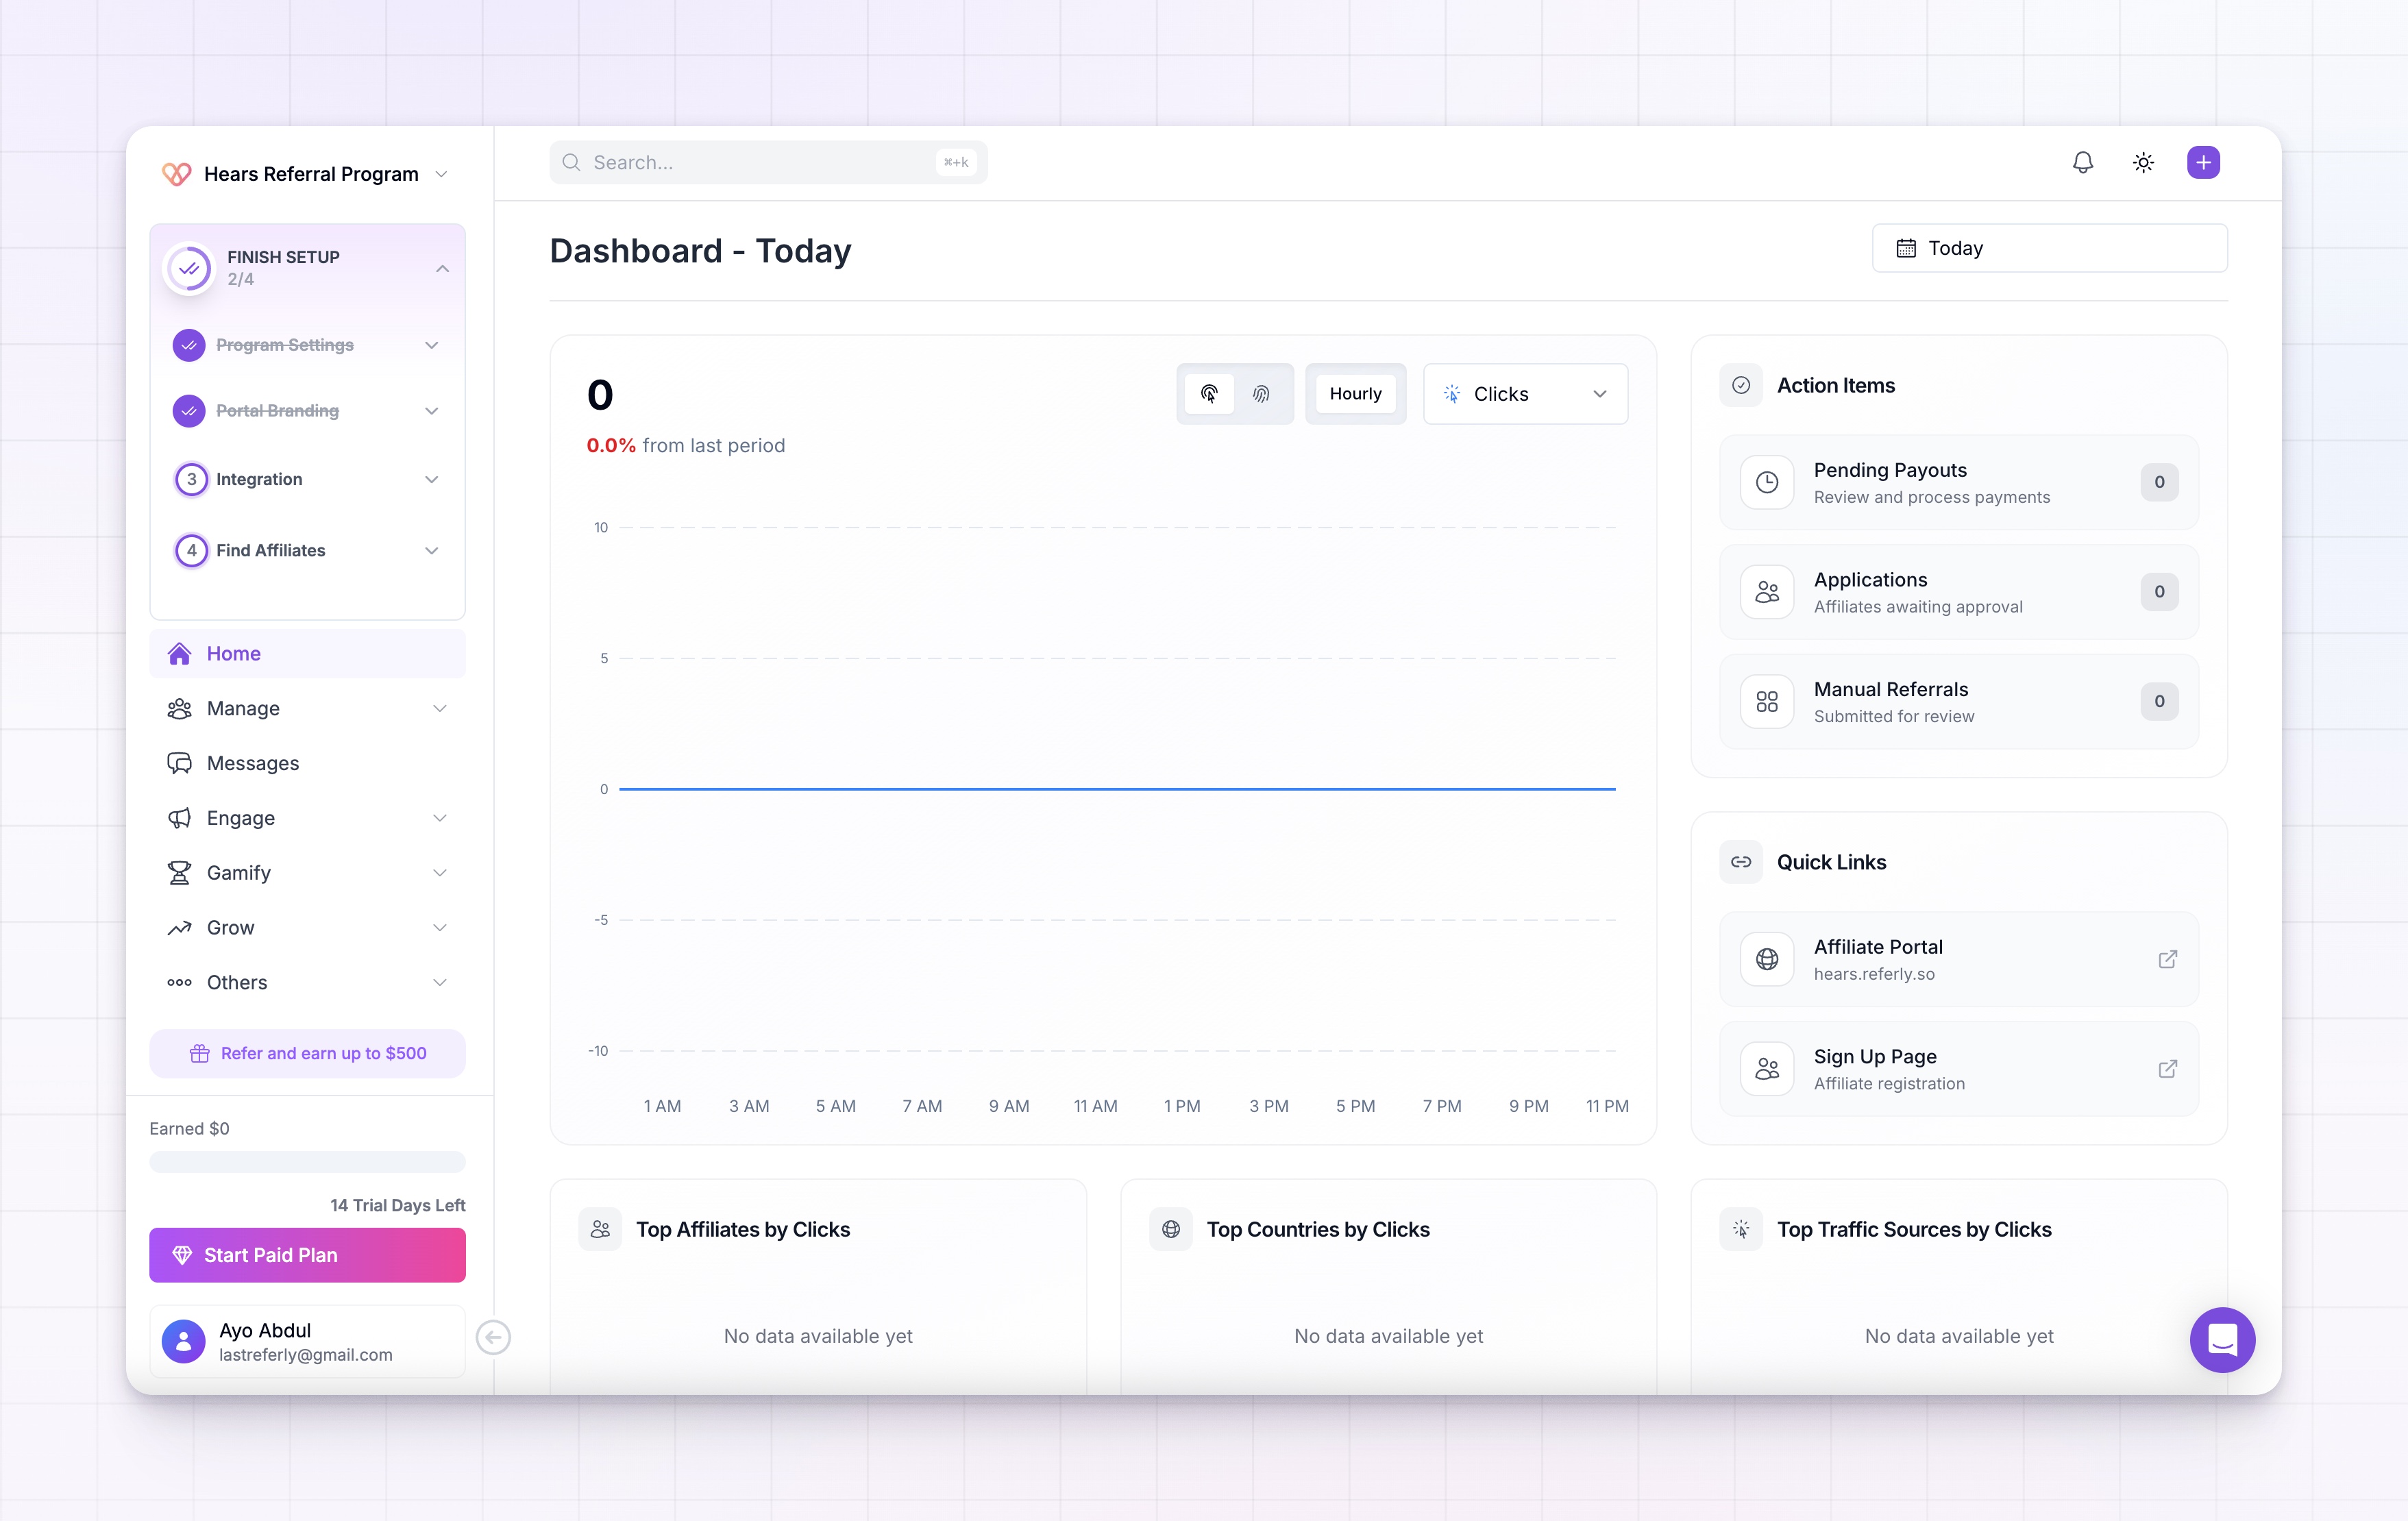
Your program, affiliate portal, and commission structure are set up. You are on the dashboard, ready to connect tracking and recruit affiliates.
## Next step: connect your tracking
Onboarding creates your program, but sales do not flow in until Referly is connected to where your payments or orders happen. Connecting a payment or ecommerce platform is the natural next step.
Link Stripe, Shopify, and other tools so referred sales and rewards are tracked without manual work.
## Related
Go deeper on commission types, product-based rules, and conditions.
Make the affiliate portal look like your product.
Invite partners, add them manually, or open a sign-up page.
Change your program name, subdomain, currency, and more.