

You need to be signed in to your Referly dashboard with access to program settings. Uploading a Favicon or an Email Logo requires the Business plan. See plans and features for what each plan includes.
Upload your logos
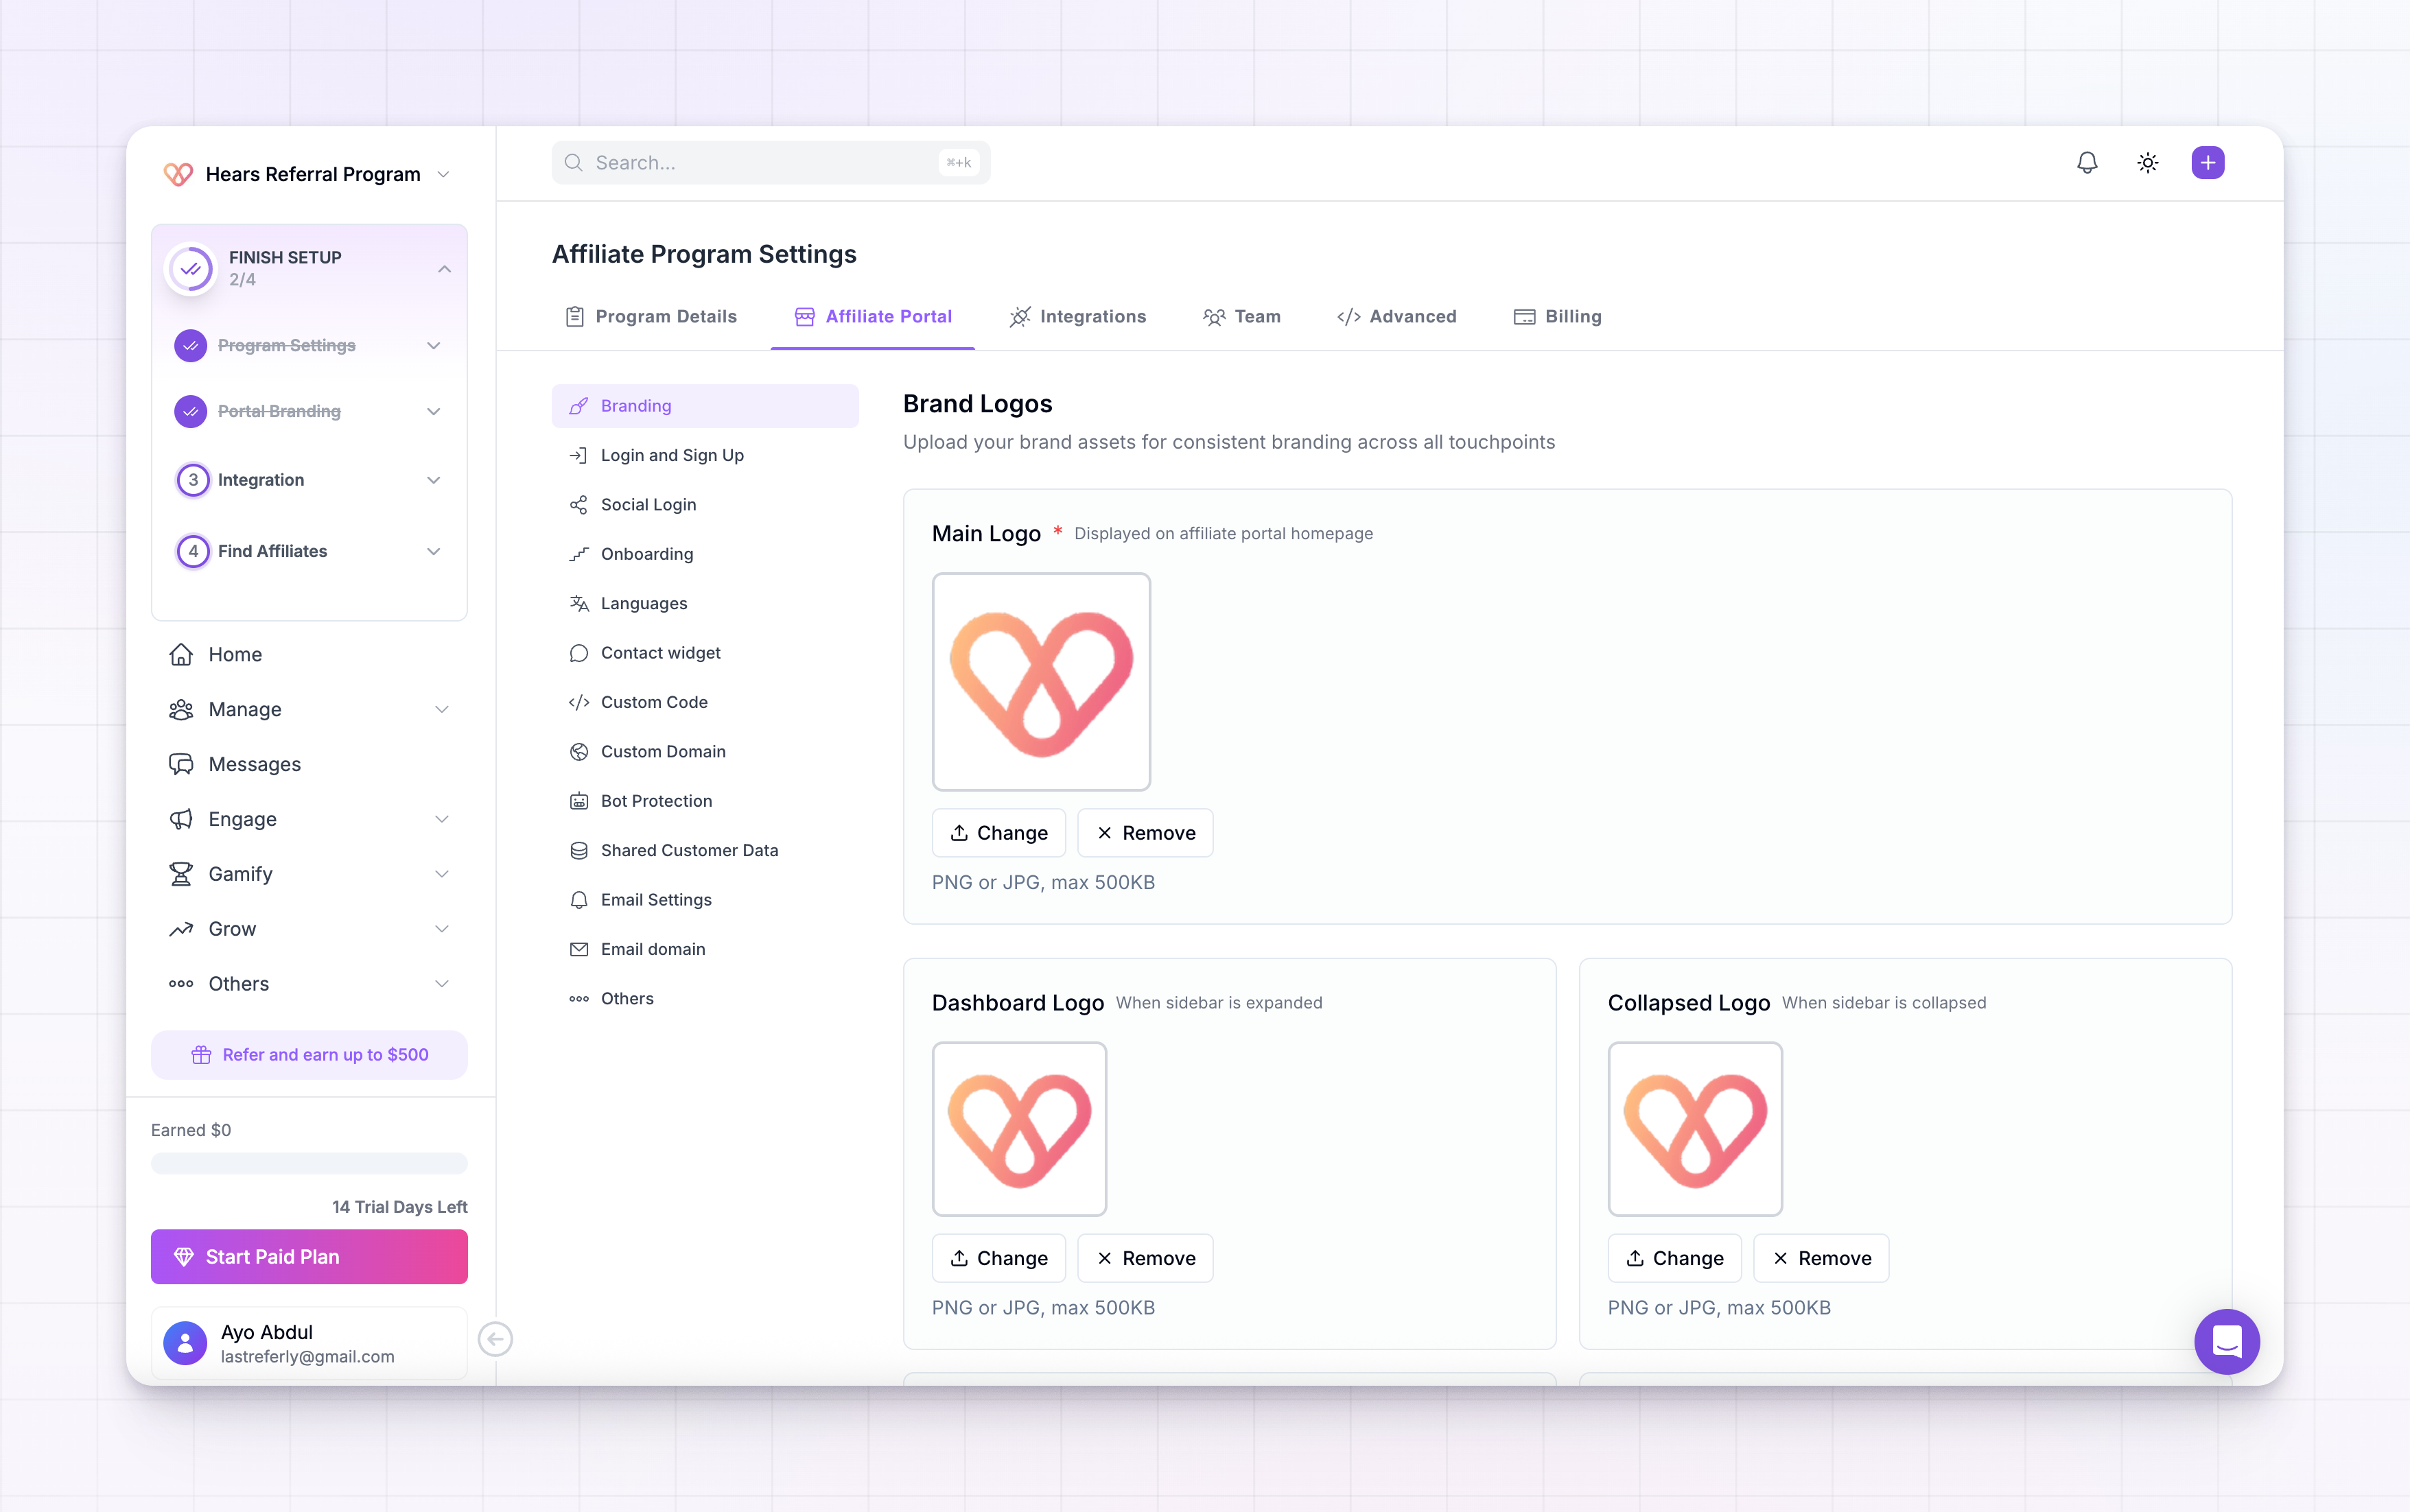
The Brand Logos section holds five images. Each one shows up in a different spot, so affiliates see your brand wherever they are. To add an image, select its upload box and choose your file. To swap or clear one, use the same box. Every logo takes a PNG or JPG file up to 500KB. If your file is larger or the wrong type, the upload won’t go through, so resize or re-export it and try again.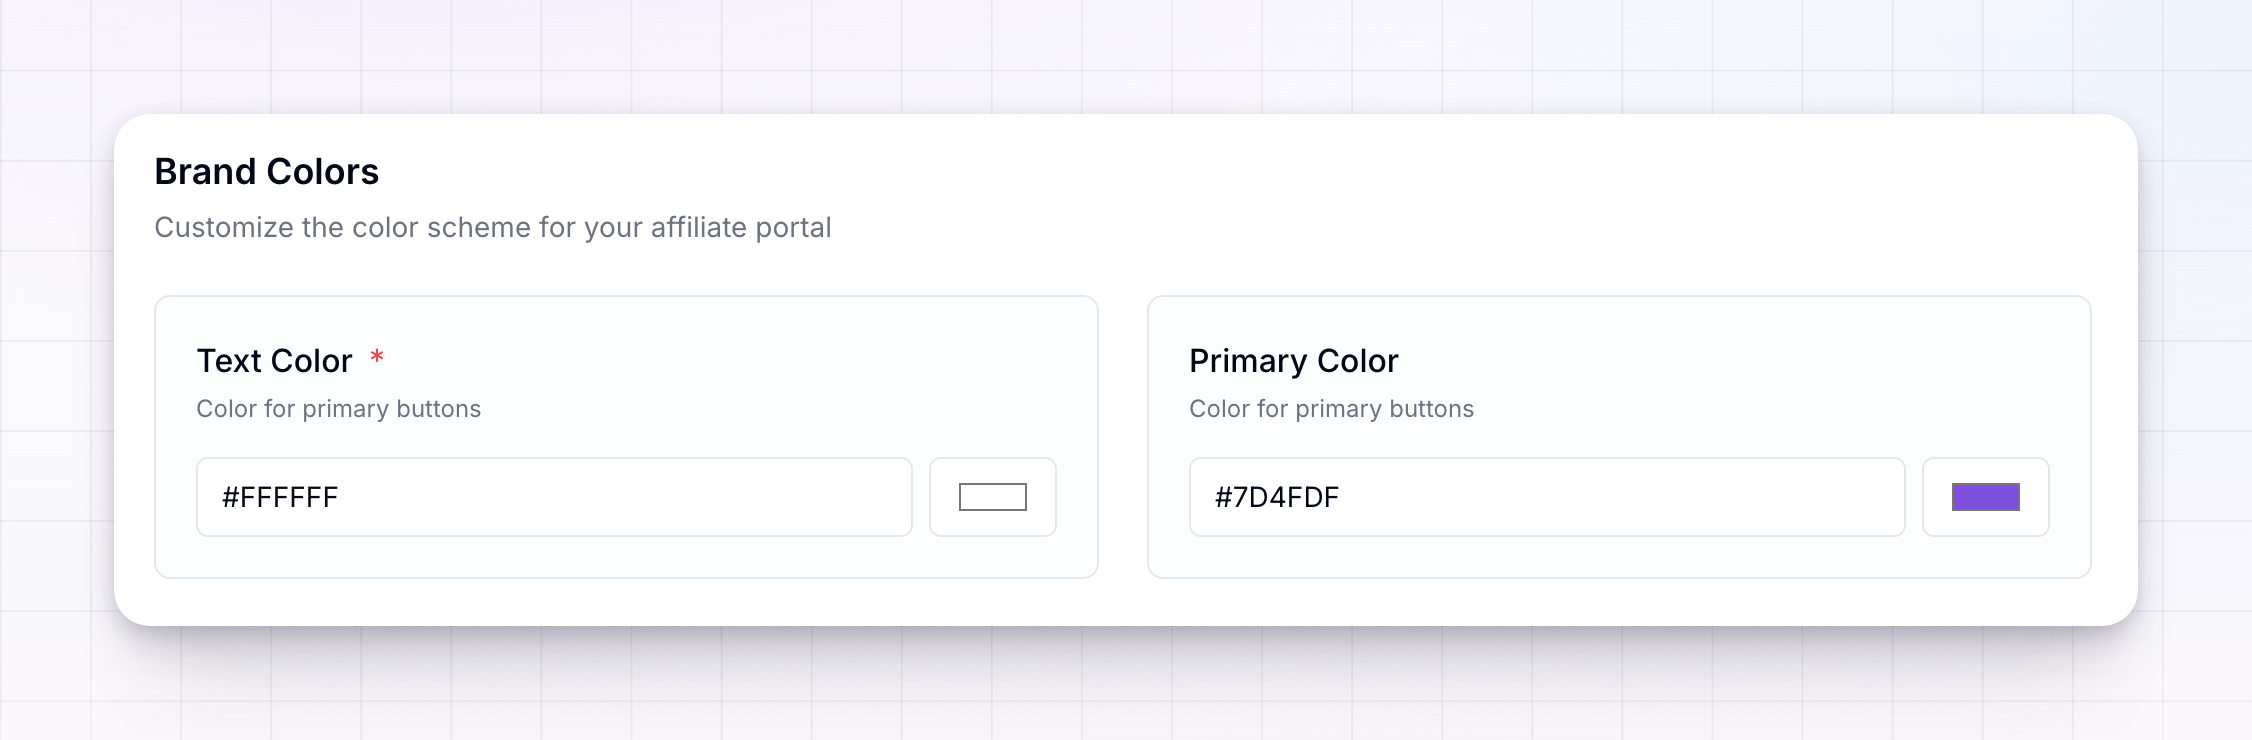 Here’s what each one is for:
- Main Logo (required): shows on your affiliate portal homepage, the first thing people see when they land on your sign-up and login pages. You can’t save the page without one.
- Dashboard Logo: appears in the sidebar of the affiliate dashboard when the sidebar is expanded. A full logo with your name works well here.
- Collapsed Logo: appears in that same sidebar when it’s collapsed to a narrow strip. Use a compact mark or icon so it still reads at a small size.
- Favicon: the small icon in the browser tab when an affiliate has your portal open. A simple square icon works best. Available on the Business plan.
- Email Logo: sits at the top of the emails Referly sends your affiliates, like sign-up confirmations and reward updates. Available on the Business plan.
Choose your colors
The Brand Colors section sets the accent colors across the portal. There are two fields. For each one you can type a hex code (like#7D4FDF) into the box, or select the color swatch next to it to open a picker and choose a color visually.
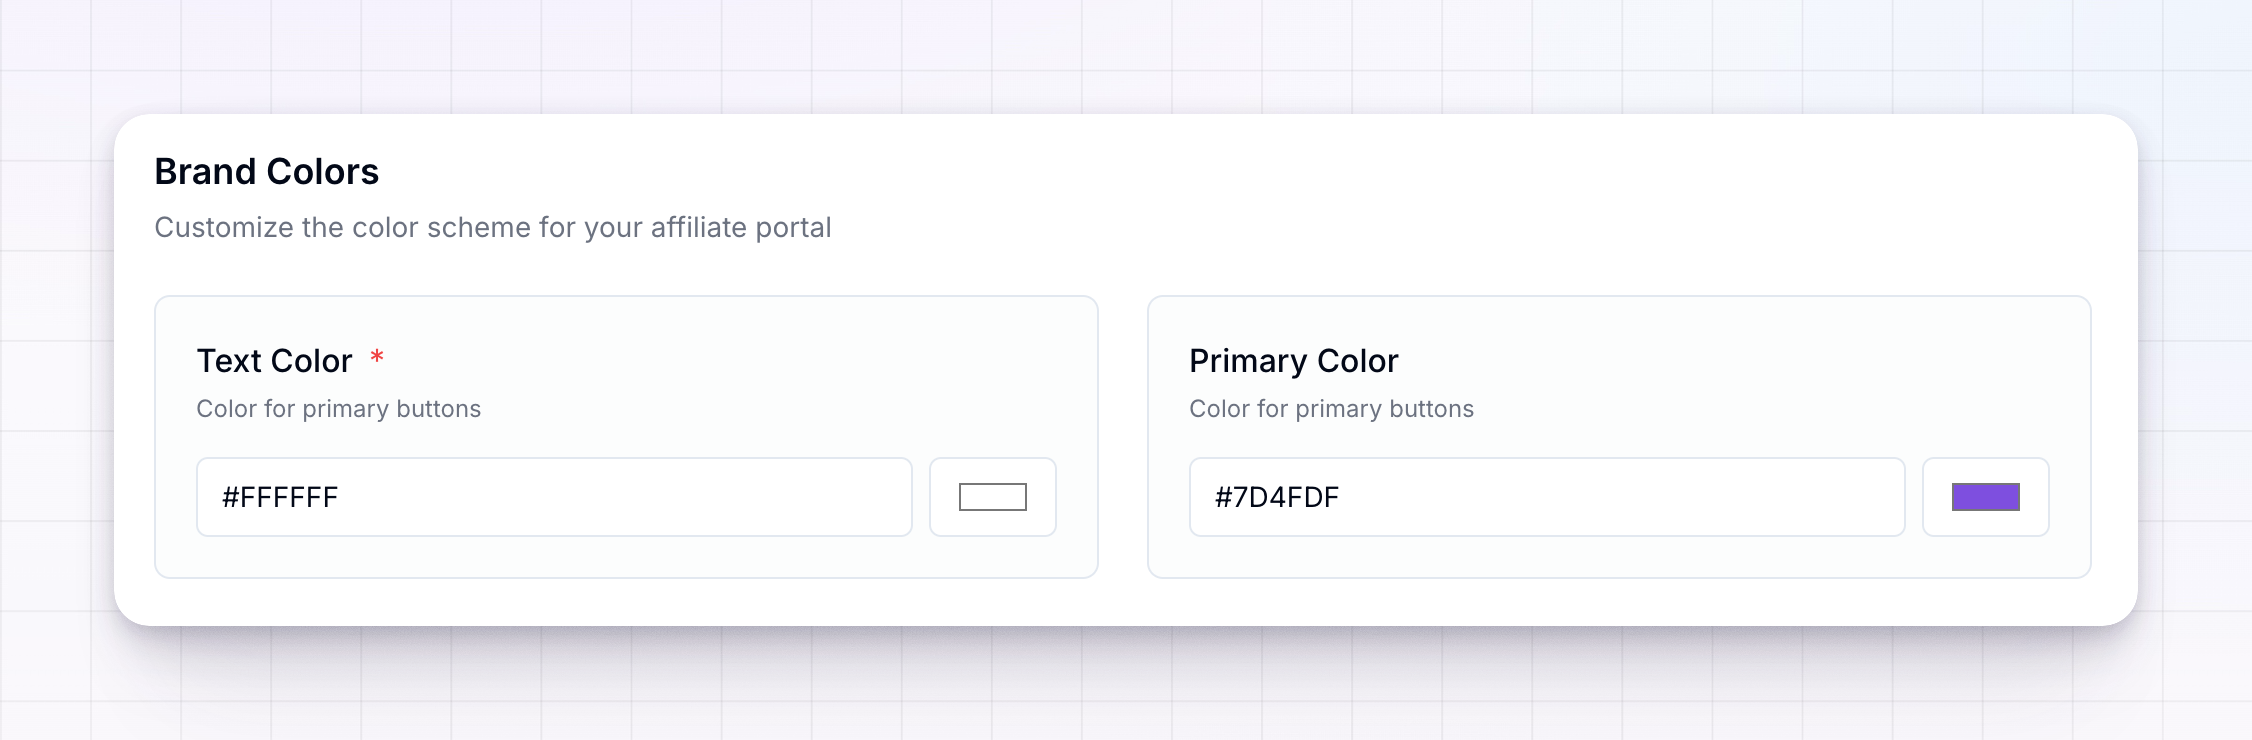
- Text Color (required): the text color used on your buttons and portal accents. White (
#FFFFFF) is a common choice when your primary color is dark. This field is required, and it has to be a valid hex code. If you leave it blank or enter something that isn’t a color, you’ll see a message asking for a correct text color when you try to save. - Primary Color: the main accent color for buttons and highlights across the affiliate portal. This is usually your main brand color.
Preview a shared link
The Social Media Preview section shows a live card of what your portal looks like when someone shares its link on social platforms. It updates as you change your logo and colors, so you can check the result before you save.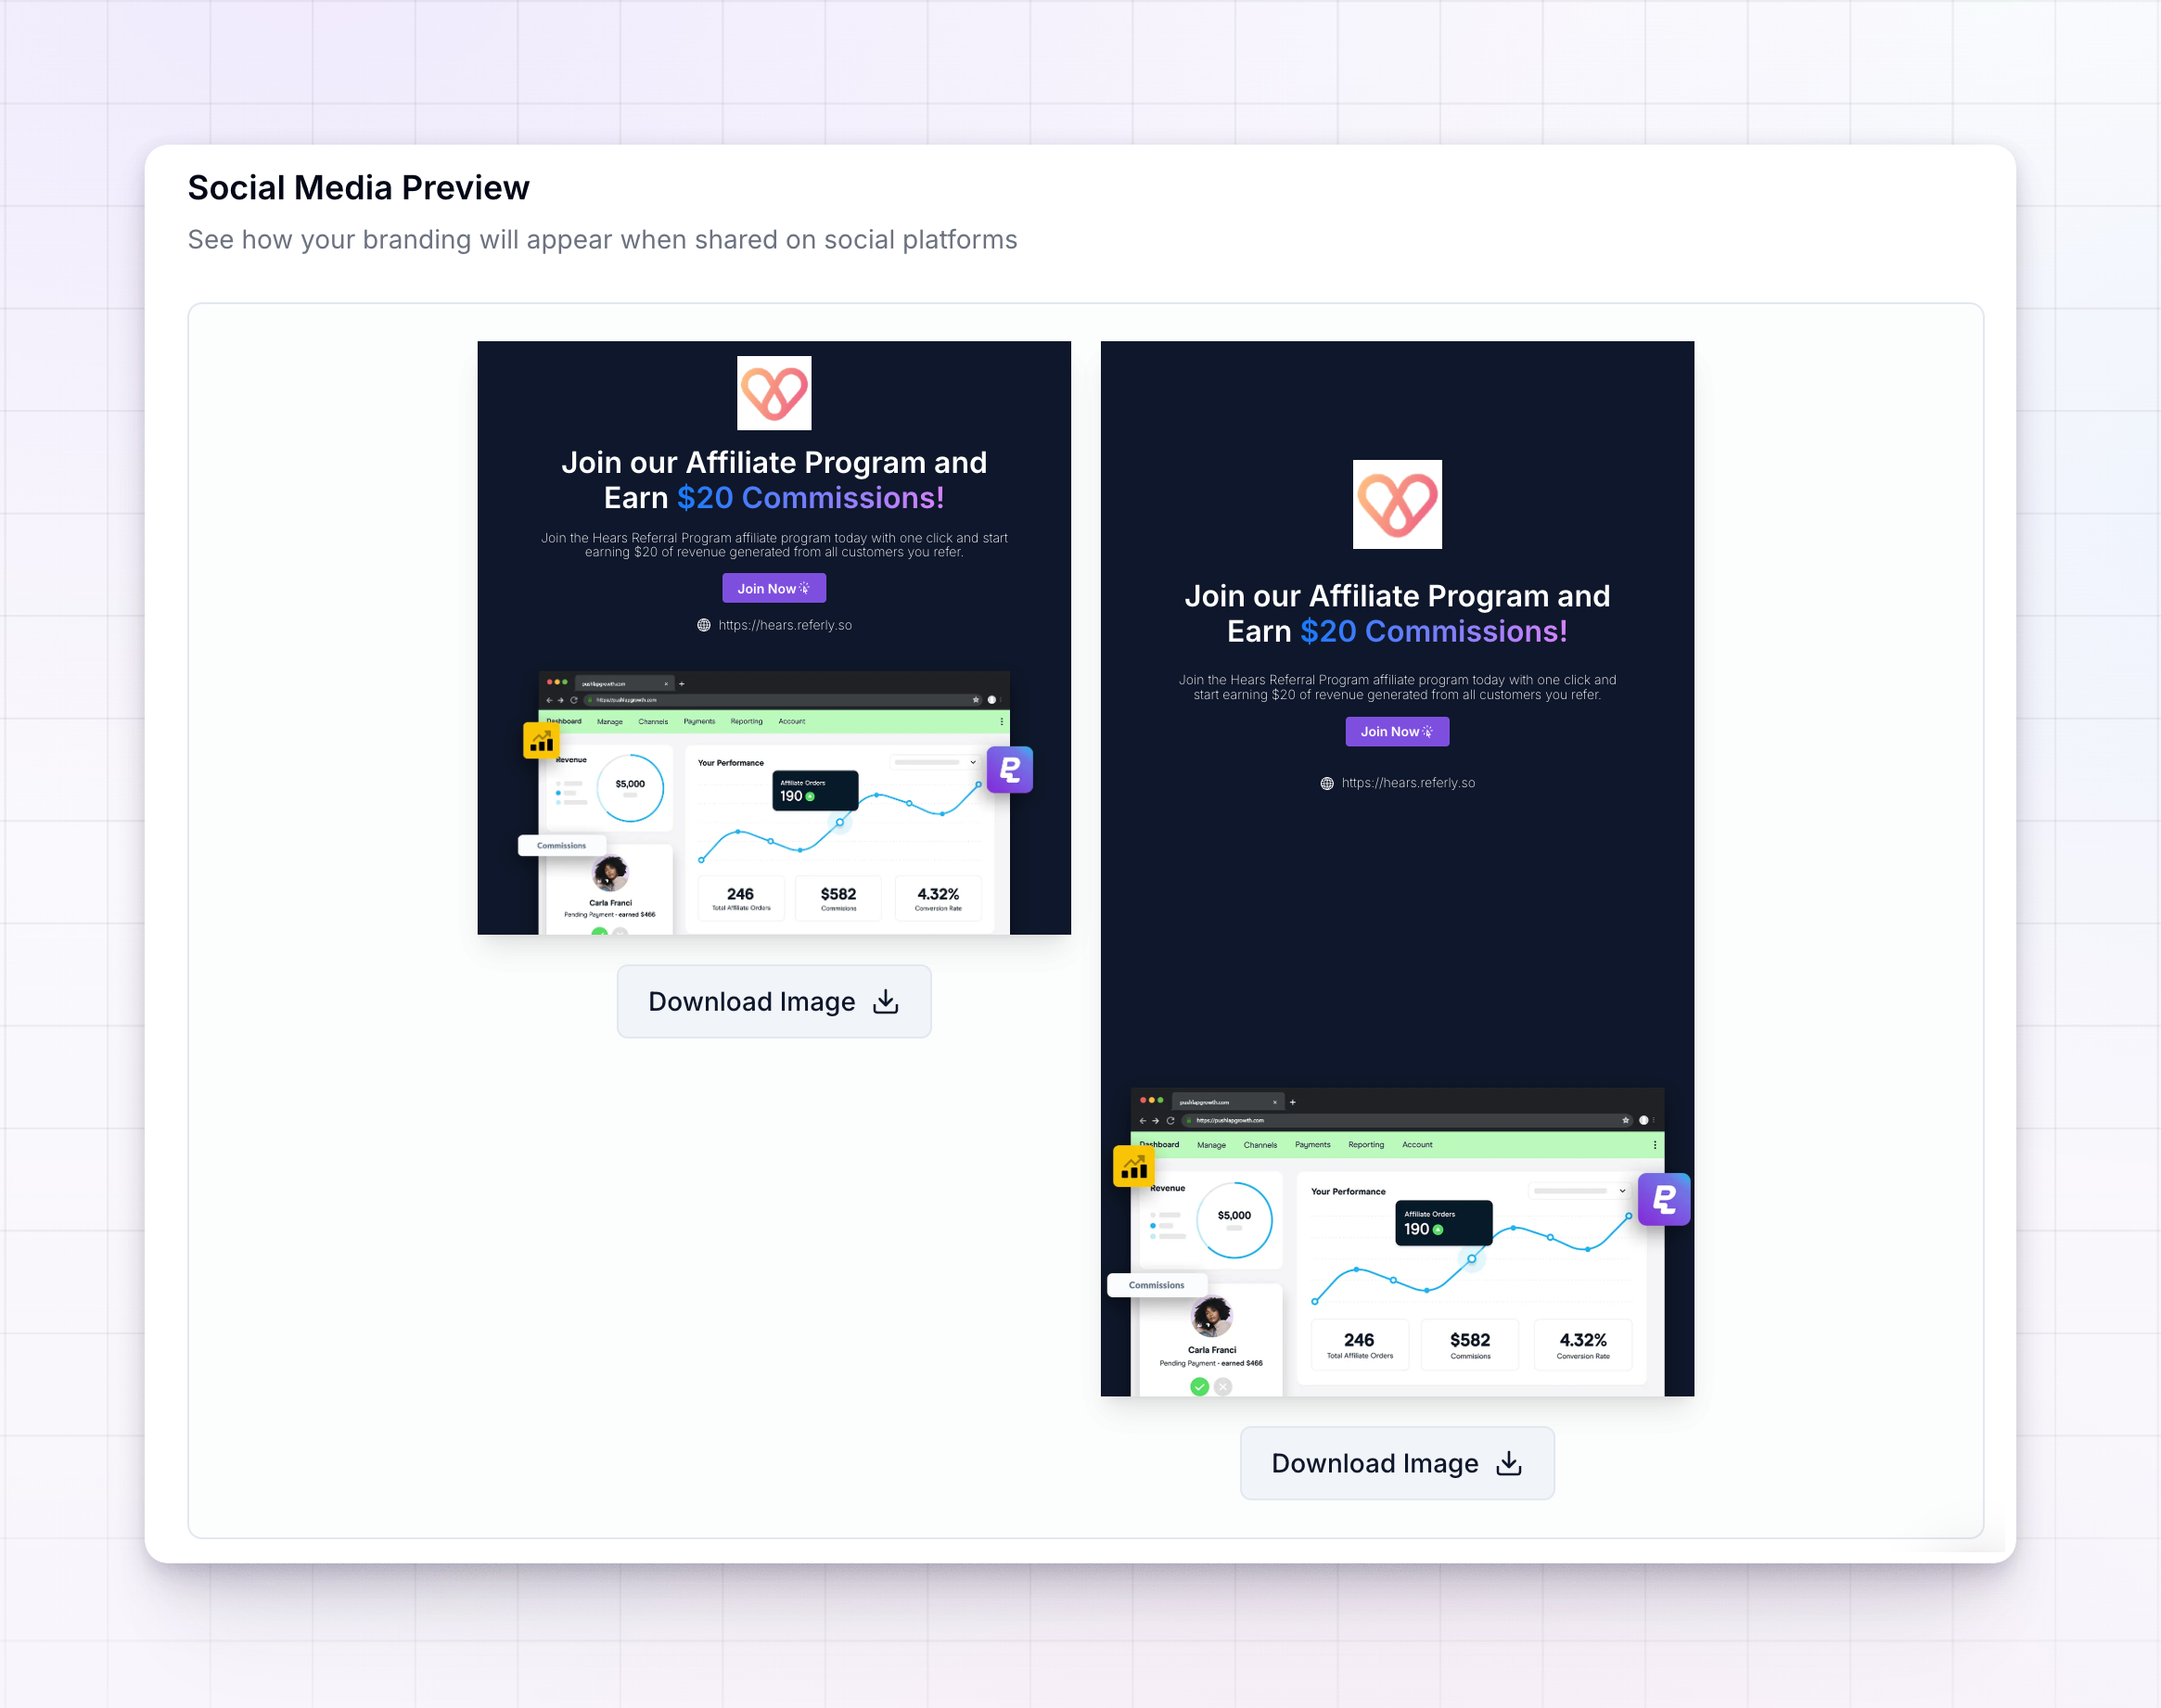 Nothing to fill in here. It’s a preview to help you confirm your branding looks right.
Save your changes
As soon as you change anything on this page, a Save Changes button appears at the bottom right of the screen. Your edits aren’t live until you select it. Once you do, you’ll see a message confirming your branding was saved, and the button goes away until you make your next change.When the “Branding saved successfully” message appears, your logos and colors are live on the affiliate portal.
Related
Set up your program
Create your program, portal, and commission structure in the onboarding wizard.
Login and sign up
Control how affiliates create an account and get into your portal.
Custom domain
Serve your affiliate portal from your own domain.
Plans and features
See which plan unlocks the Favicon and Email Logo.