

Create a group
1
Open the new chat dialog
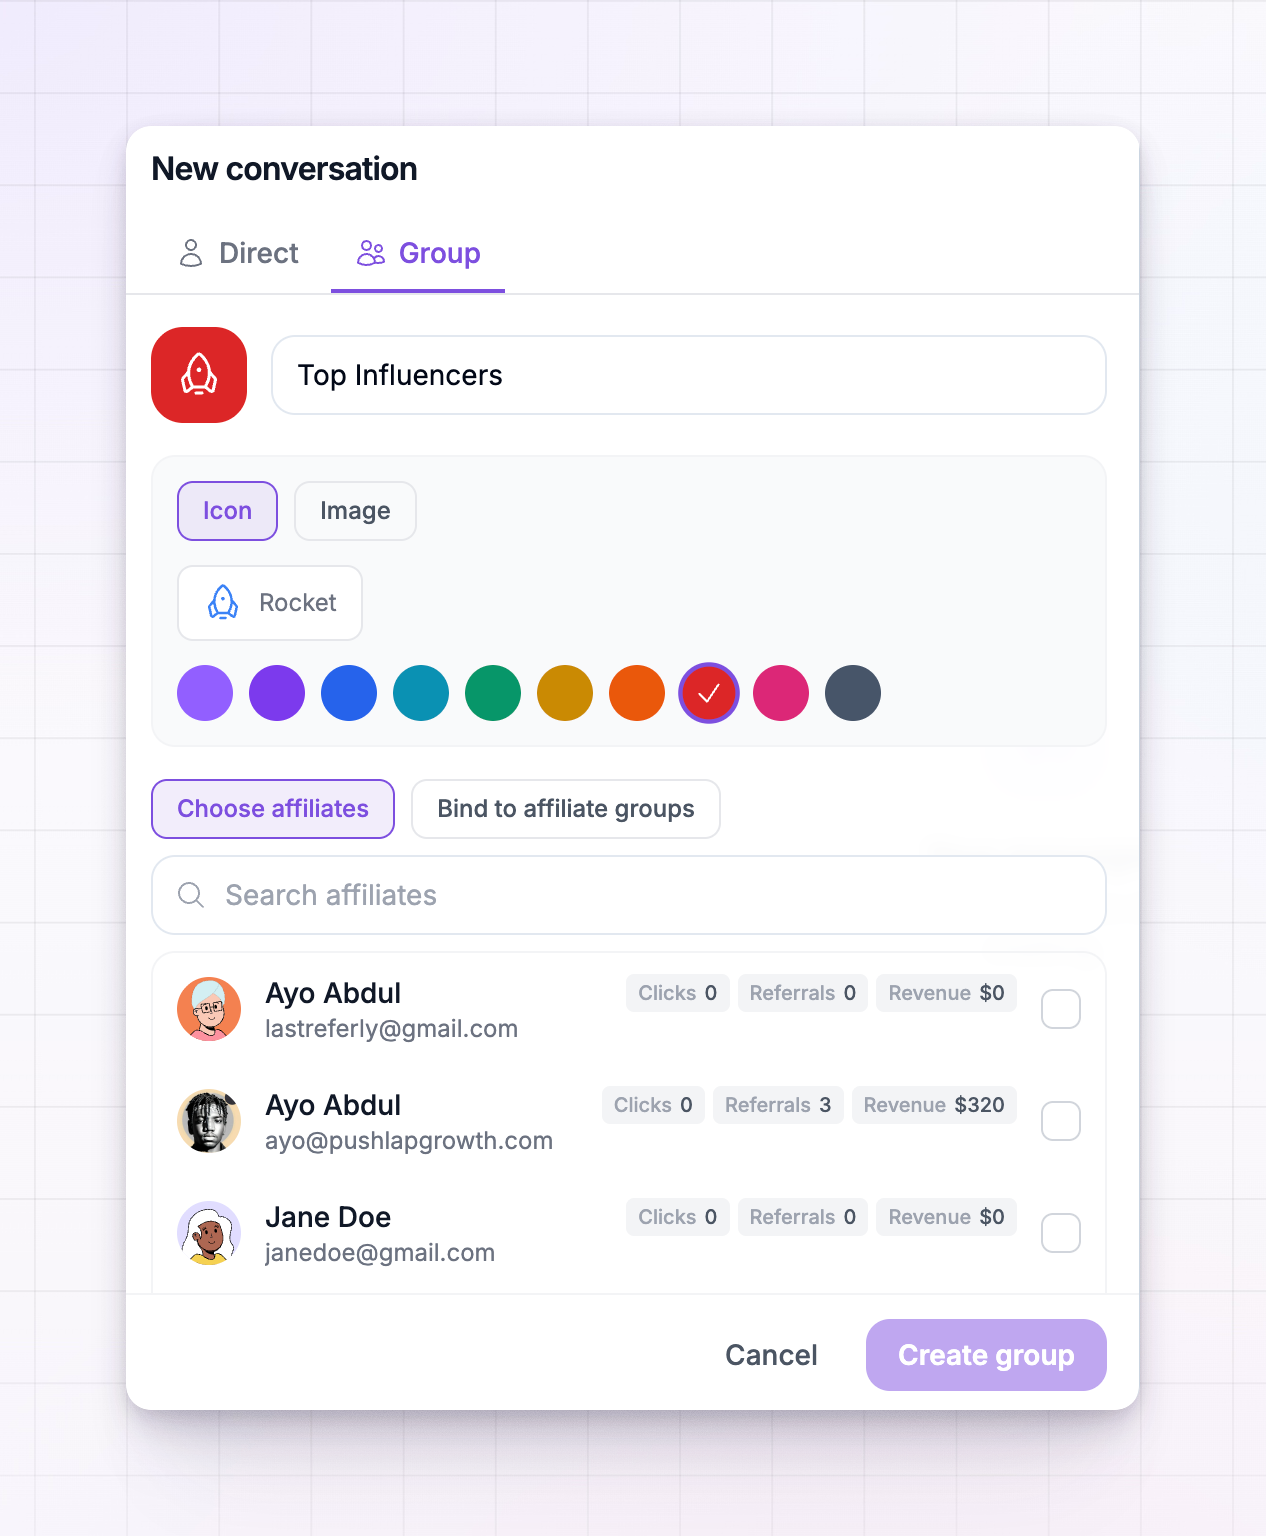
In Messages, select New chat at the top of the chat list, then select the Group tab.
2
Name the group
Give the group a name your affiliates will recognize, like
Top Performers or Holiday Campaign.3
Choose how it looks
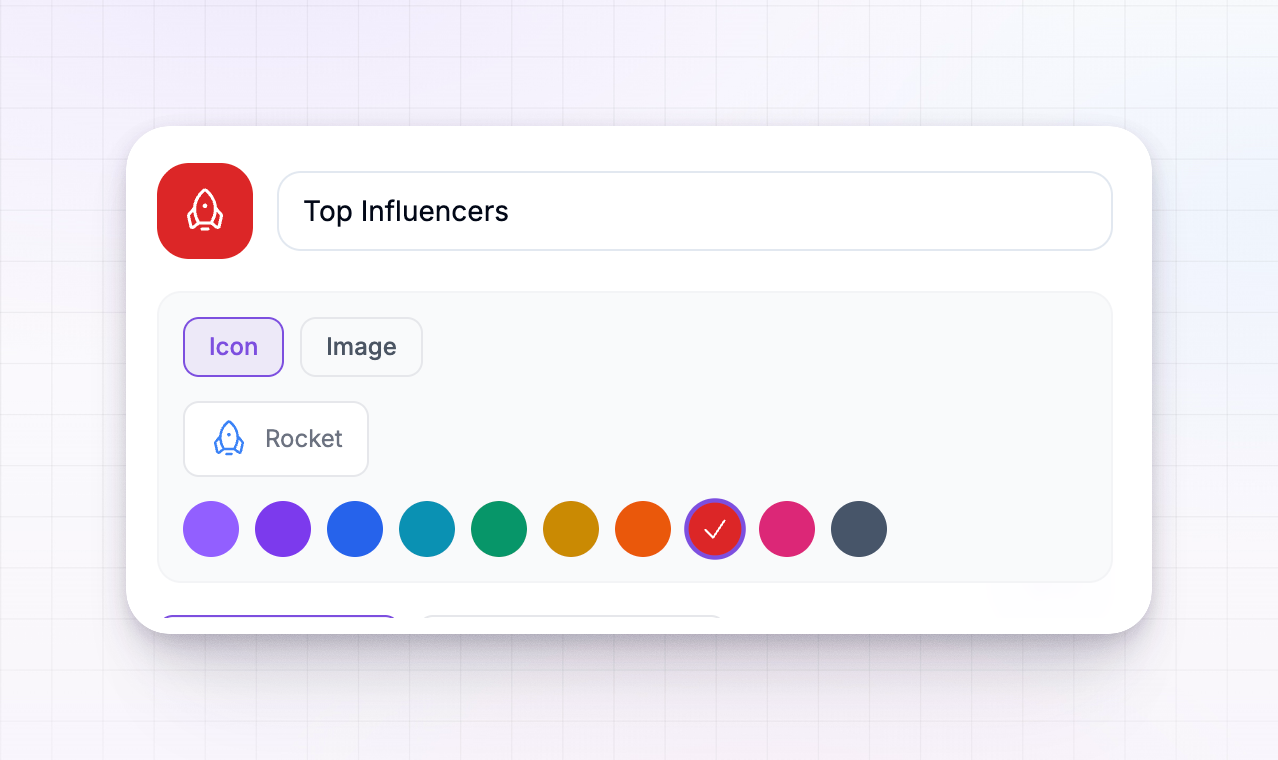
Pick an icon and color, or upload an image, so the group stands out in the chat list.
4
Add members
Choose who’s in the group — either pick affiliates one by one, or bind the group to your affiliate groups. Both approaches are explained below.
5
Create
Select Create and the group opens, ready for your first message.
Give the group a look
A group can show either an icon or an image:- Icon — choose an icon and a color from the swatches. This is the quickest option and always looks tidy.
- Image — choose an image from your content library to use as the group’s picture.
Choose who’s in the group
There are two ways to decide who belongs to a group, and you pick one when you create it:Choose affiliates
Select Choose affiliates to build the group by hand. Search for affiliates by name or email and select each one you want to add. The people you’ve picked show up as tags above the search box, and you can remove any of them before creating the group. This is best for a fixed set of people that won’t change often.Bind to affiliate groups
Select Bind to affiliate groups to base the chat on your existing affiliate groups instead of individuals. Tick one or more groups, and everyone in those groups becomes a member of the chat. You can also tick Default group to include affiliates who aren’t sorted into any group.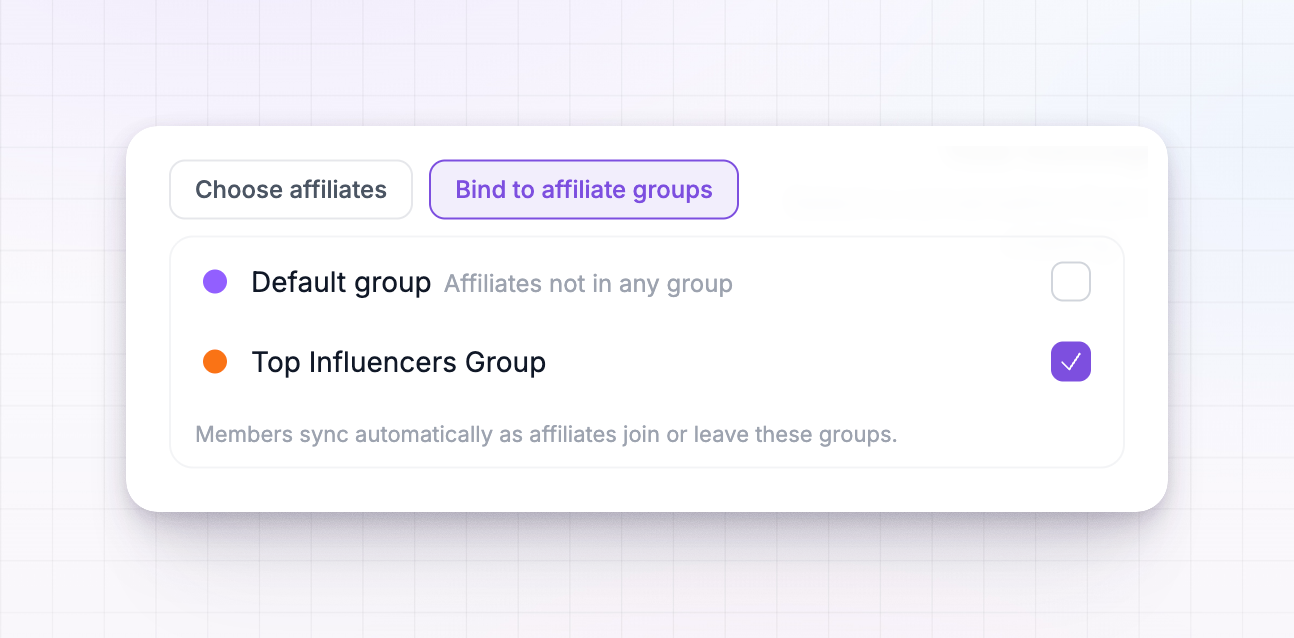 The advantage of binding is that the chat’s membership stays in sync with the affiliate group. When you move an affiliate into a bound group later, they’re added to the chat automatically — and when someone leaves the group, they leave the chat. You don’t have to keep the member list up to date by hand. Choosing affiliates individually gives you a fixed list; binding gives you a list that maintains itself.
Manage a group
Open a group, then use the Conversation options menu at the top of the chat for the actions below.Edit a group’s name or look
Select Group settings to rename the group or change its icon, color, or image. Select Save changes when you’re done.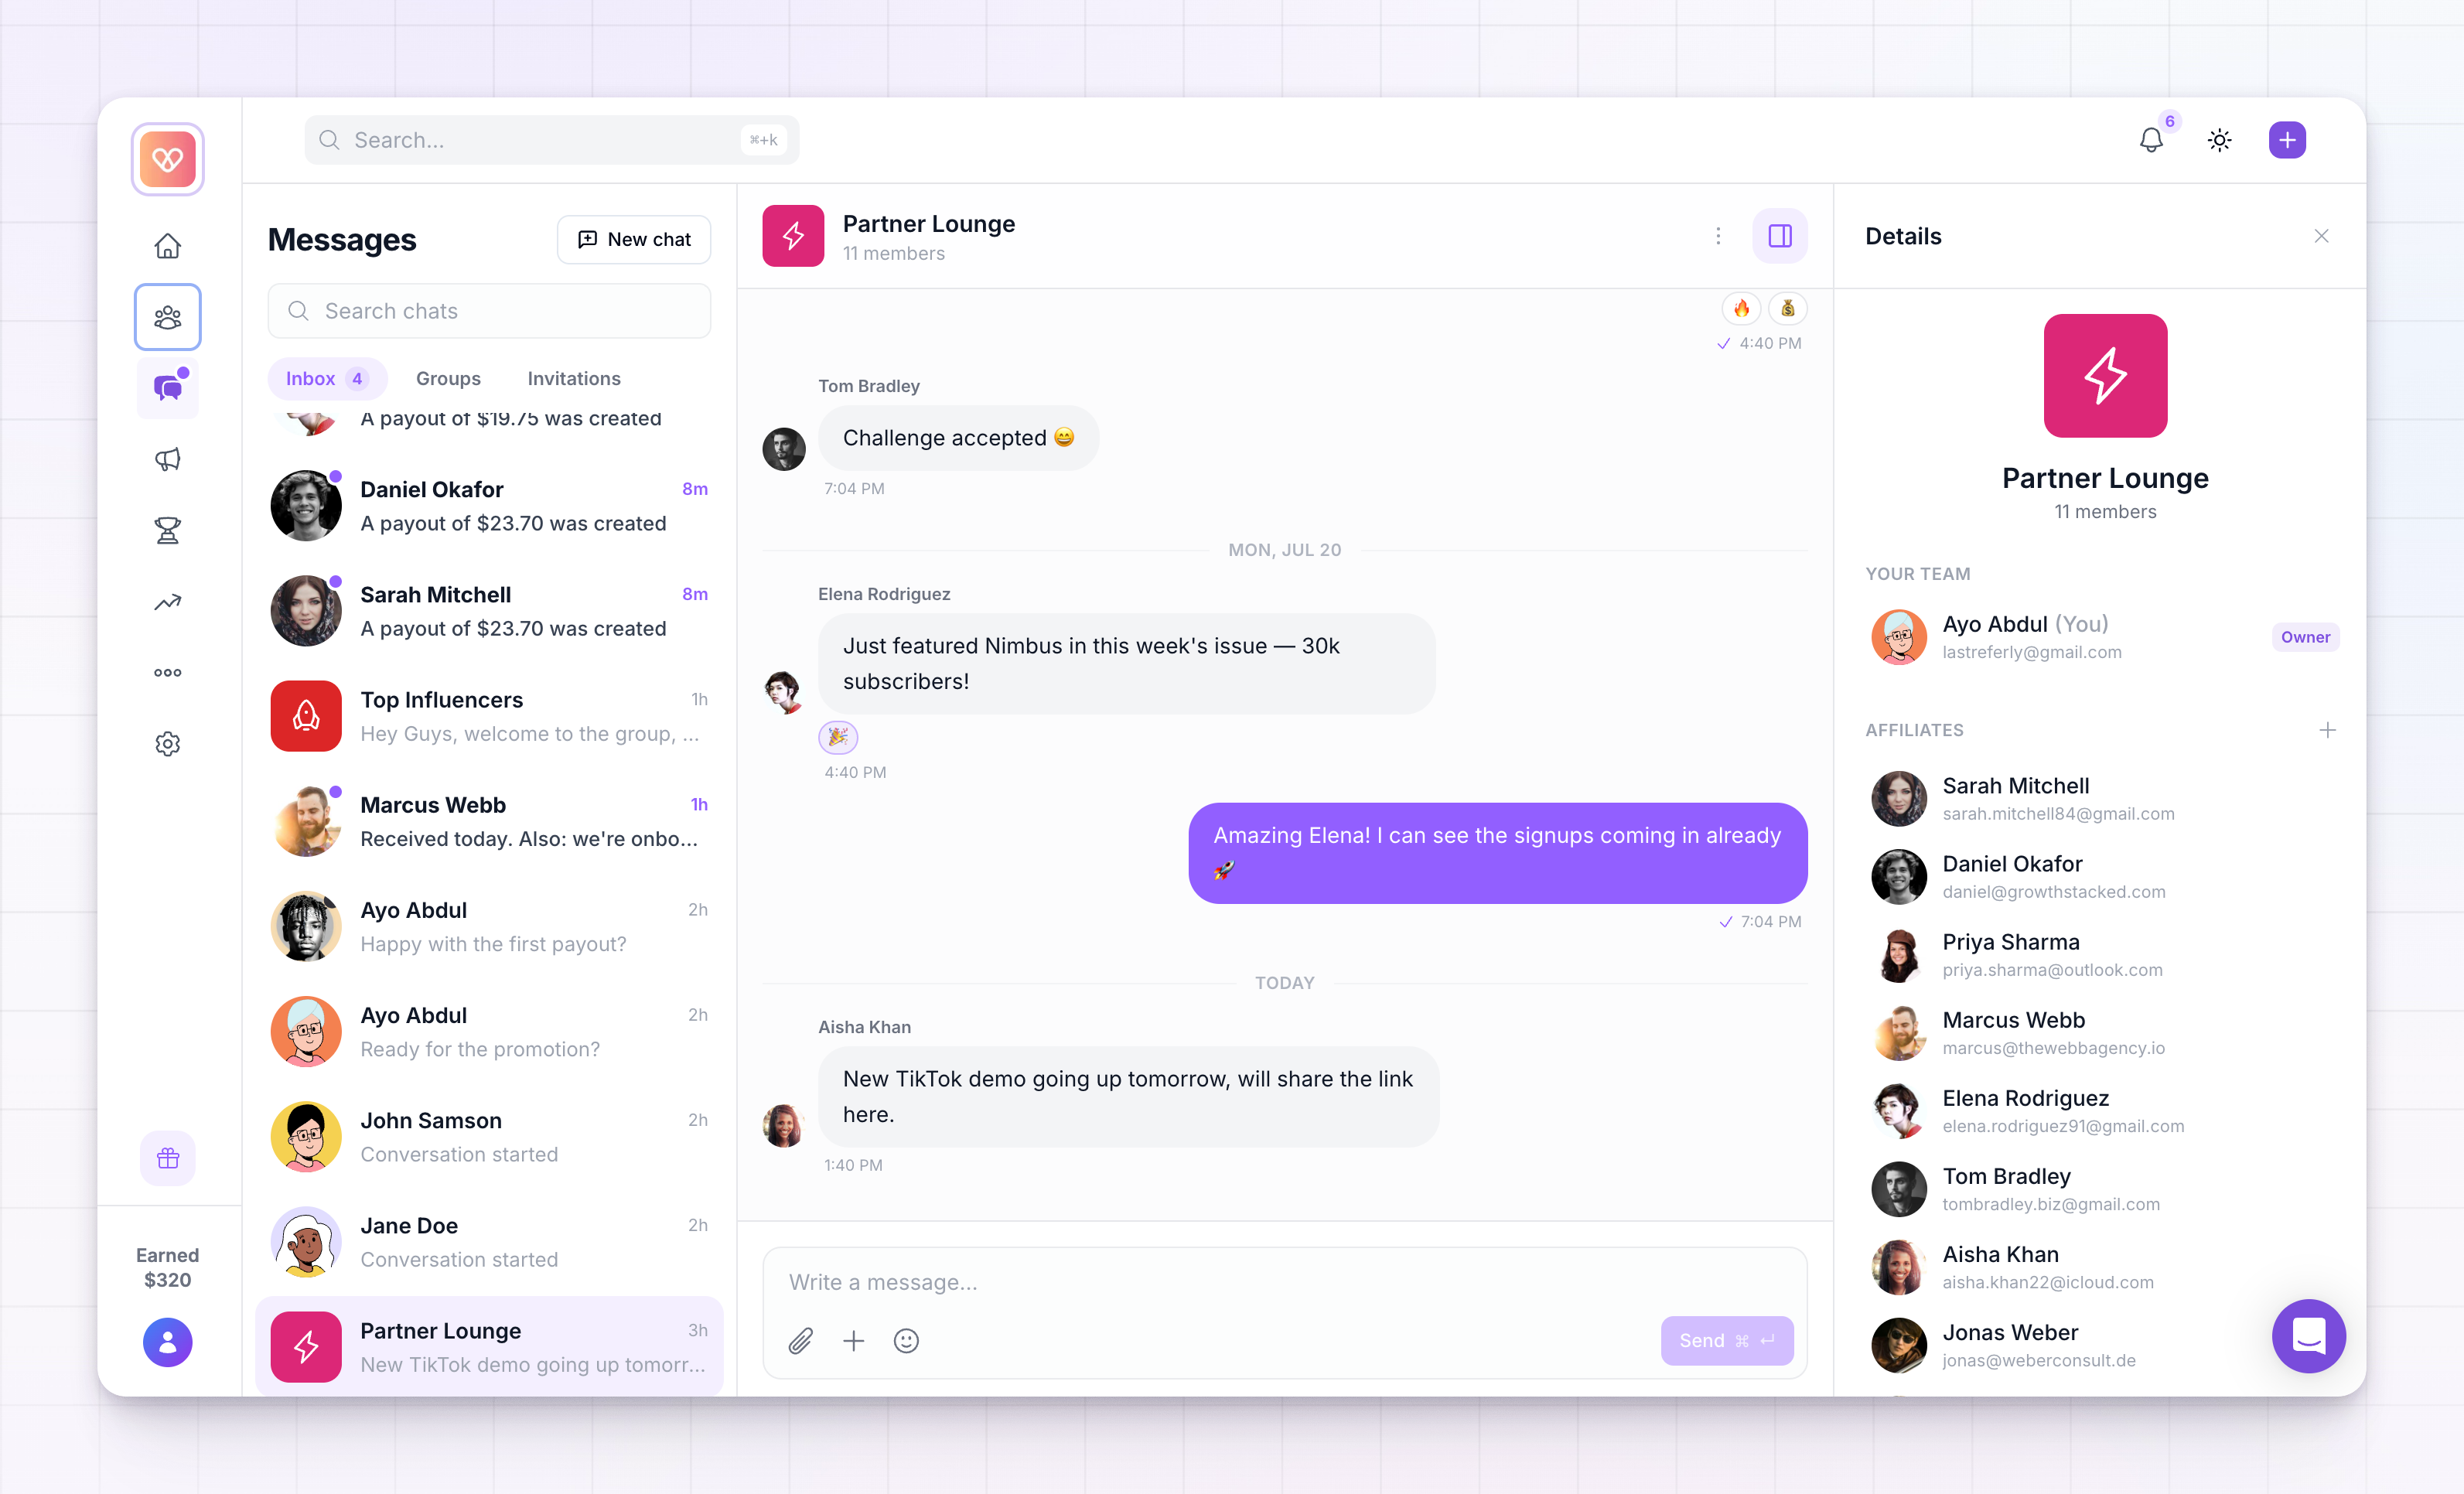
Mute a group
Select Mute group to stop notifications from that chat while staying a member. You’ll still see new messages when you open it. Select Unmute group to turn notifications back on.Delete a group
Inside Group settings, the Delete group option removes the group and its entire message history for everyone in it. This can’t be undone, so you’ll be asked to confirm first.Availability
Group chats are part of Referly’s engagement features and may require the Engagement add-on, depending on your plan. If the Group tab shows an upgrade prompt instead of the group form, see Add-ons for how to unlock it. One-to-one direct chats don’t need the add-on.Related
Messages overview
See how the Messages area works from end to end.
Affiliate groups
Organize affiliates into groups you can bind a chat to.
Share assets and bonuses from chat
Send marketing assets and performance bonuses inside a group.
Affiliate announcements
Broadcast a one-way update instead of starting a conversation.