

Where non-cash rewards live
Non-cash rewards are a setting on a commission plan, not a separate feature. Both your Base Commission Plan and any custom commission plan can use them, and the setup is identical in each. You’ll find plans under Program Settings → Program details → Commission Plans. Open a plan (or select Add Commission Plan) to reach the editor. Non-cash rewards are a paid feature. On a free or inactive plan the Non-Cash option is locked and shows an upgrade prompt. To use it, upgrade from that prompt or from billing and plans. Cash commissions stay available on every plan.Switch a plan to non-cash
Inside the plan editor, open the Plan Settings panel. The first choice is Reward Type, shown as two cards:- Cash — a commission payout, the normal way to pay affiliates.
- Non-Cash — a coupon or credits instead of money.
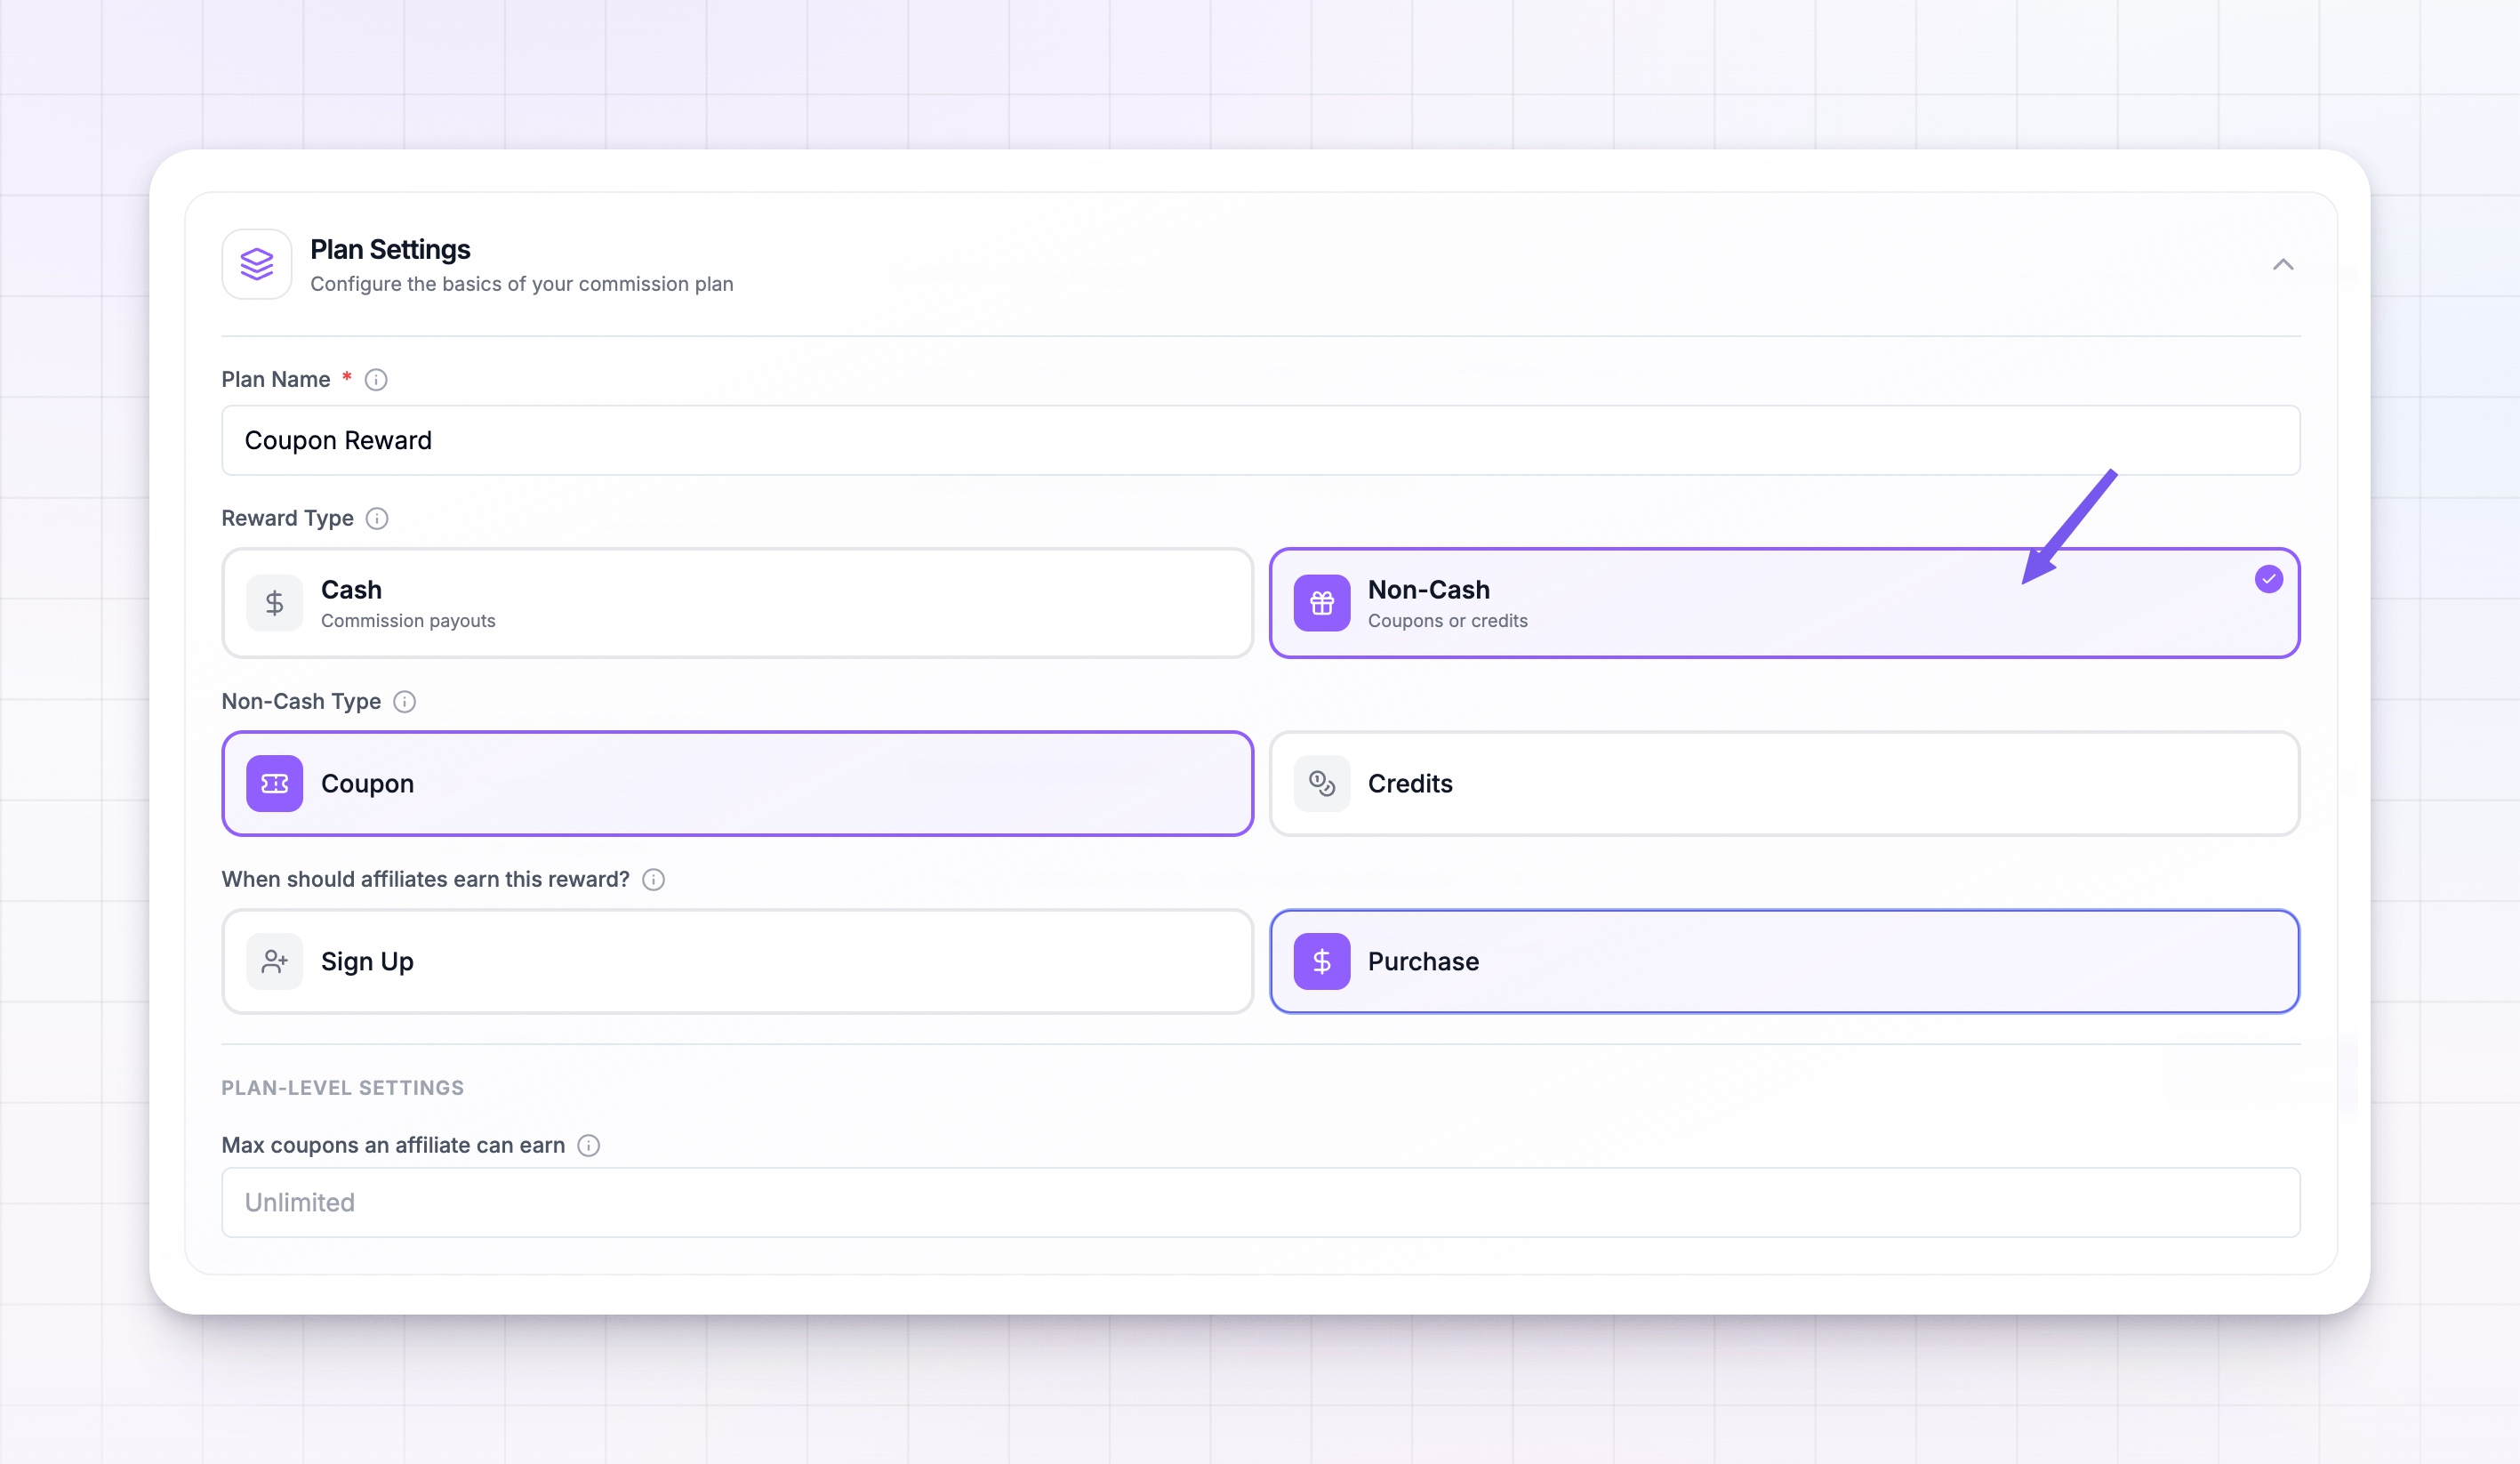 As soon as you pick Non-Cash, a few more fields appear so you can describe the reward: the Non-Cash Type, when affiliates earn it, and how much they get.
Choose a coupon or credits
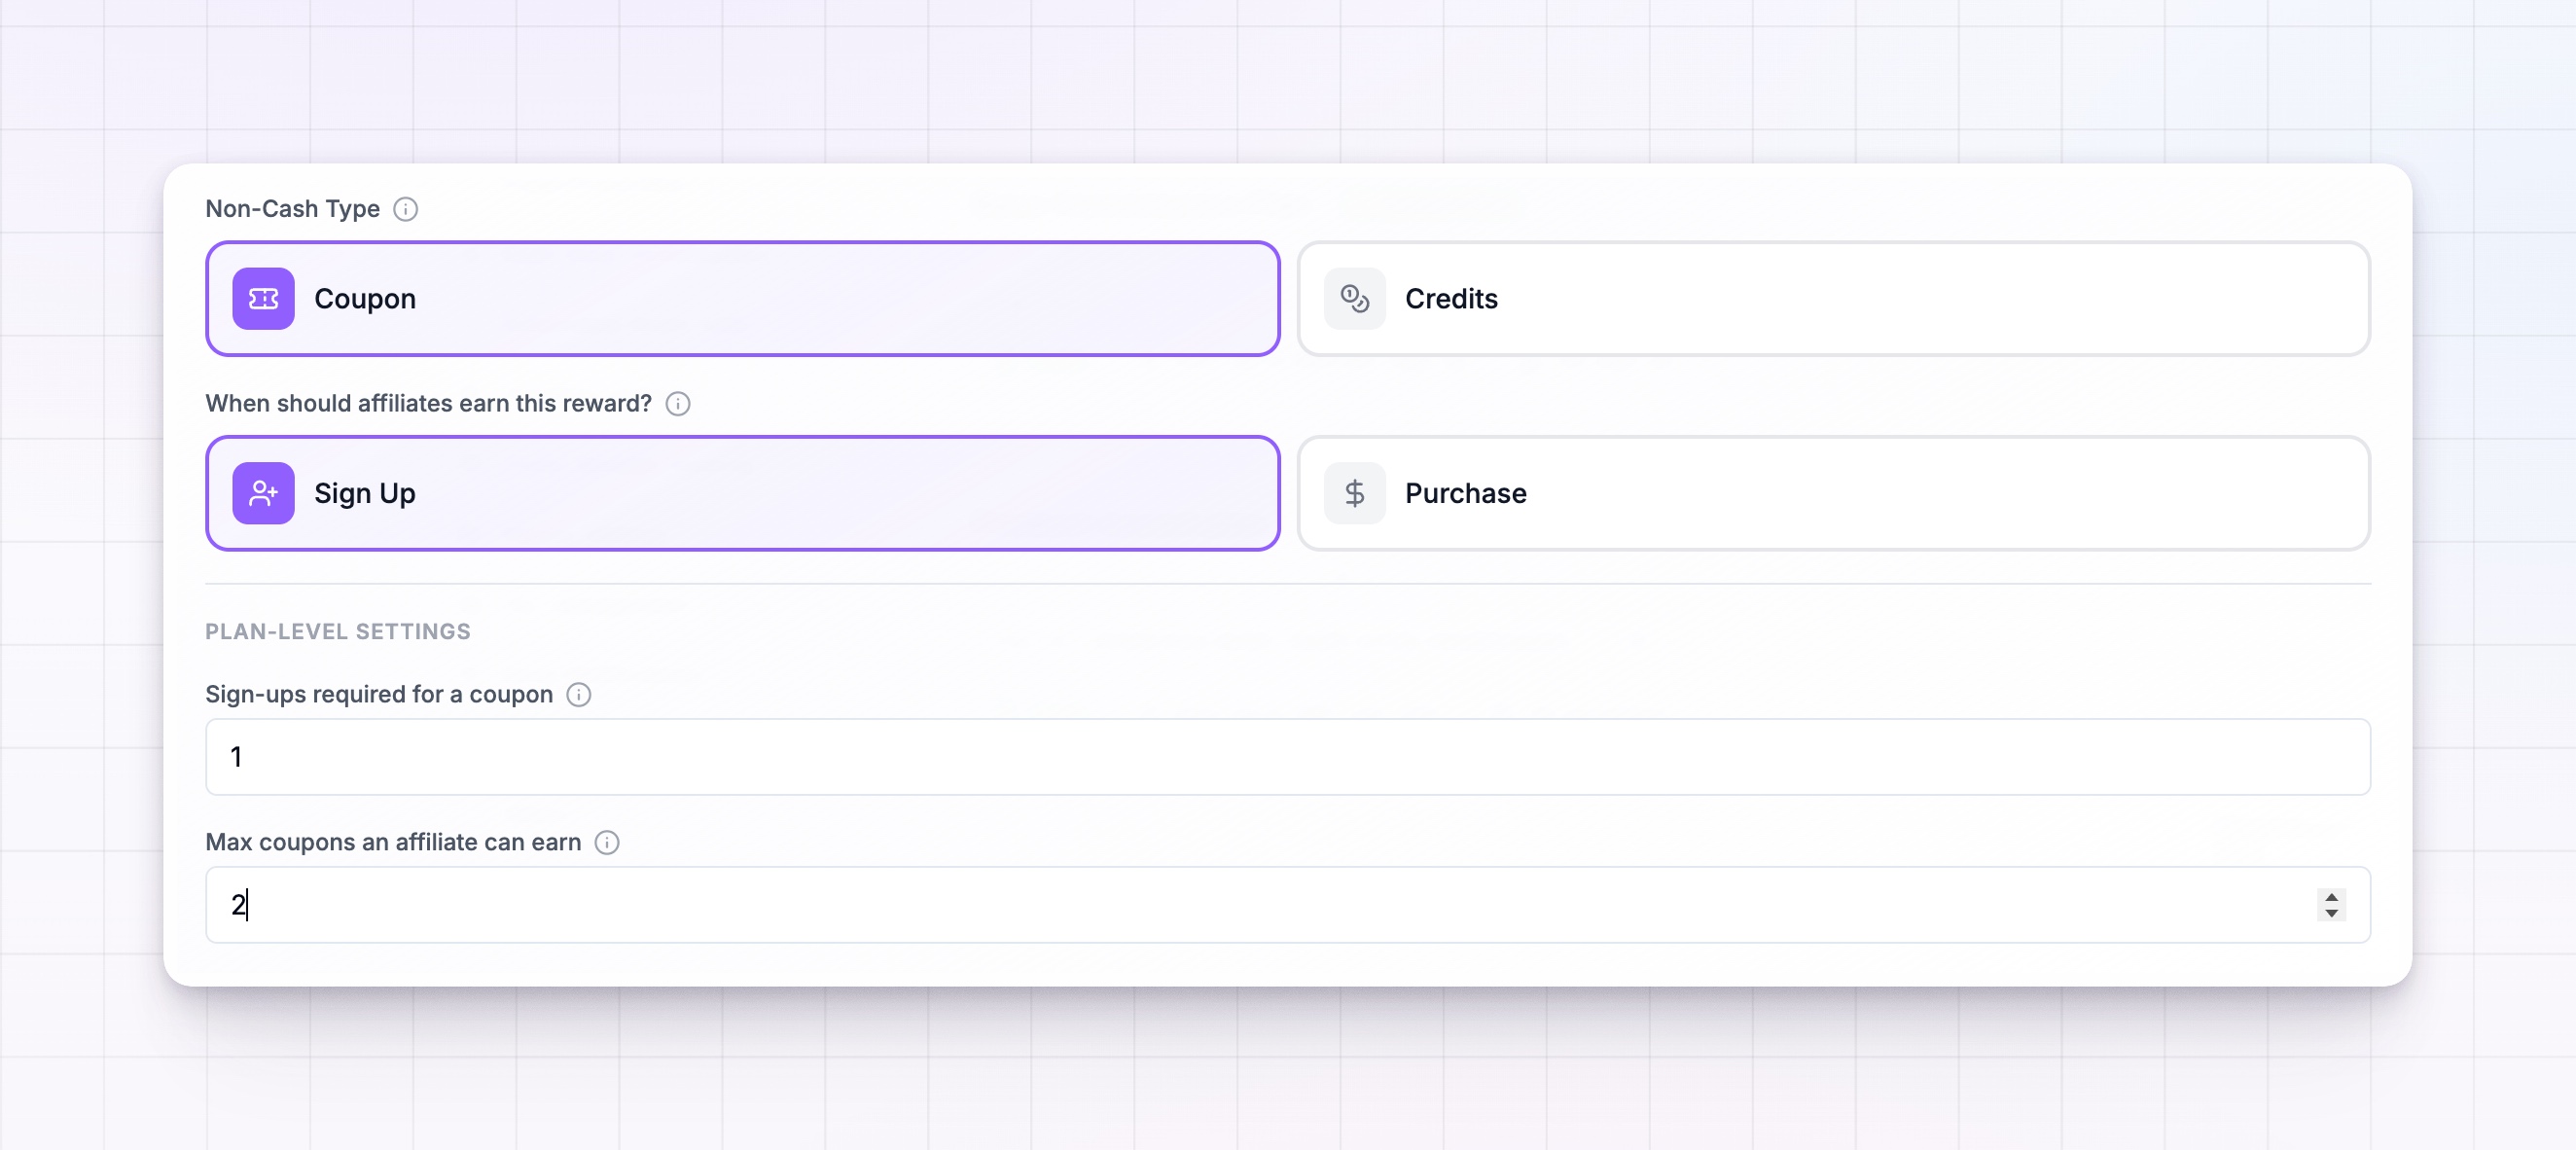
The next field, Non-Cash Type, is where you pick the kind of reward. There are two:- Coupon — a discount code the affiliate receives and can use (or pass on) as a reward.
- Credits — an amount of store credit, customer balance, or custom points added to the affiliate’s account.
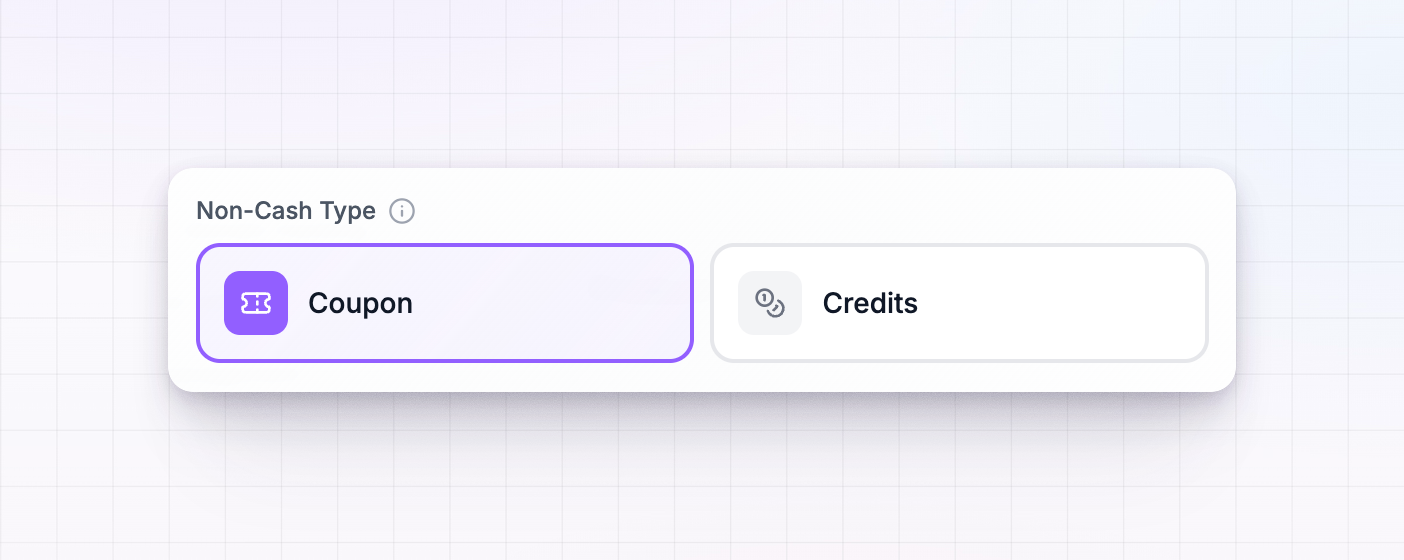 Pick the one that fits your program, then set it up using the matching section below.
Set up a coupon reward
With Coupon selected, you decide where the coupon comes from and what discount it gives.Choose where the coupon is created
Under Coupon Source, pick where Referly should create the coupon when an affiliate earns one:- Shopify — a Shopify discount code.
- Stripe — a Stripe coupon code.
- WooCommerce — a WooCommerce coupon.
- API — you create the code yourself on your own system. Choose this if you don’t use one of the platforms above. Referly stores the reward and hands it off to you to fulfil.
Set the discount
Now describe the discount the coupon gives:- Discount Type — Percentage for a percent off, or Fixed Amount for a set amount off in your store’s currency.
- Amount — the size of the discount, for example 10 for 10% off, or 5 for 5 off.
- Duration — how long the discount applies: One-time (a single order), Forever (every future order), or Multiple Months (a set number of billing cycles). Choosing Multiple Months adds a Number of Months field.
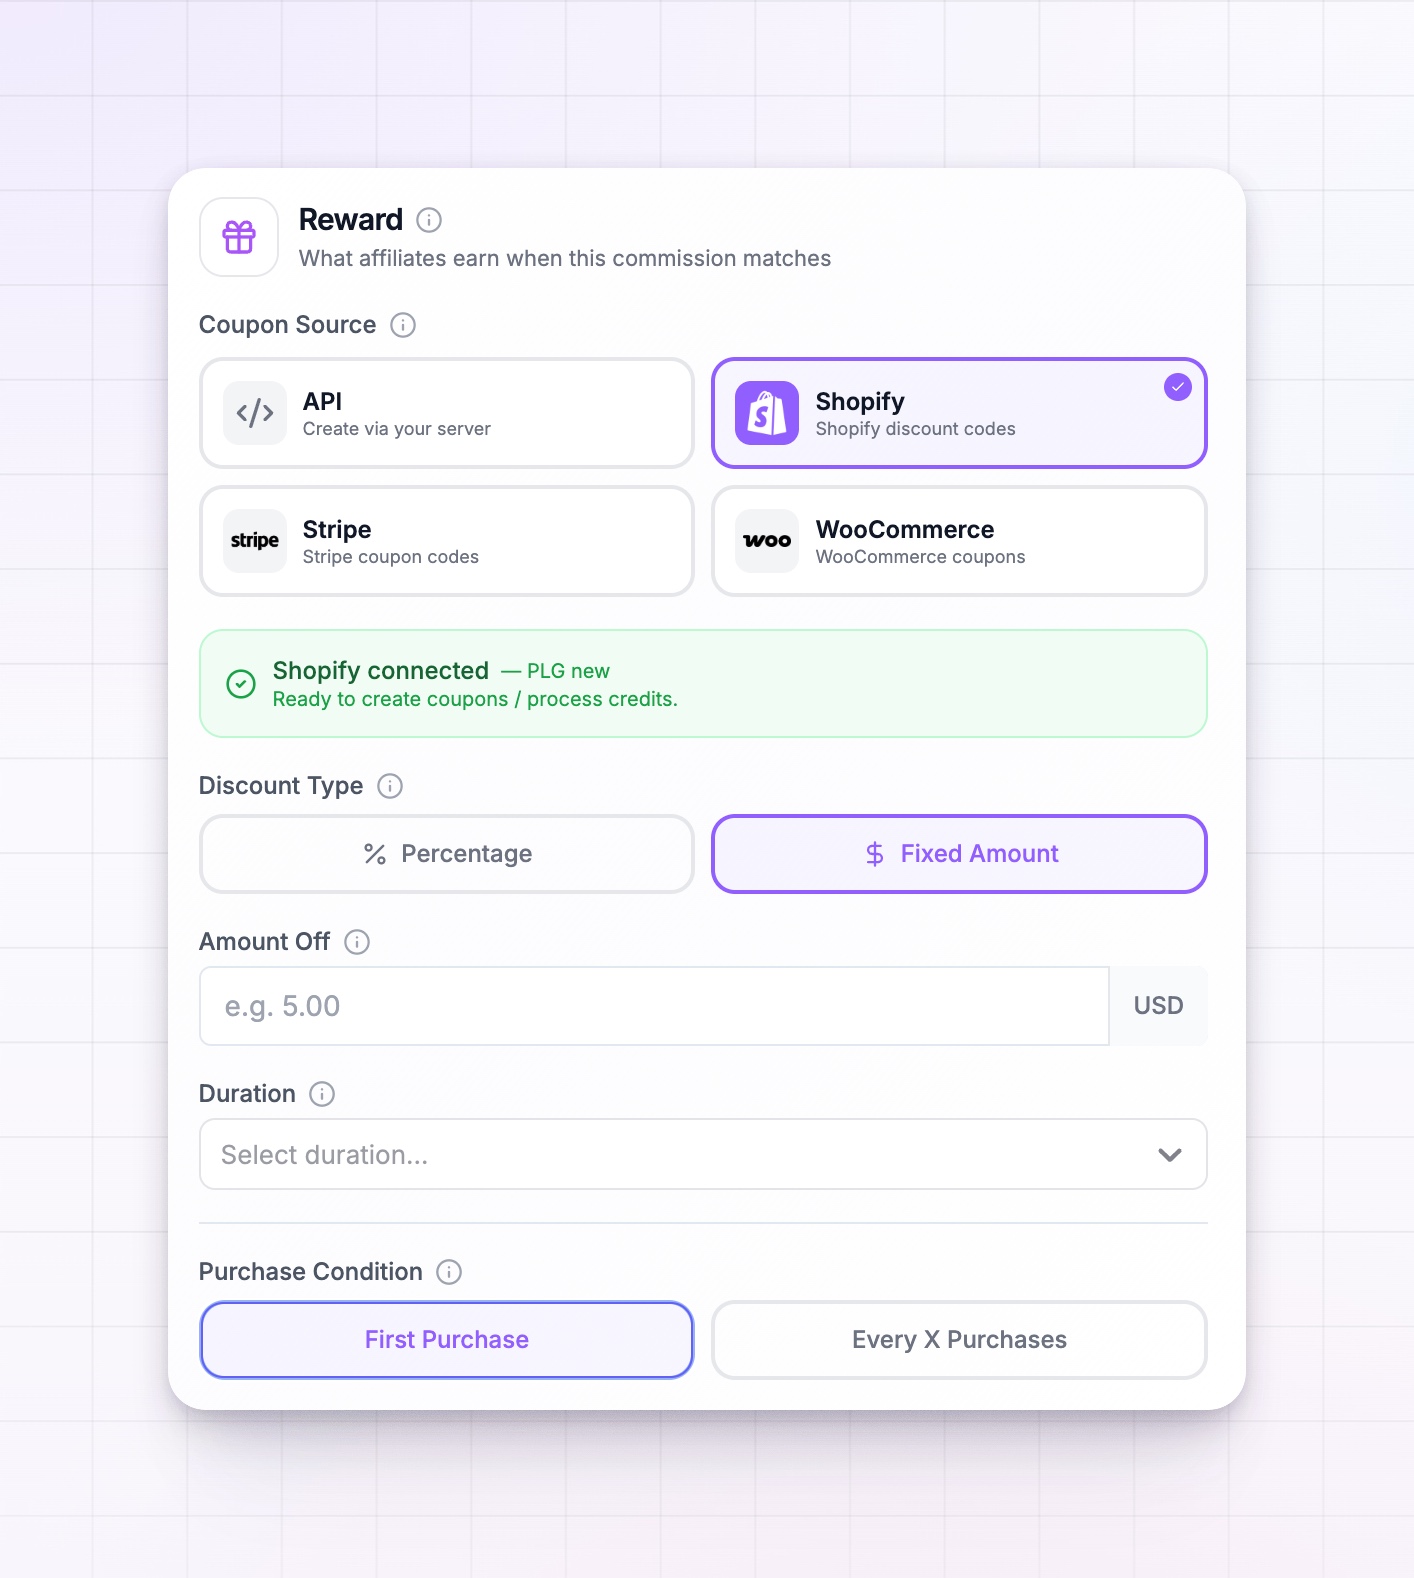 If you’ve already built a payout coupon you want to reuse, you can select it instead of configuring a new one.
Set up a credits reward
With Credits selected, you choose what kind of credit to give and how much.Choose the credit type
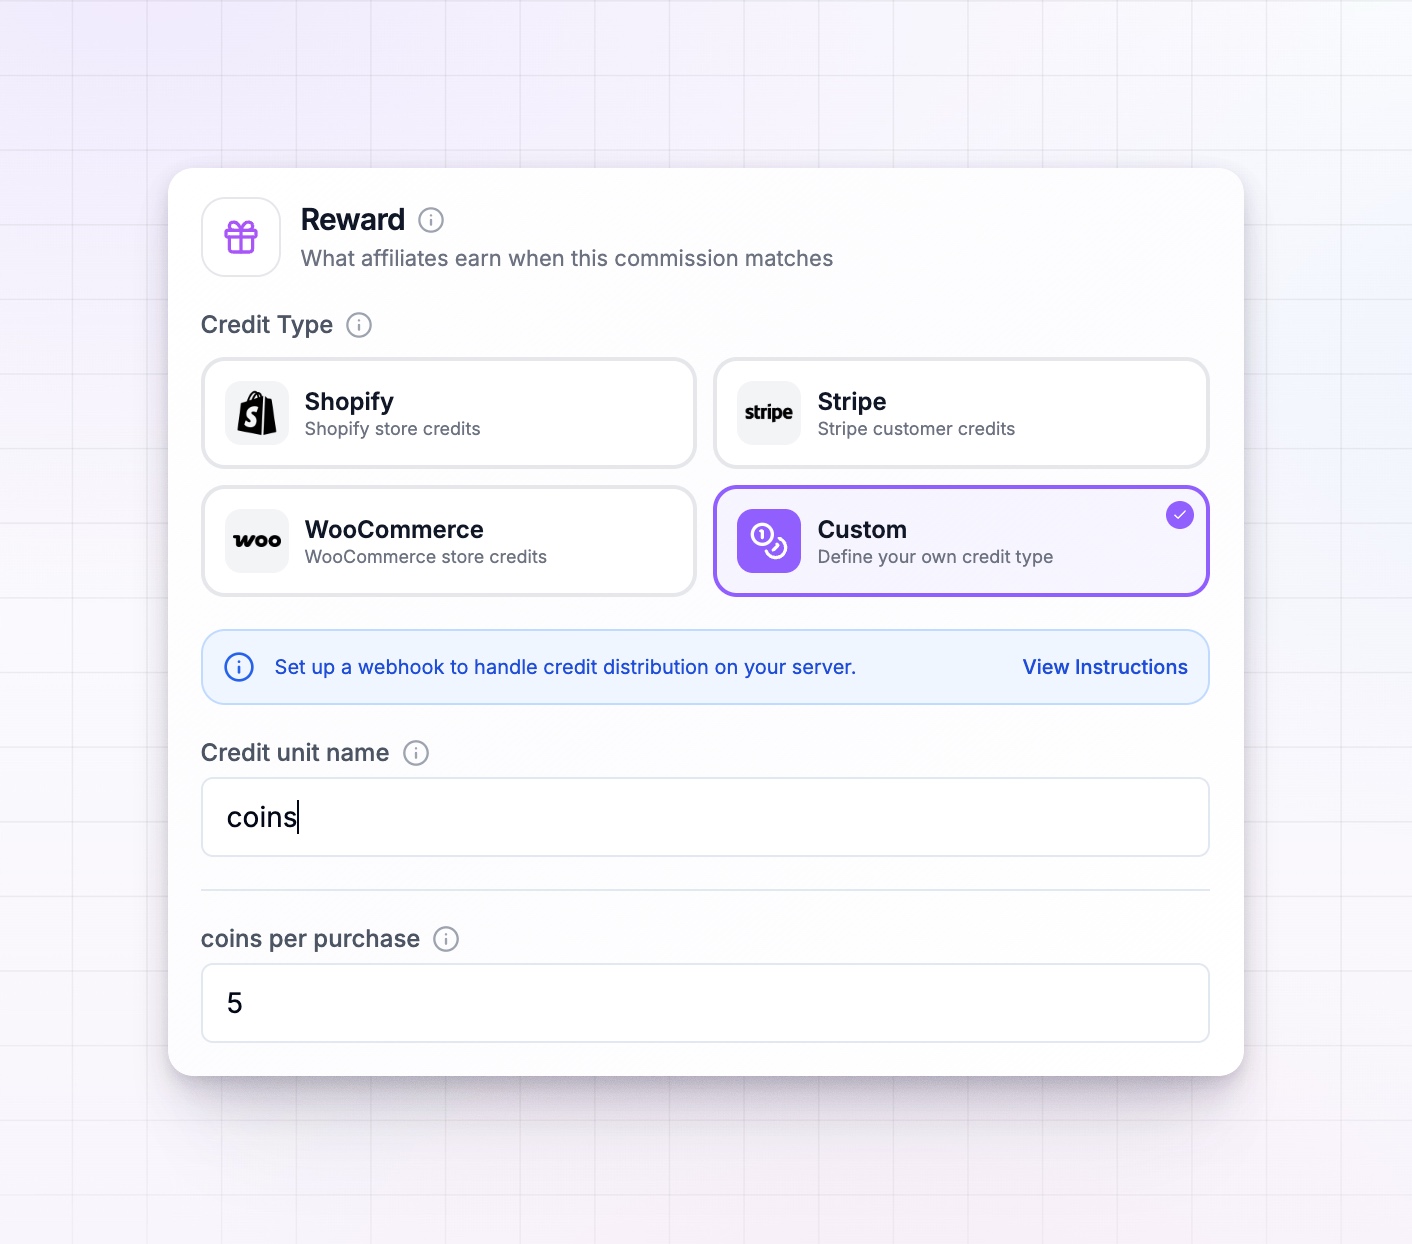
Under Credit Type, pick where the credit lives:- Shopify — store credit on the affiliate’s Shopify customer account.
- Stripe — a credit on the affiliate’s Stripe customer balance.
- WooCommerce — store credit in WooCommerce.
- Custom — your own credit or points system, which you top up yourself. Pick this to run something like coins, points, or AI credits.
coins, points, or AI credits). That name is used everywhere the reward is shown.
Set the amount
How you enter the amount depends on when affiliates earn the reward:- If they earn it on sign up, you set the credit given per sign-up.
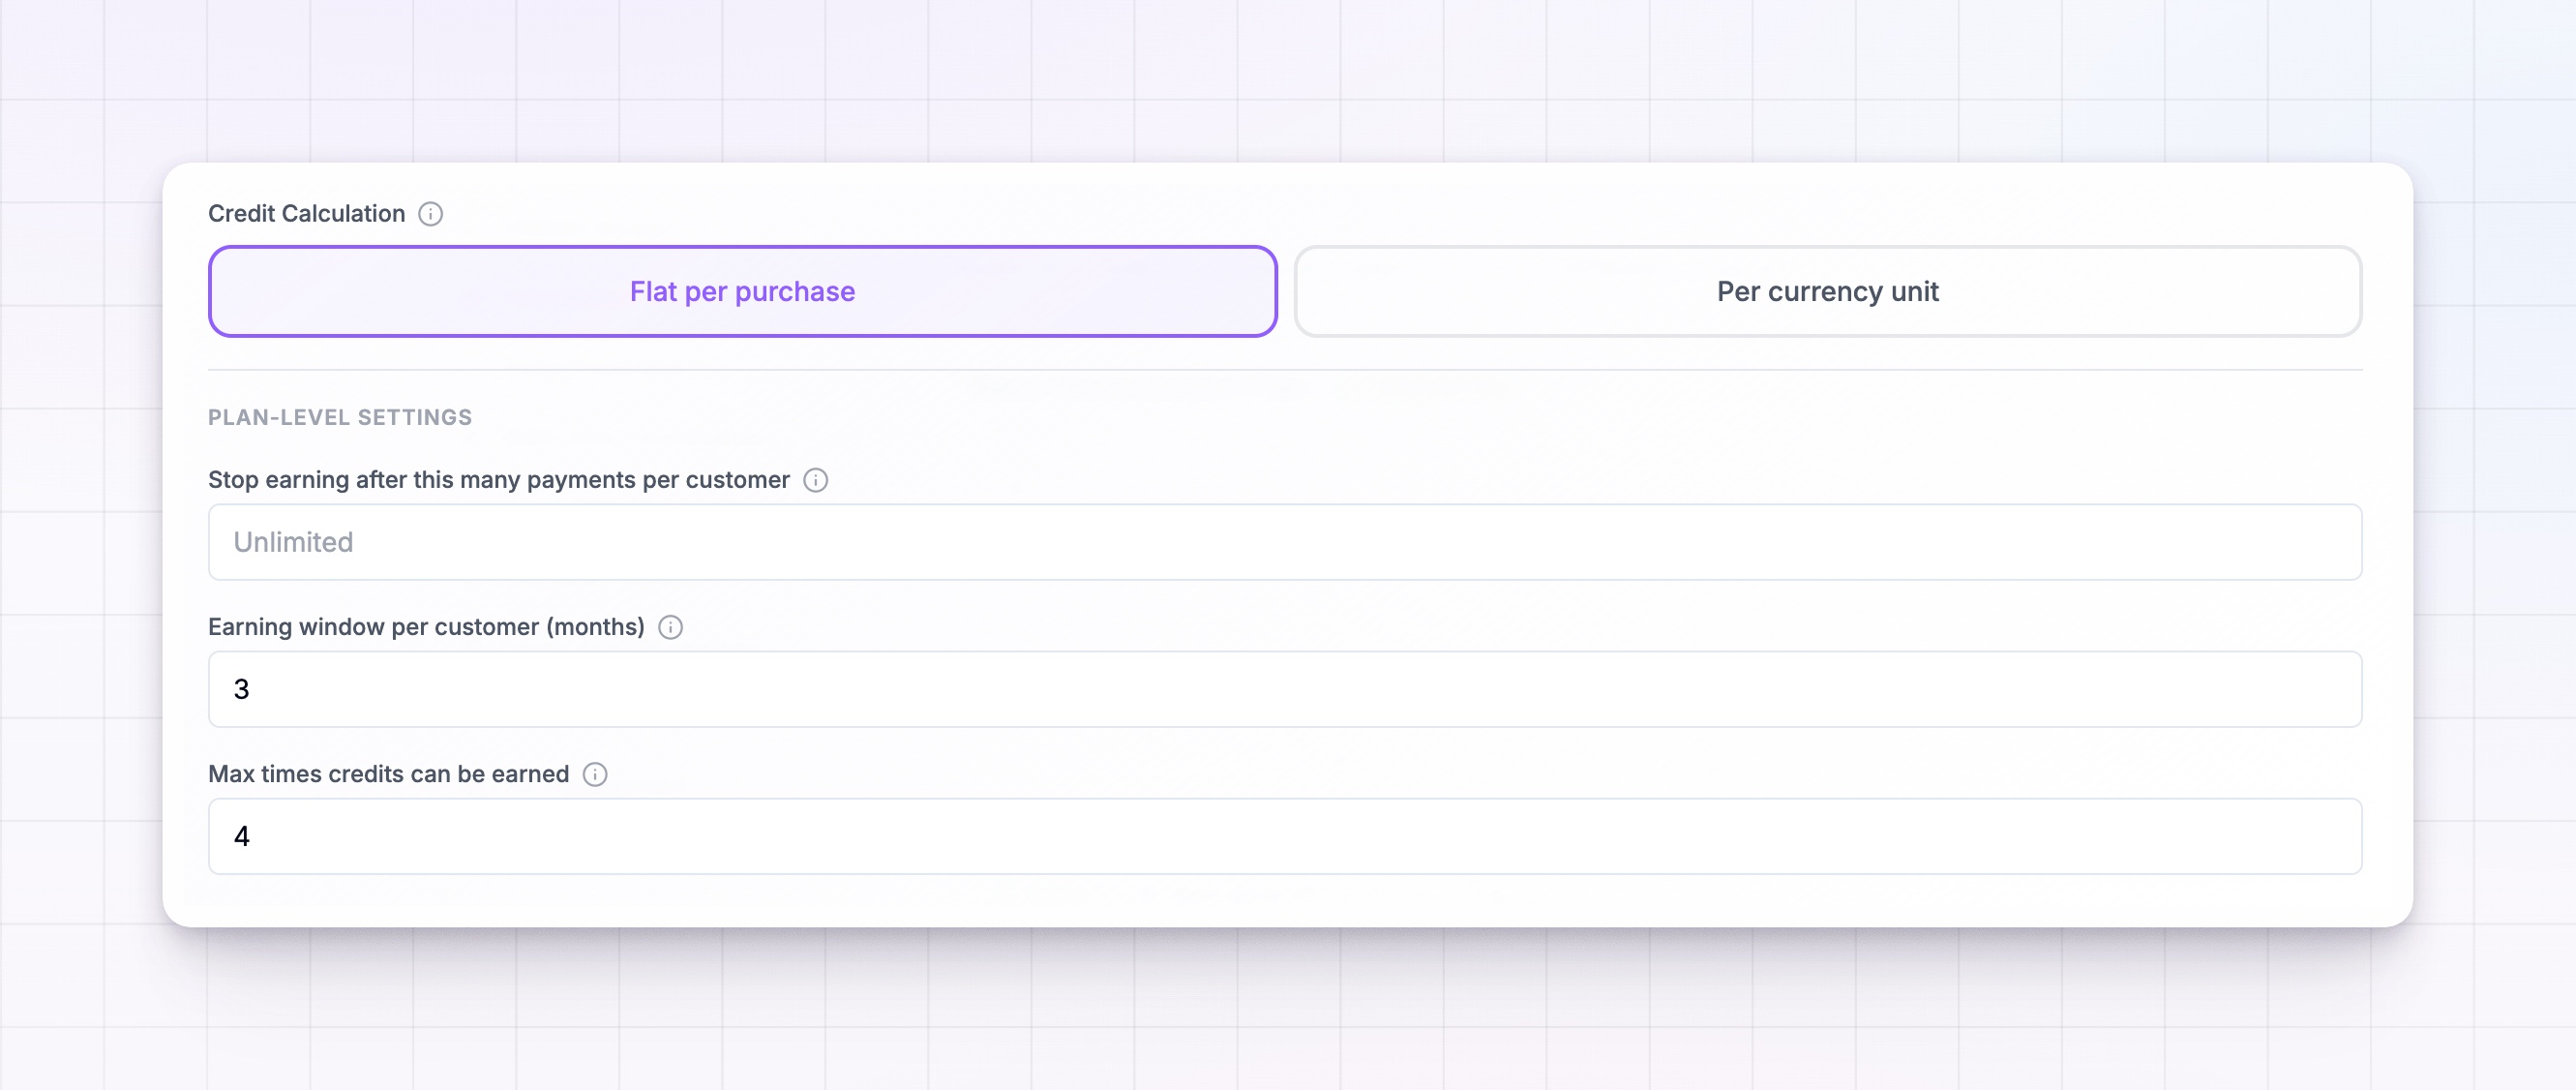
- If they earn it on purchase, a Credit Calculation choice appears:
- Flat per purchase — the same amount of credit for every qualifying purchase.
- Per currency unit — credit that scales with the order, for example a number of credits for each unit of currency the customer spends.
Decide when affiliates earn the reward
The When should affiliates earn this reward? field controls what triggers a reward. It has two options:- Sign Up — the affiliate earns when a referred customer signs up, before any purchase.
- Purchase — the affiliate earns when a referred customer buys.
 A couple of extra settings appear depending on your choice:
- For a coupon earned on Sign Up, you can set how many referred sign-ups are needed before one coupon is granted. Leave it at one to reward every sign-up.
- For any reward earned on Purchase, a Purchase Condition lets you reward the customer’s First Purchase only, or Every X Purchases within a number of months. Use this to reward repeat orders rather than the first sale alone.
Cap how much can be earned
Non-cash rewards can add up, so each plan has a Plan-Level Settings section where you set limits. Leave any field blank for no limit.- For coupons, you can cap the maximum number of coupons a single affiliate can earn.
- For credits, you can stop earning after a number of payments per customer, set an earning window in months per customer, and cap the maximum number of times credits can be earned overall.
 These caps protect your budget while still letting affiliates earn on ongoing referrals.
Approve rewards before they count
Open the Auto-approve settings panel to decide what happens the moment a reward is earned on this plan. The Auto approve rewards toggle works the same for non-cash rewards as for cash. When it’s on, earned rewards are accepted right away. When it’s off, each reward is held for your review, and a held reward won’t be fulfilled until you approve it. Turn it off if you want to check rewards yourself first.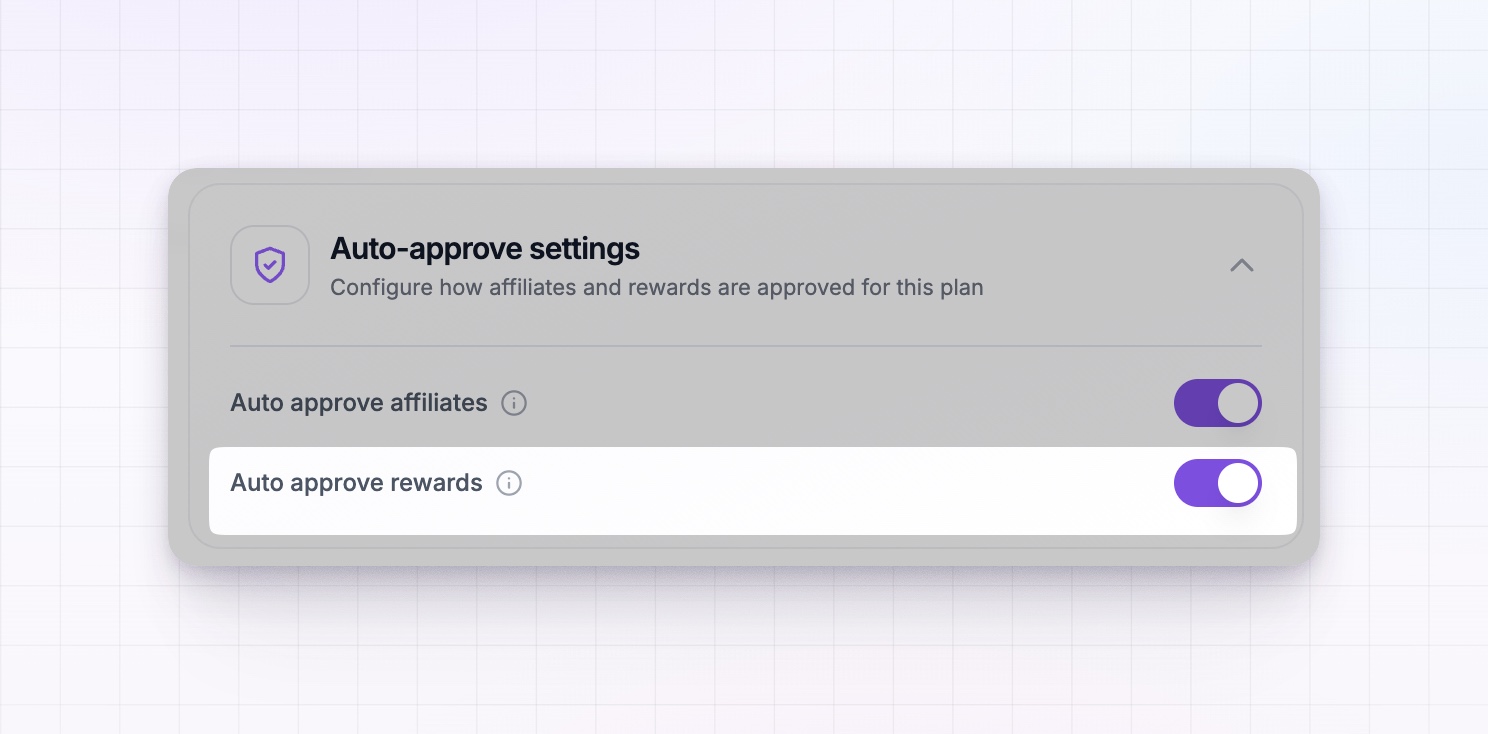
How each reward gets fulfilled
Approved non-cash rewards collect into payout batches, just like cash. When you pay a batch out, Referly handles each reward according to the source you chose in the plan. Here’s what happens per method, so you know what to expect: Coupons- Shopify — the coupon codes are created in your Shopify store and become available to affiliates in their portal.
- Stripe — the coupon is created as a Stripe coupon code.
- WooCommerce — a coupon is created in WooCommerce for each affiliate.
- API — the reward is stored and handed to you to create the code on your own system, then mark the batch as paid.
- Shopify — the amount is added as store credit to each affiliate’s Shopify customer account. The affiliate must already exist as a customer in your store.
- Stripe — the amount is added to each affiliate’s Stripe customer balance, matched by their payout email.
- WooCommerce — a single-use coupon for the credit amount is created for each affiliate, restricted to their payout email.
- Custom — you add the credit on your own system, then mark the batch as paid.
This is only the short version so you can plan your rewards. The full walk-through for running a non-cash payout, batch by batch and method by method, lives in the payouts section.
Related
Commission plans overview
See every setting inside a commission plan and how plans are assigned.
Conditional rules
Vary a reward by order amount, product, coupon, or landing page.
Payouts overview
Learn how earned rewards are paid out, including non-cash rewards.
Connect an integration
Link Shopify, Stripe, or WooCommerce to create coupons and credits automatically.