

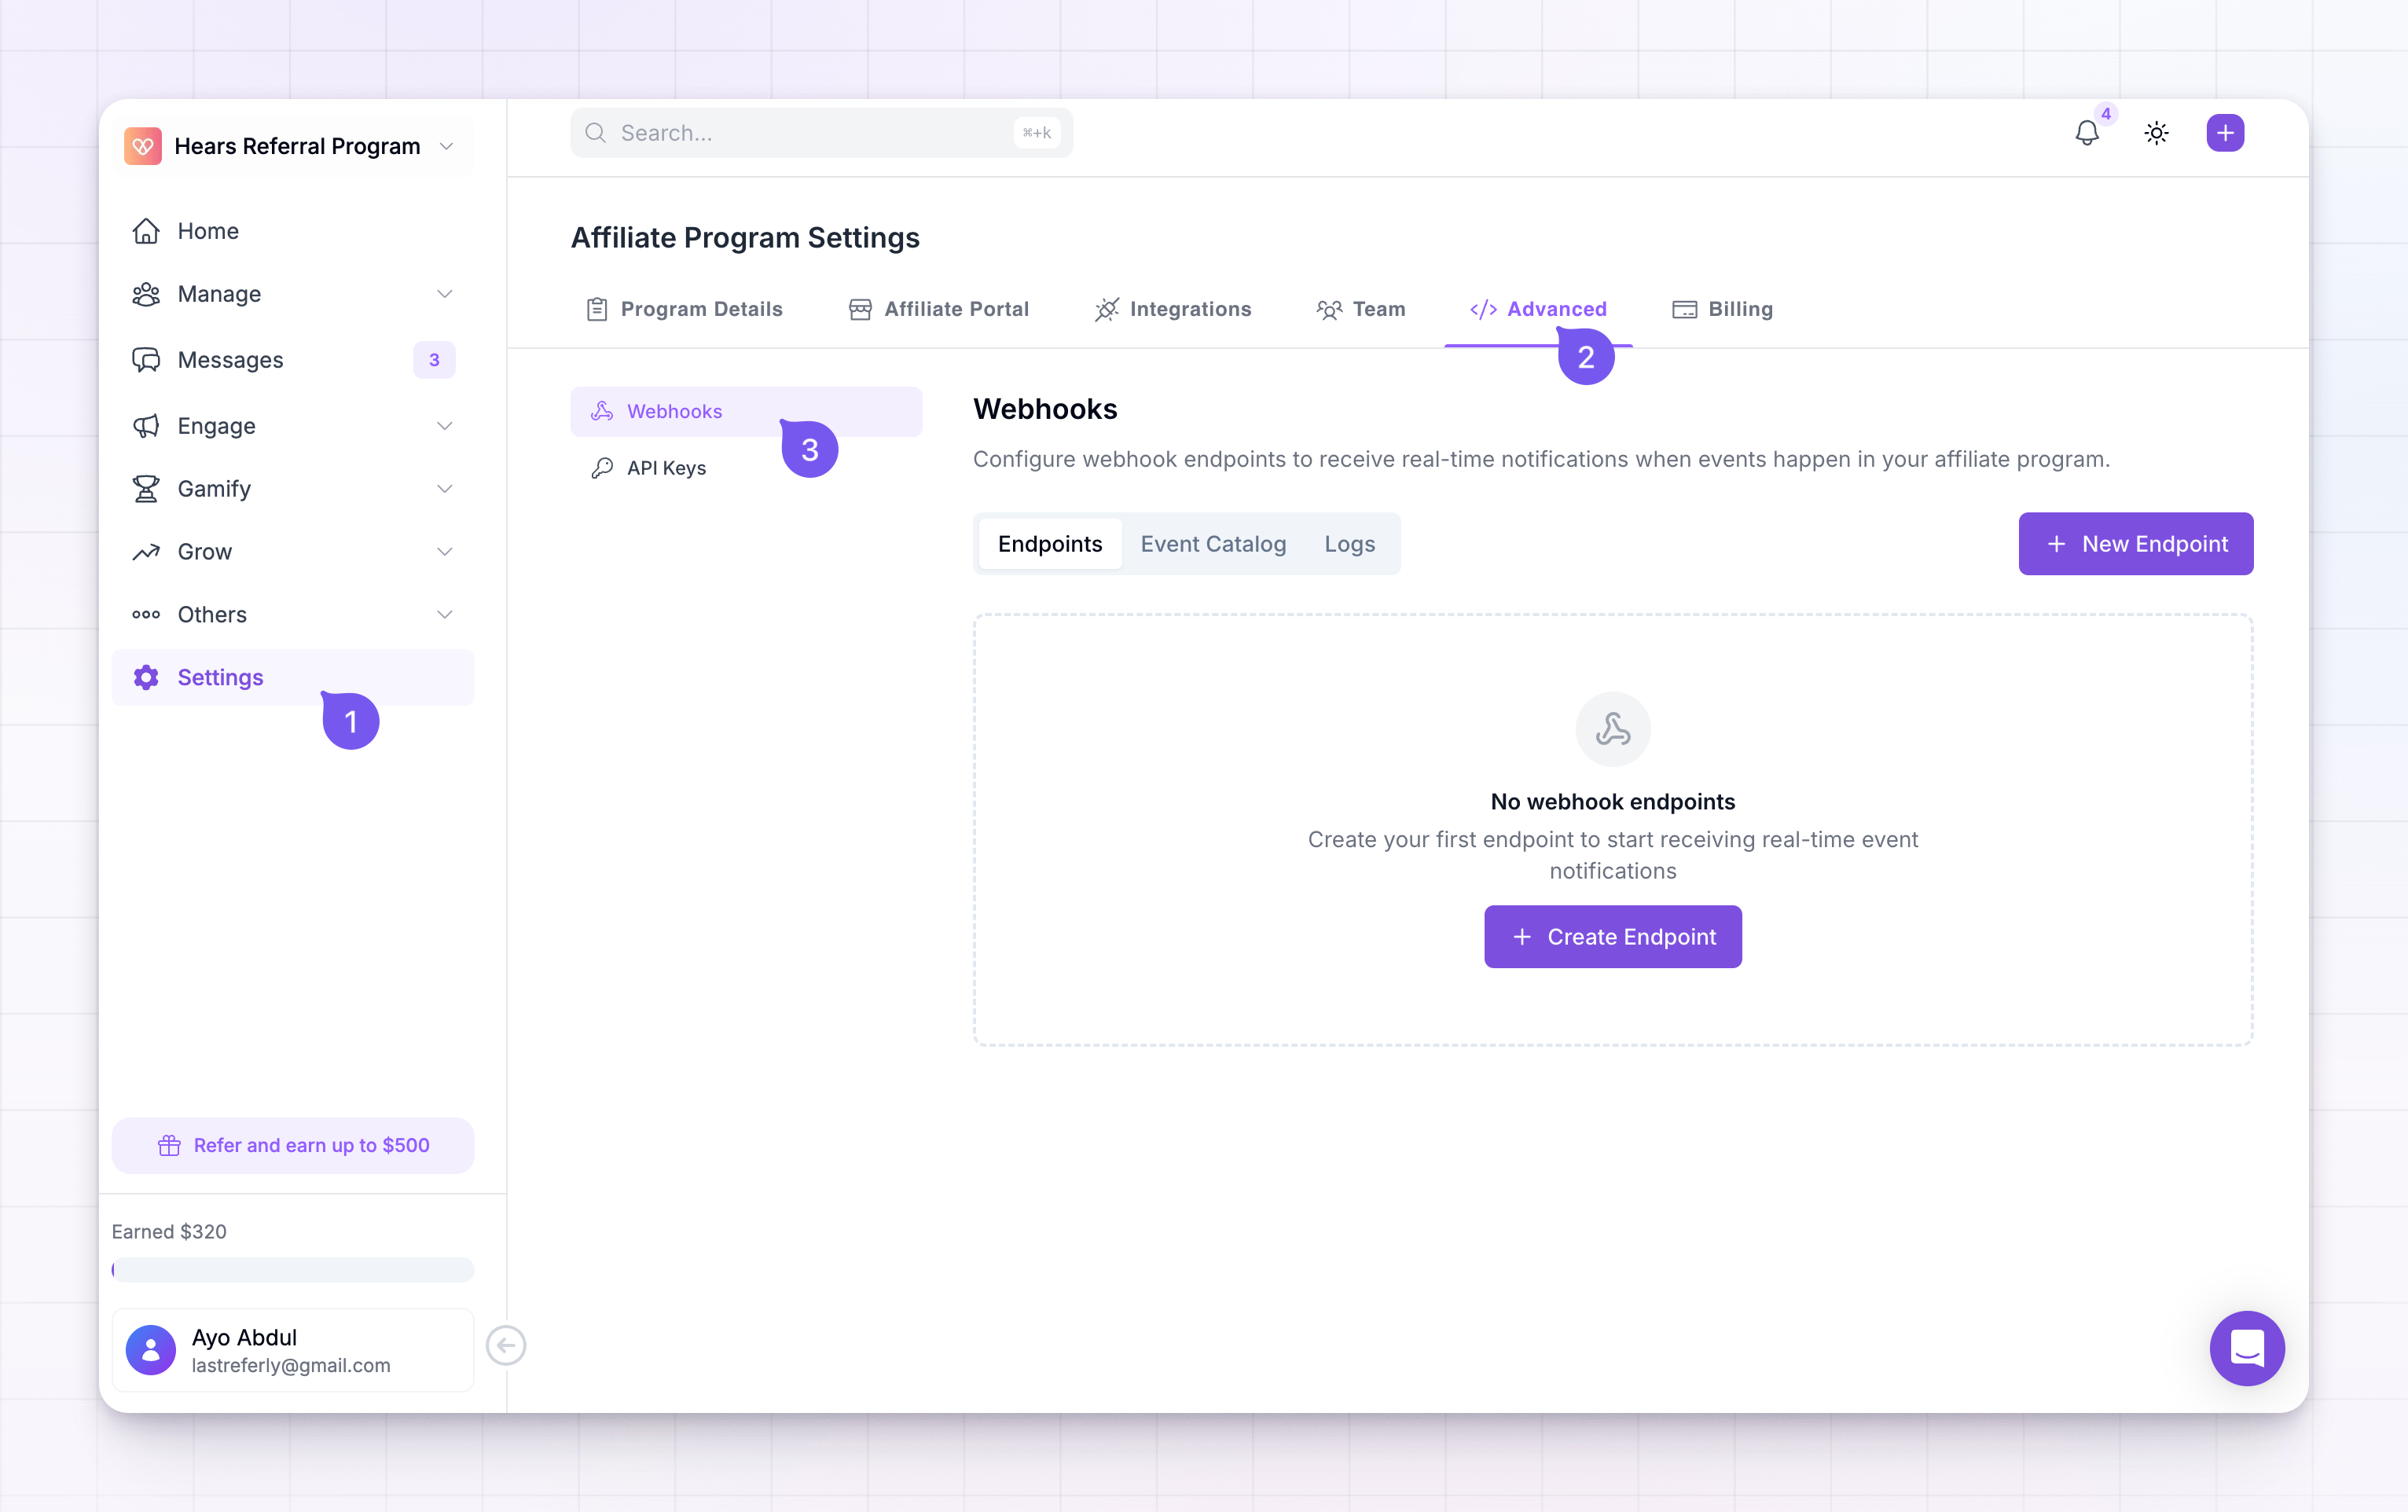
Creating endpoints is part of the Business and Agency plans, and it isn’t included during a free trial. On other plans the New Endpoint button is locked and selecting it opens an upgrade prompt. See plans and features.
What you can be notified about
There are fifteen events in five families, and each family covers something being created, changed, or removed:
Pick only the events you’ll actually act on. Every event you tick is another message your system has to handle.
Add an endpoint
Select New Endpoint at the top right of the Endpoints tab. If you haven’t created one yet, there’s a Create Endpoint button in the middle of the screen instead.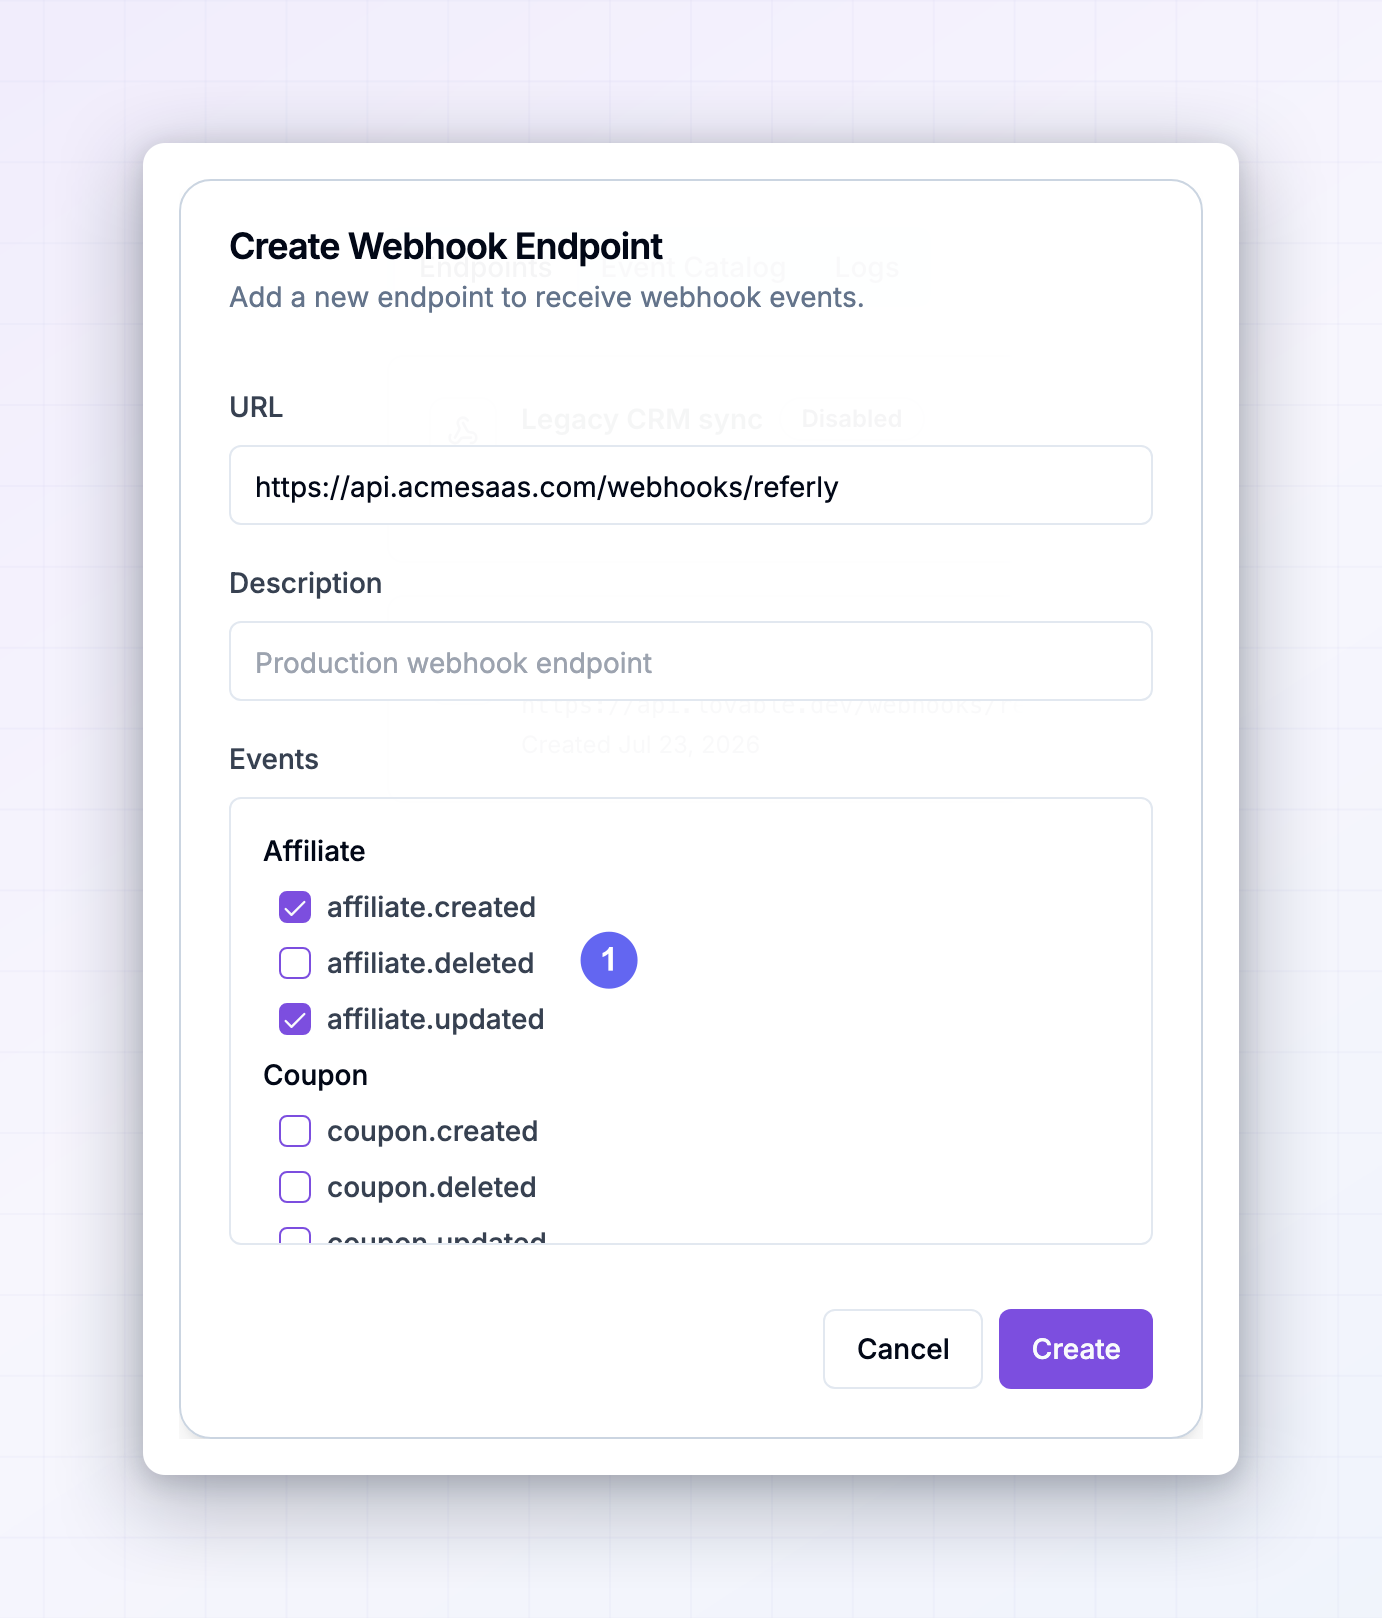
1
Enter the URL
In URL, paste the web address that should receive the events, such as
https://example.com/webhook. It has to be reachable from the internet — an address that only works on your own machine won’t receive anything.2
Name it
Use Description to say what this endpoint is for, like “Production webhook endpoint”. This is the name you’ll see in the list, so make it obvious which system it points at.
3
Choose the events
Under Events, tick every event this address should receive. They’re grouped by family, so you can scroll to the group you want. You have to pick at least one.
4
Create it
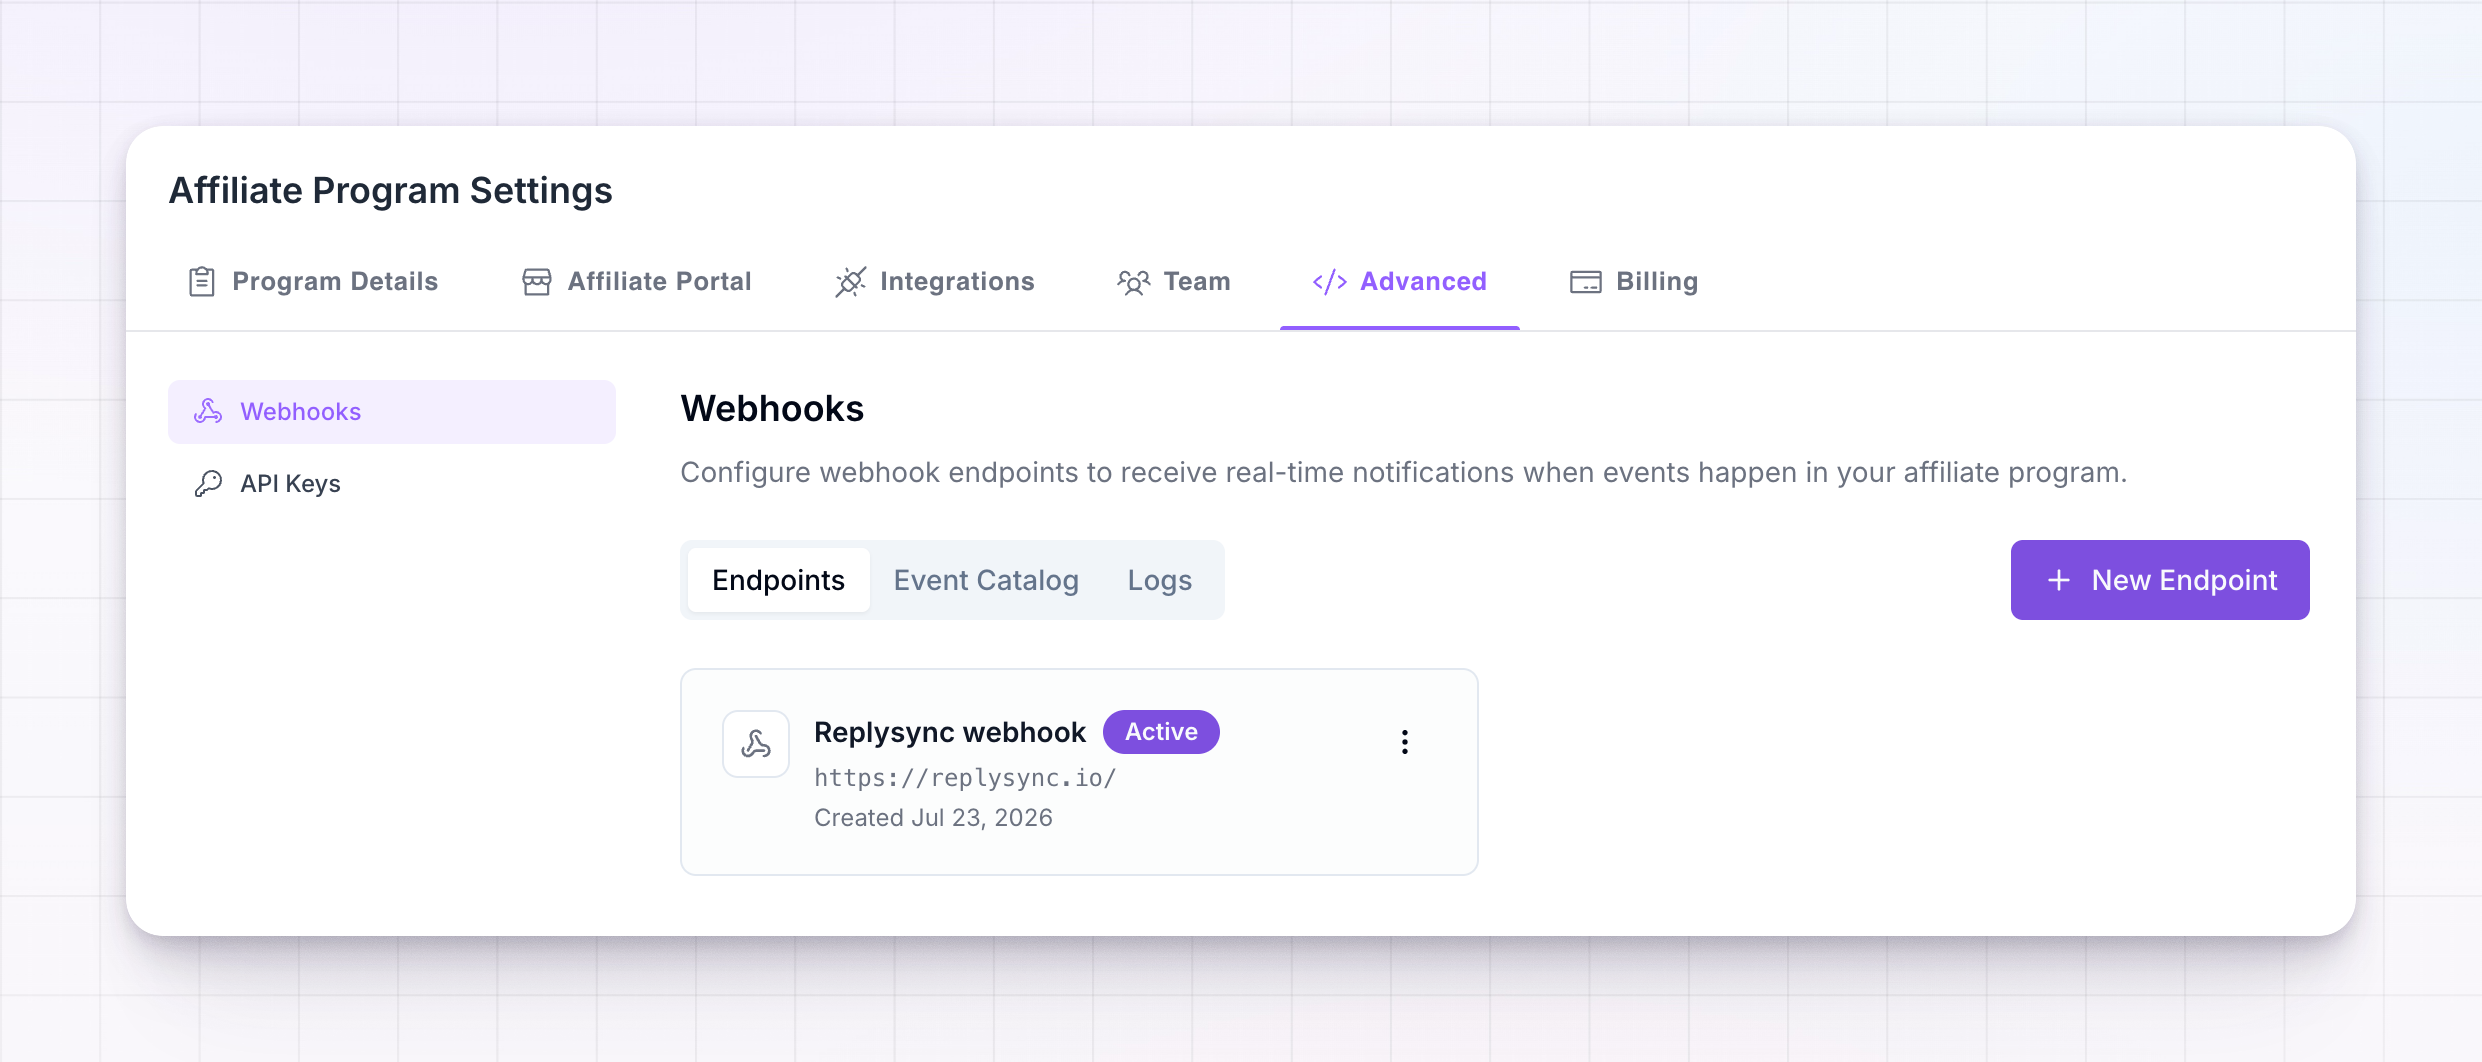
Select Create. The endpoint appears in the list right away, marked Active, and starts receiving events immediately.
Browse the event catalog
The Event Catalog tab lists every event type with a description and an example of the information it carries. Open one before you build anything — it shows your developer exactly which fields to expect, so they don’t have to guess.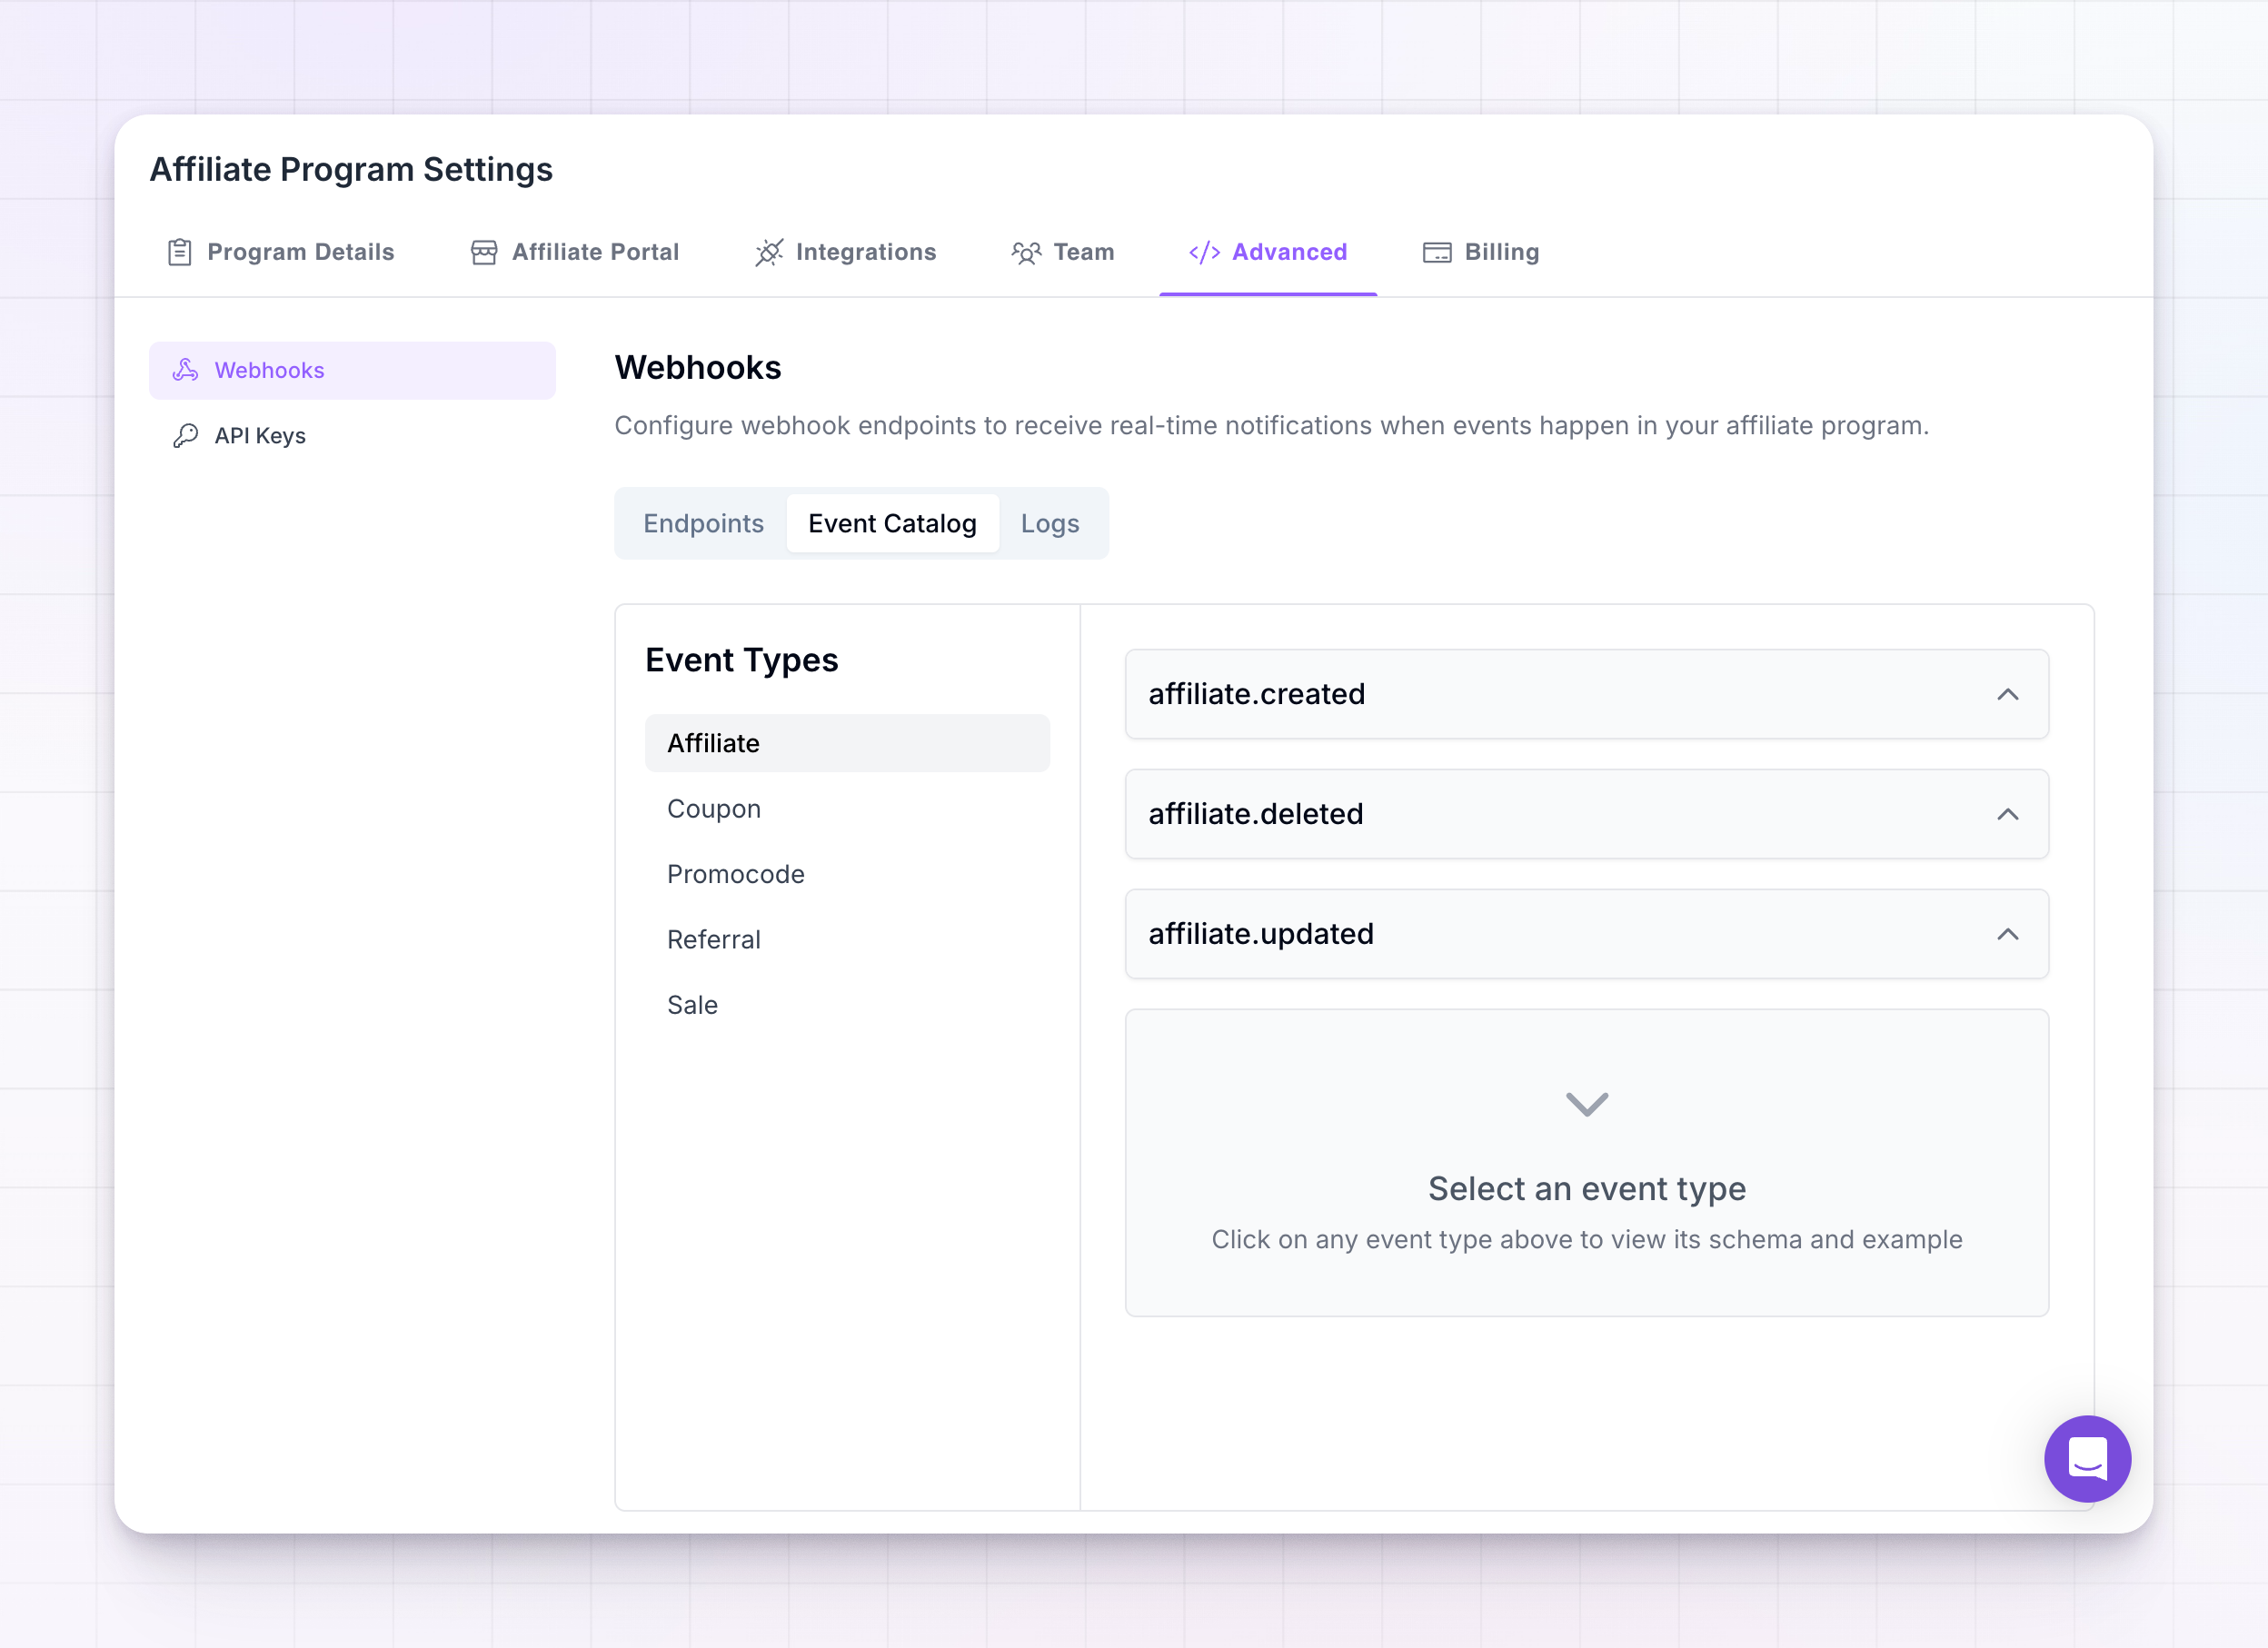
Open an endpoint’s details
Select the … button on an endpoint card and choose View Details. The detail screen shows:- Endpoint URL — the address events are sent to, with a button to copy it.
- Signing Secret — hidden behind dots until you select the eye icon. There are buttons to copy it and to replace it with a new one.
- Registered Events — the events this endpoint is subscribed to, as small tags.
- An Active or Disabled badge at the top right, next to a … menu with Disable, Edit, and Delete.
 Use Edit to change the address, the name, or which events it receives. Changes apply to everything sent from then on.
Protect your signing secret
Every event Referly sends is stamped with your endpoint’s signing secret. Your system uses that secret to confirm the event genuinely came from Referly, and not from someone pretending to be us. Without that check, anyone who learns your address could send you fake sales. Give the secret to your developer through a password manager, never over email or chat. The technical steps are in verifying signatures.Send a test event
Before you rely on an endpoint, prove it works. On the endpoint’s detail screen, open the Testing tab, choose an event from Event Type, and select Send Test Event. Referly sends a realistic example of that event to your address. The example data is shown on screen underneath, so you can compare it against what your system received.When the “Test webhook sent successfully” message appears, the event has left Referly. Check the Logs tab to see whether your server accepted it.
Check what’s been delivered
The Logs tab lists everything sent for this program, newest first, with the event type, a message reference, the time, and a Succeeded or Failed status. Use the Filter dropdown to narrow it to Succeeded or Failed only.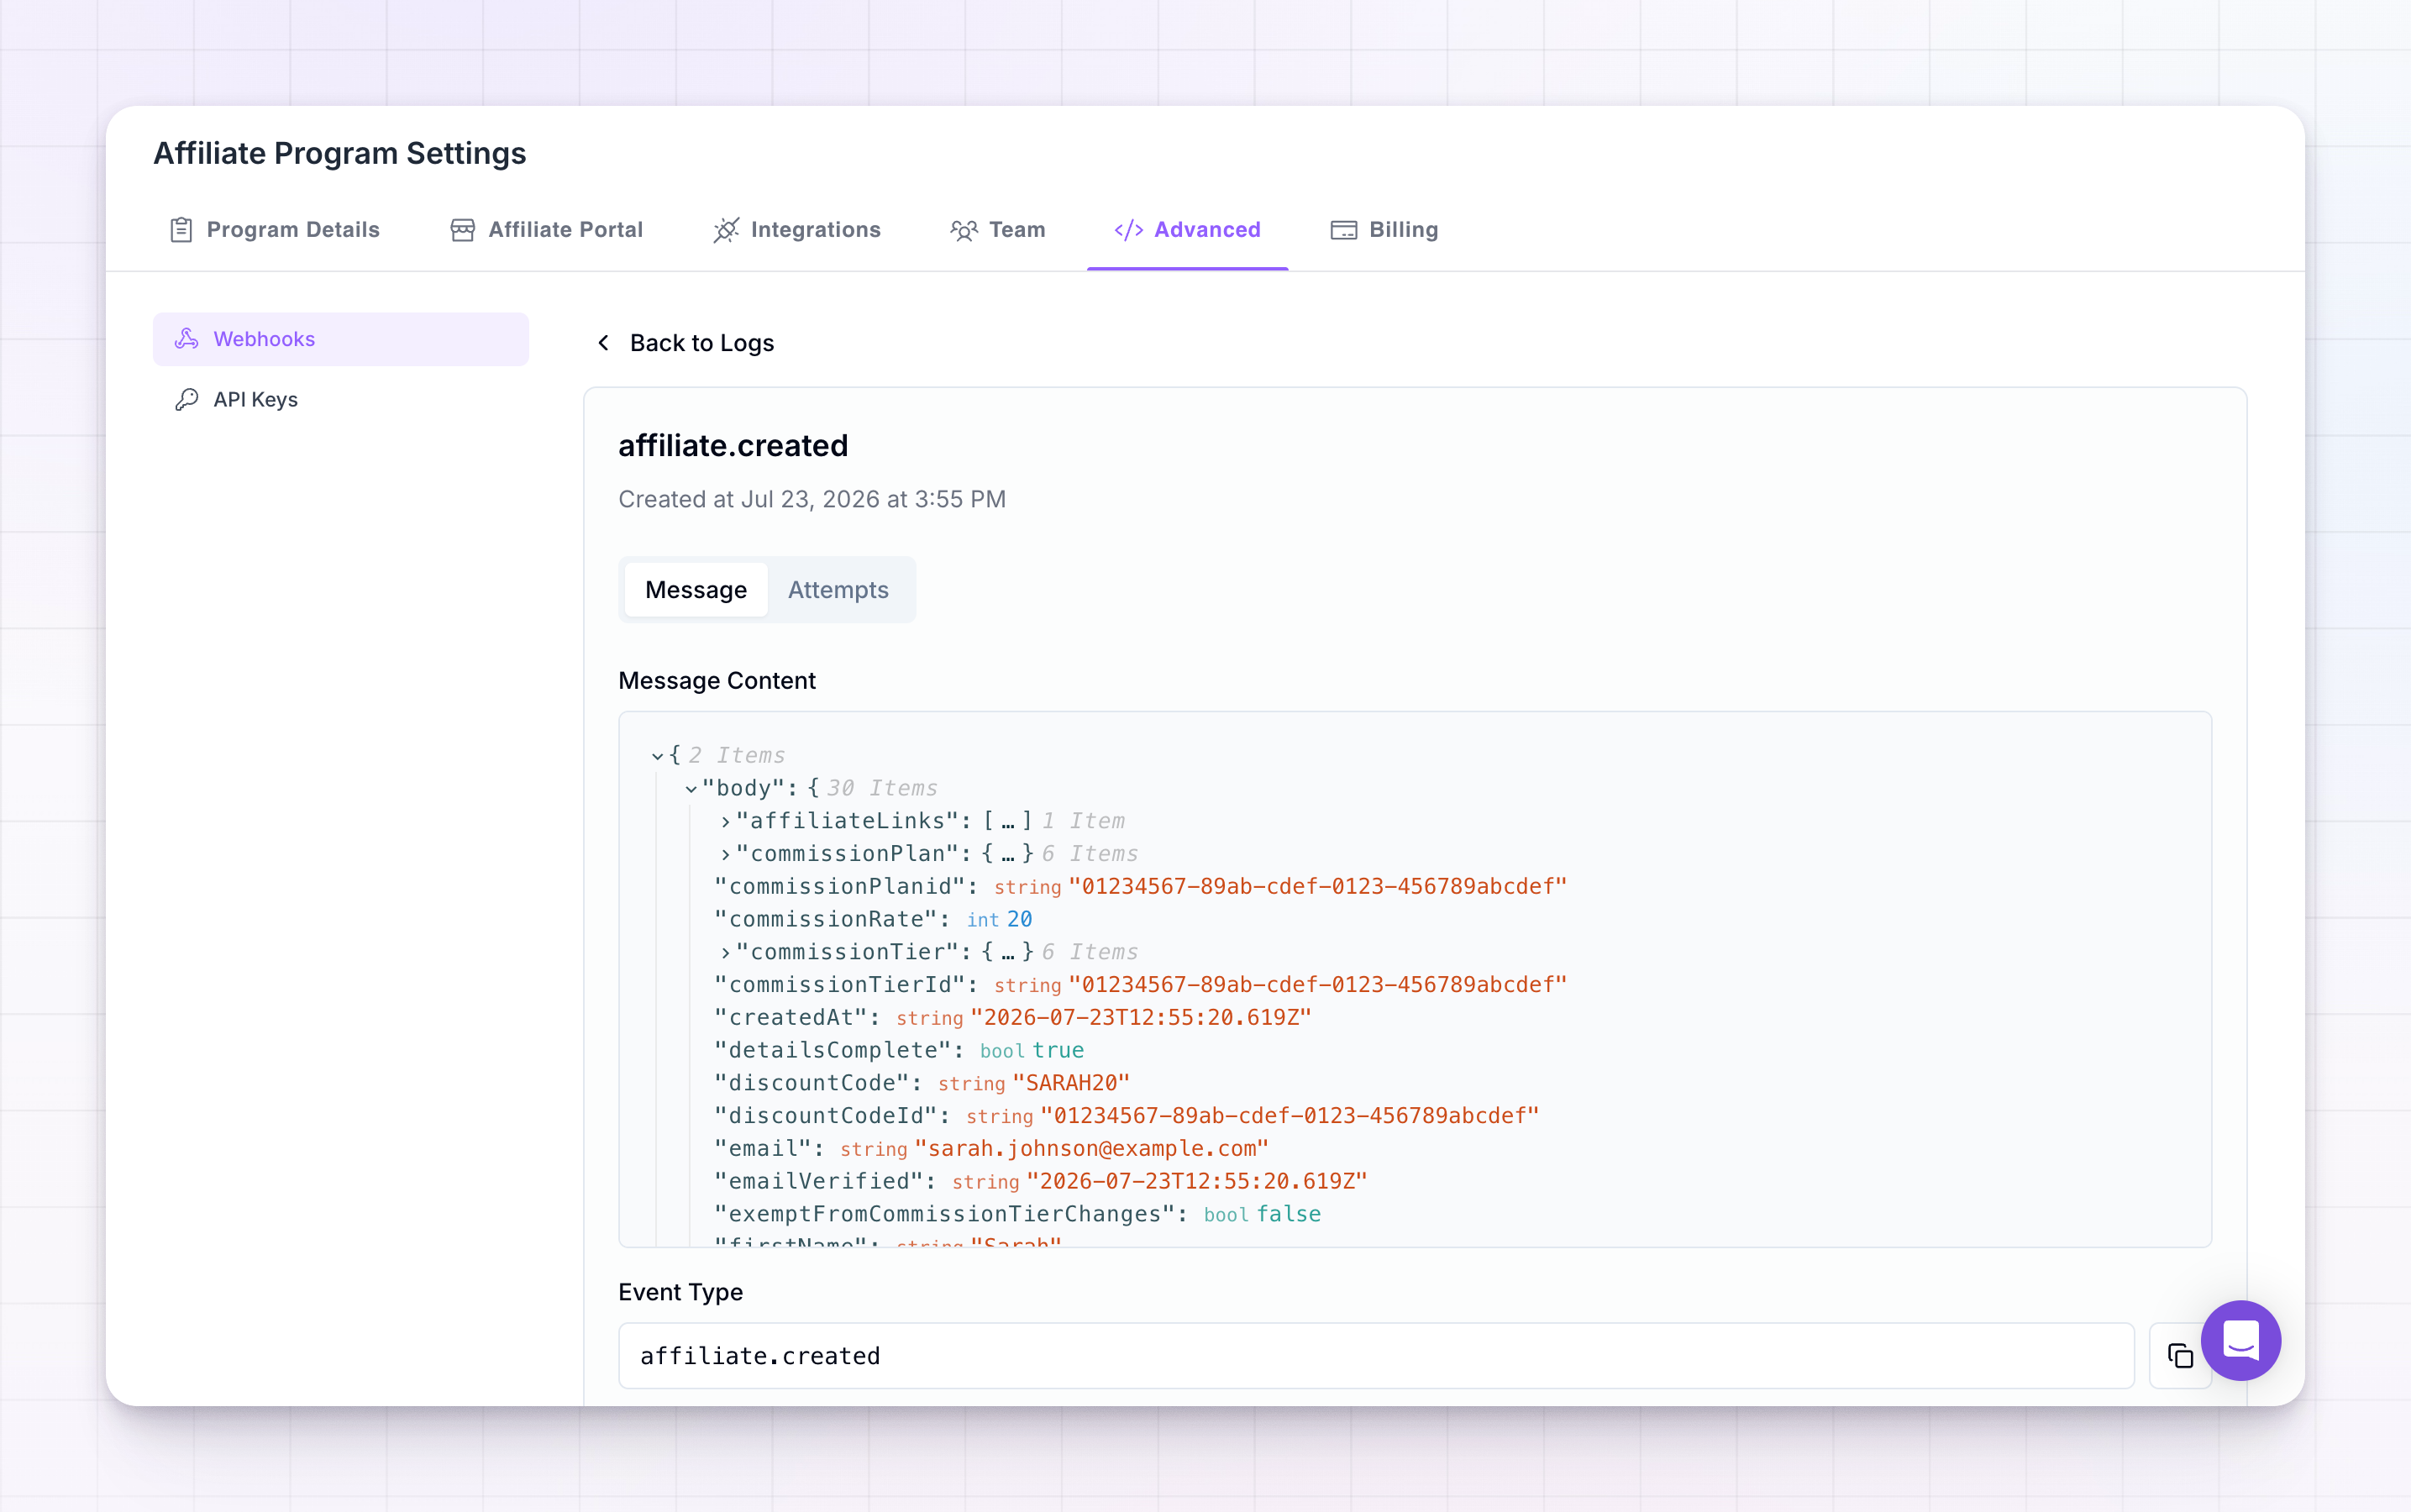 Select a row to open the full record. The Message tab shows the information that was sent, and the Attempts tab lists every delivery try with its status, the address, the time, and the response your server gave back. That response is the fastest way to see why something failed.
An endpoint’s own detail screen also has a Recent Activity list showing its last few deliveries, so you can check one endpoint without wading through everything.
Select a row to open the full record. The Message tab shows the information that was sent, and the Attempts tab lists every delivery try with its status, the address, the time, and the response your server gave back. That response is the fastest way to see why something failed.
An endpoint’s own detail screen also has a Recent Activity list showing its last few deliveries, so you can check one endpoint without wading through everything.
Understand retries and resends
If your server doesn’t accept an event, the delivery is marked Failed and Referly tries again automatically over the following hours. A short outage on your side usually sorts itself out with no action from you. When automatic tries are exhausted, or you’ve fixed a problem and want the event through now, select Resend on the log row or on an individual attempt. Referly sends the same event again.Because an event can arrive more than once, your system should be able to receive the same event twice without recording the sale twice. Every message carries a reference your developer can use to spot repeats — see retries and logs.
Disable or delete an endpoint
Select the … button on an endpoint card, or on its detail screen, and choose:- Disable — stops events going to that address while keeping its settings, secret, and history. Choose Enable on the same menu to turn it back on. This is the right choice while your server is down or being rebuilt.
- Delete — removes the endpoint entirely. You’ll be asked to confirm.
Webhooks, the API, and Zapier
These three overlap, so it helps to know which one you want:- Webhooks push news to you the moment it happens. Best when your system needs to react instantly — provisioning an account, updating a dashboard, paying a bonus.
- The API works the other way round: your system asks Referly for data, or sends data in, whenever it wants. Best for reports, imports, and recording sales.
- Zapier and Make are webhooks with the code already written. Best when you want events landing in Slack, a spreadsheet, or your CRM without building anything.
Related
API keys
Let other tools read and write your program data.
Webhooks for developers
Event structure, signature checks, and retry behaviour.
Zapier
Connect Referly to thousands of apps without code.
Plans and features
Check whether your plan includes webhooks.