

The referral widget is available on the Business plan and higher. See plans and features for what each plan includes.
What your customers see
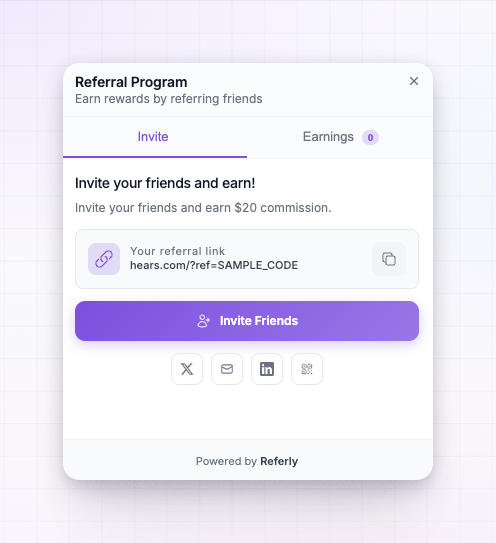
The widget shows up as a floating button in a corner of your site. Selecting it opens a panel with two tabs, Invite and Earnings.The Invite tab
This is where an affiliate gets everything they need to start promoting you:- Their personal referral link, ready to copy.
- Their coupon code, if you’ve attached one to the widget.
- Buttons to share straight to X, LinkedIn, or email, and to show a QR code for sharing on mobile.
- An Invite Friends option that lets them email up to ten friends at once, with a personal note.
The Earnings tab
The Earnings tab shows an affiliate how they’re doing — their total earned, how many people they’ve referred, and how many clicks their link has had. From here they can also add their payout details so they can get paid.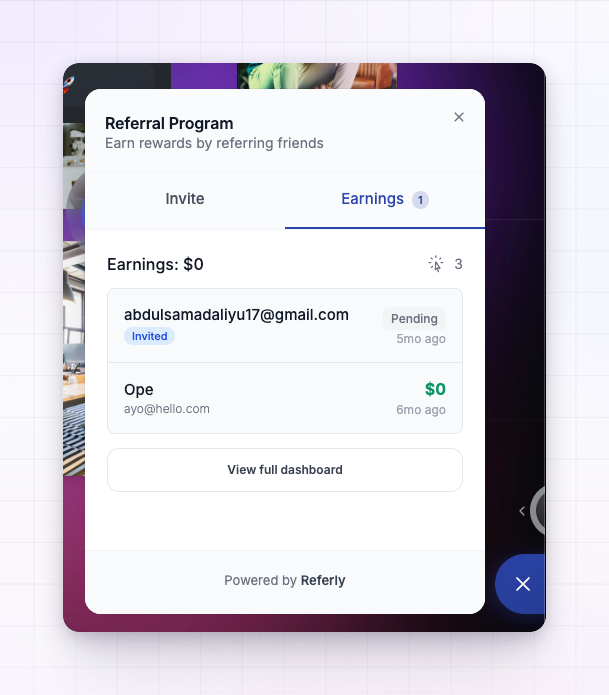
The invitation popup
The widget has a second job. When someone lands on your site through an affiliate’s referral link, you can greet them with an invitation popup — a small welcome that shows who invited them and the discount they’ve unlocked. It’s a warm first impression that nudges new visitors to sign up.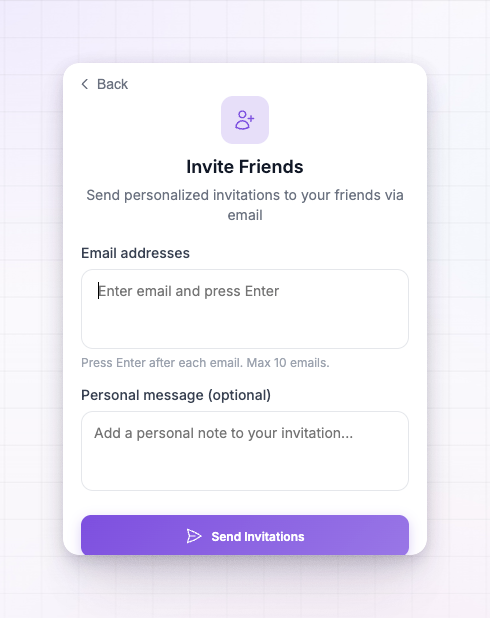 You control the greeting, the discount message, the “invited by” line, and an optional call-to-action button. All of this is covered in Customize the widget.
Where you set it up
Everything for the widget lives in one place. From your campaign dashboard, open Widget in the left sidebar. The screen has two tabs: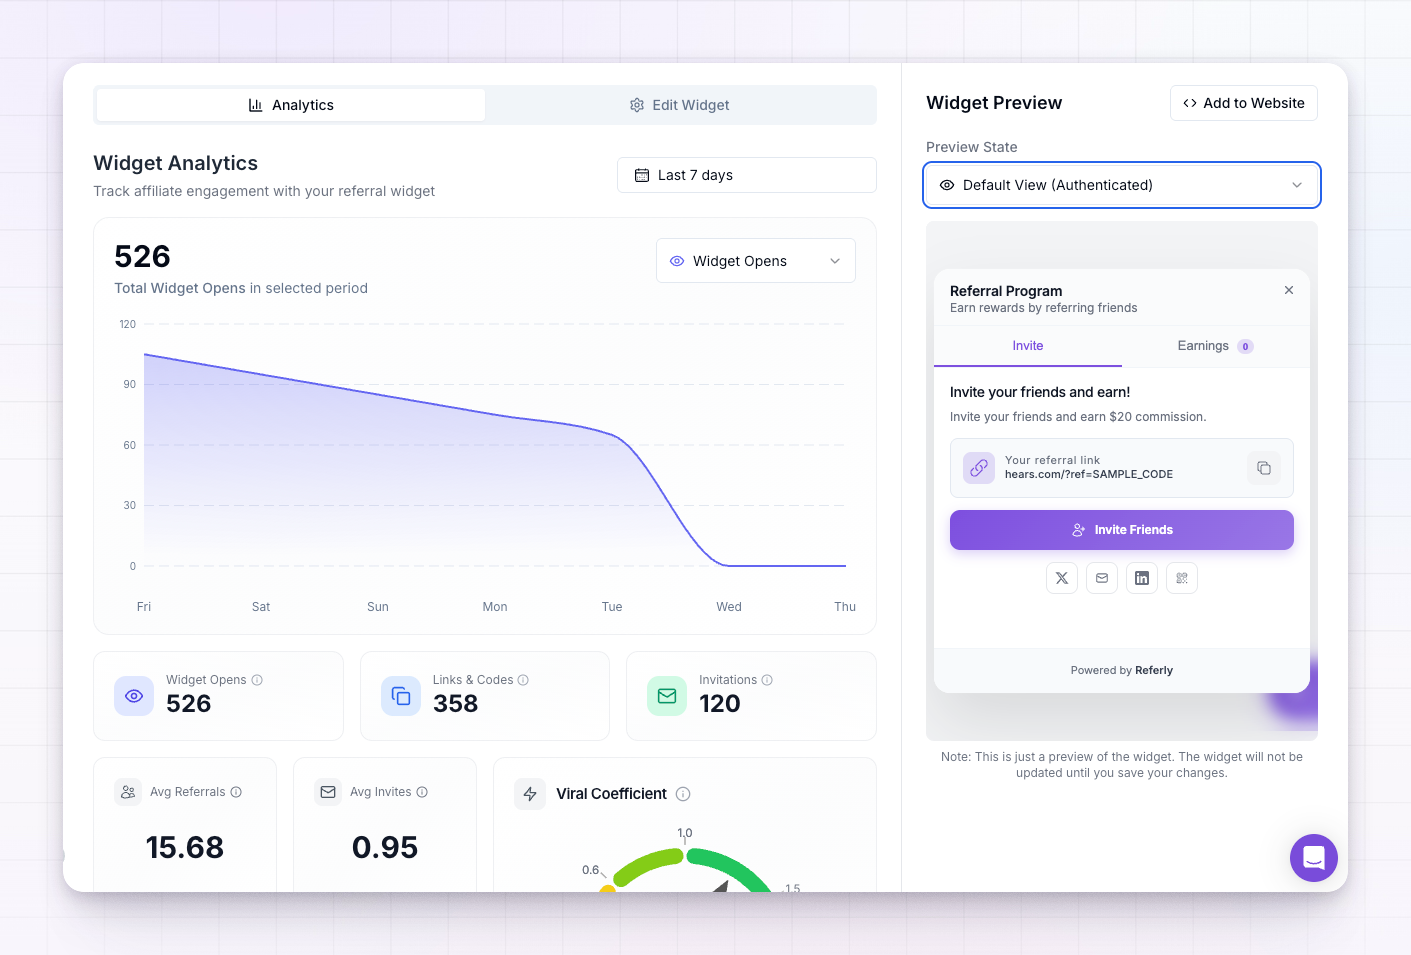
- Edit Widget is where you turn the widget on, choose its colors and position, write its text, pick a coupon, and set up the invitation popup.
- Analytics shows how the widget is performing — how many times it’s been opened, how many links and coupons were copied, how many invitations went out, and which affiliates are driving the most activity.
Getting started
There are three steps to going live, each with its own guide:1
Customize it
Set the widget’s colors, position, wording, and which pages it appears on. See Customize the widget.
2
Install it
Add two short snippets to your site so the widget shows up for your customers. See Install the widget.
3
Let affiliates in
Understand how customers verify their email to reach their referral link and earnings. See Email verification.
Related
Install the widget
Add the widget to your site with two short snippets.
Customize the widget
Change its colors, position, wording, and where it appears.
Email verification
How affiliates confirm their email inside the widget.
Coupons overview
Attach a discount code affiliates can share from the widget.