

New to migrating in general? Start with the Migration overview for how imports work, then come back here for the Trackdesk-specific steps.
Before you start
You’ll need:- Admin access to your Trackdesk account, so you can open its settings and copy your identifiers.
- Your Referly program open in the dashboard, ready to import into.
- A few minutes. Larger programs take longer to pull across, but the import runs in the background — you don’t have to wait on the screen.
Get your API key and tenant ID from Trackdesk
Both details live behind the same button in Trackdesk, called Your Trackdesk identifiers.1
Log in to Trackdesk
Sign in to your Trackdesk account as an admin.
2
Open Settings
Go to your Settings page.
3
Open Your Trackdesk identifiers
Select Your Trackdesk identifiers in the top-right corner of the Settings page. A panel opens showing your identifiers, including your personal access token (your API key) and your tenant ID.
4
Copy your API key
Copy your personal access token from that panel — this is the API key Referly asks for. If you’d rather manage tokens in one place, you can also go to Settings → Integrations → Personal tokens and create a new token there. Treat it like a password.
5
Copy your tenant ID
Copy your tenant ID from the same panel. Your tenant ID is the part of your Trackdesk web address before
.trackdesk.com — so if you sign in at my-program.trackdesk.com, your tenant ID is my-program.If your API key ever gets exposed, delete it in Trackdesk’s Personal tokens section and generate a fresh one, then reconnect in Referly with the new key. Your tenant ID doesn’t change.
Open the import tool and choose Trackdesk
1
Open the import tool
In your Referly dashboard, select the plus (+) button in the top bar, then choose Import Data. You can also select Import from the top of your Affiliates, Customers, or Sales pages.
2
Pick Trackdesk as your source
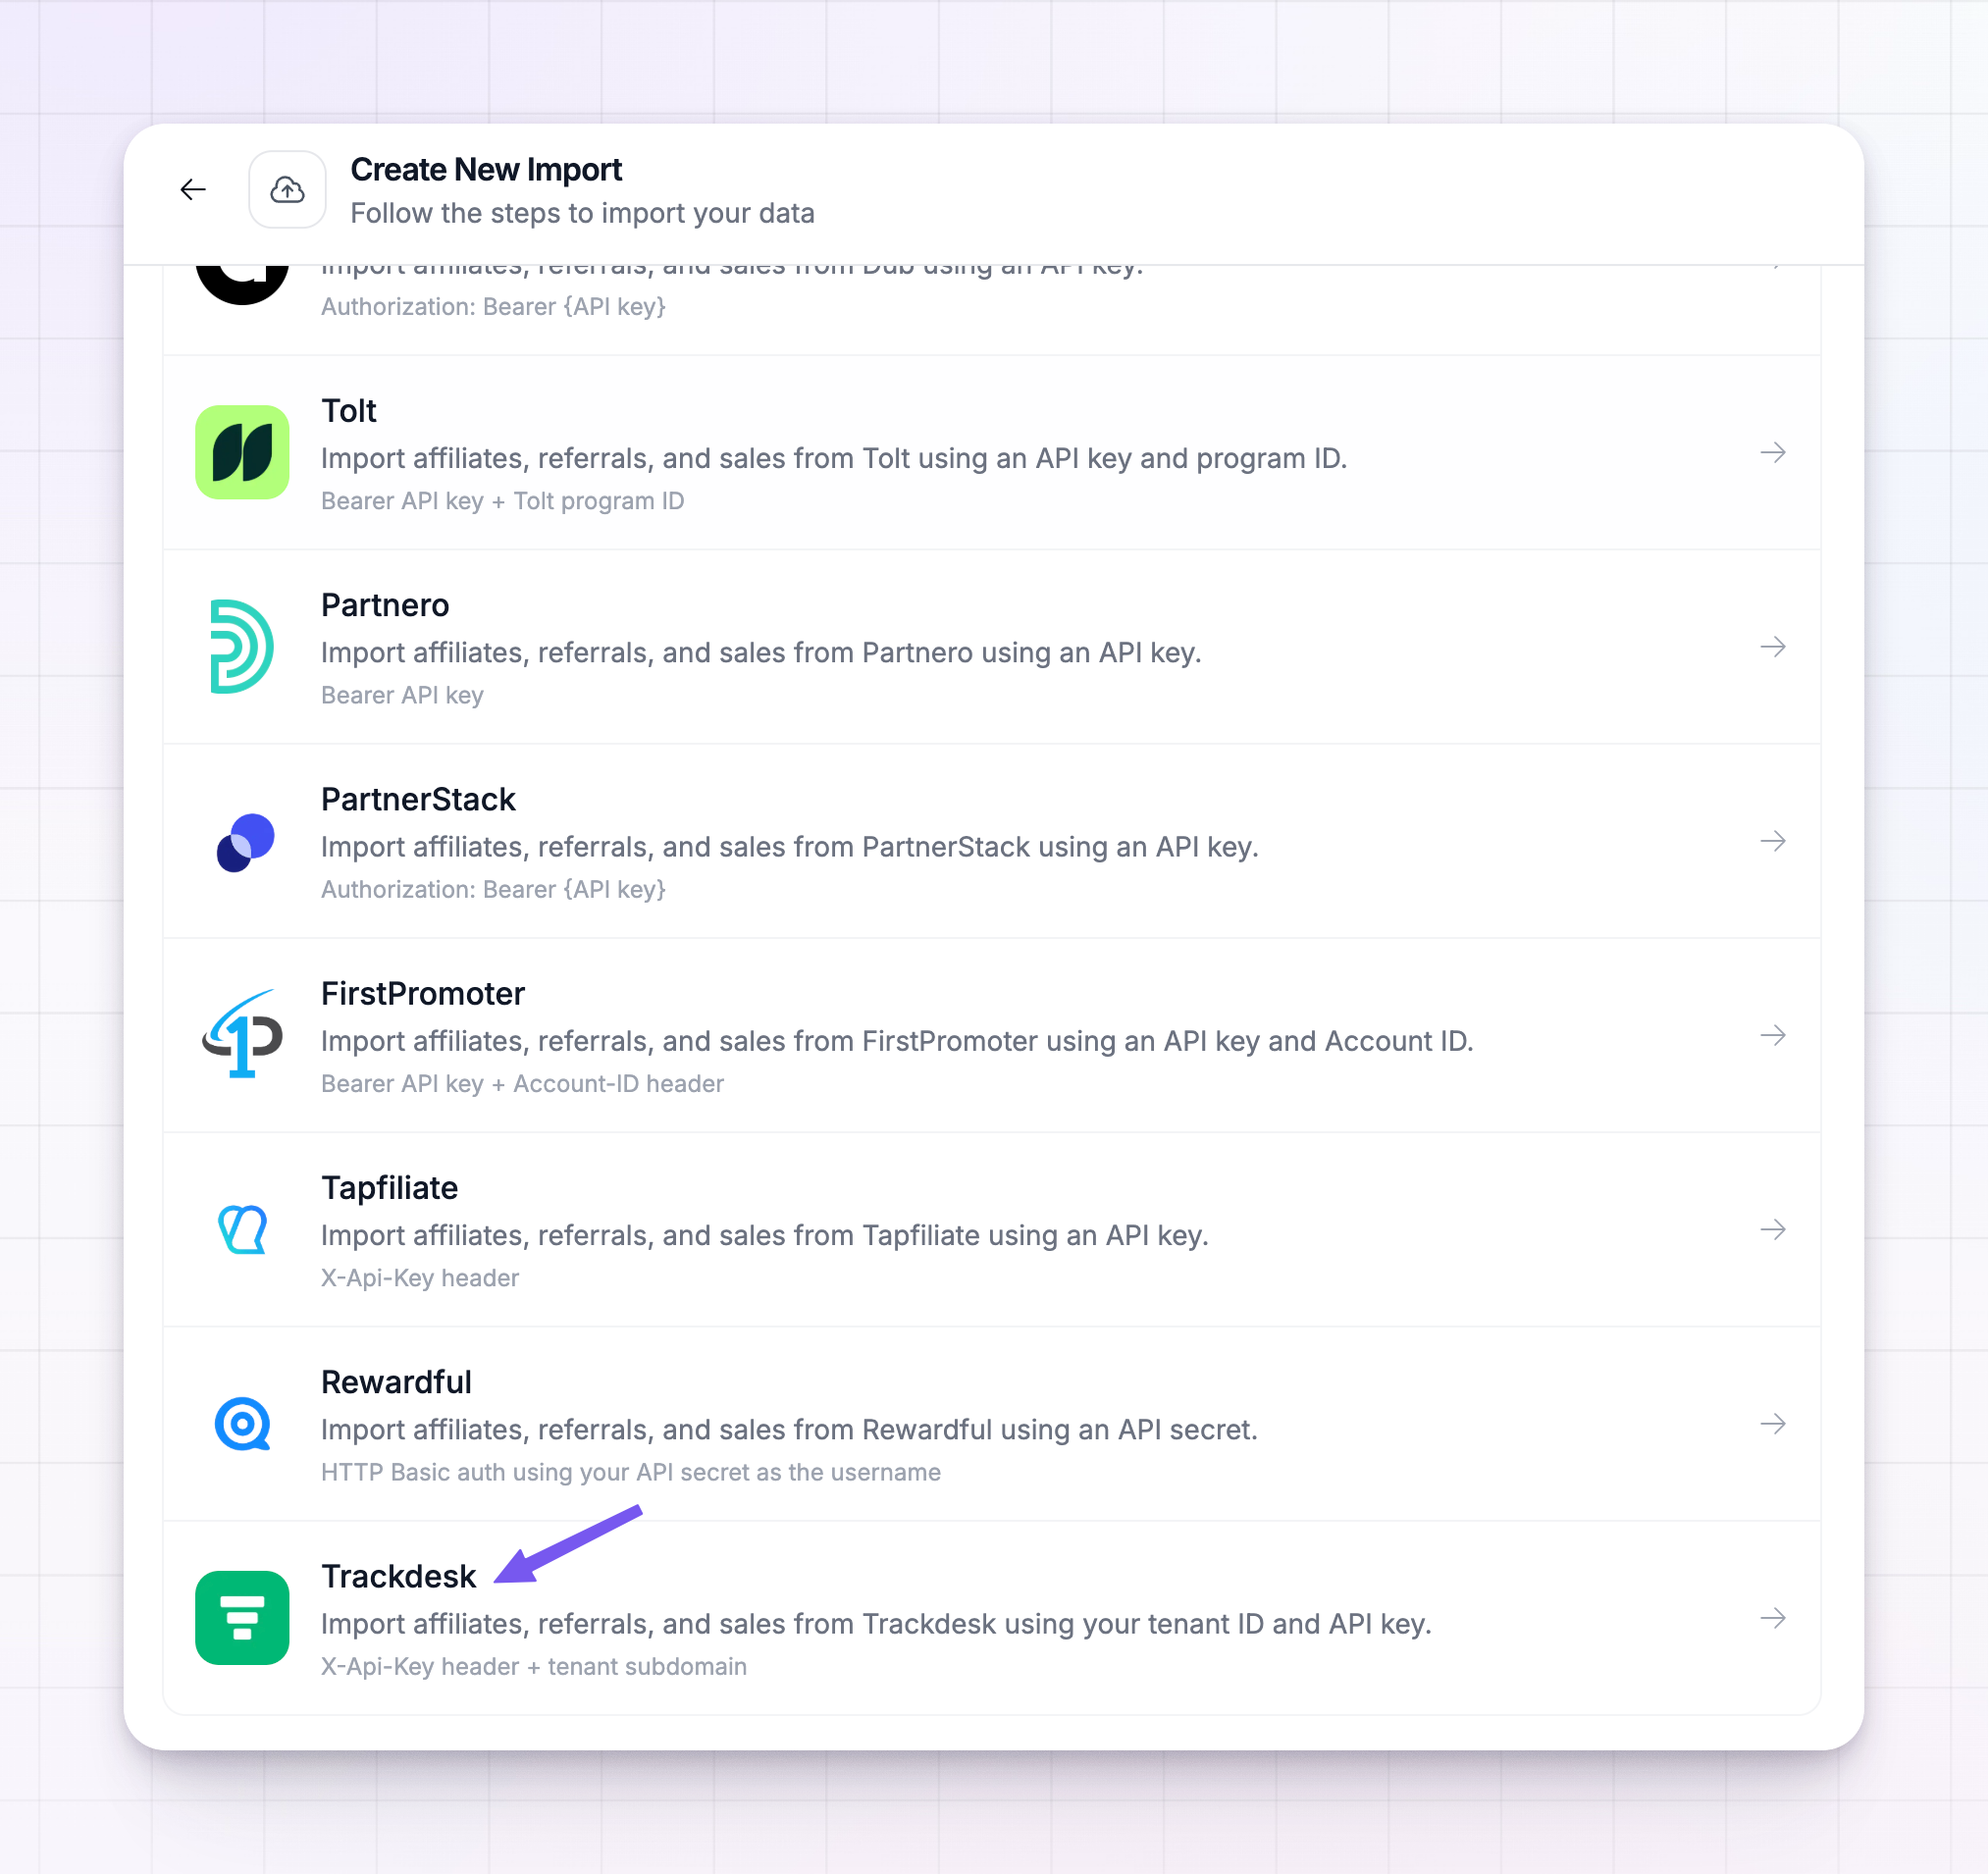
On the Choose your source screen, select Trackdesk from the list of platforms.
Connect your Trackdesk account
The next screen shows Trackdesk connecting to Referly. Because Trackdesk needs both details, this form has two fields: Tenant ID and API key.1
Enter your tenant ID
Type or paste your tenant ID into the Tenant ID field — the subdomain before
.trackdesk.com, such as my-program. This is how Referly knows which Trackdesk account to read.2
Paste your API key
Paste the API key you copied from Trackdesk into the API key field. It’s hidden as you type, the same way a password field is.
3
Save the connection
Select Save connection. Referly checks both details with Trackdesk right away. If they work, you’ll see the connection saved with a green Saved connection badge. If it doesn’t connect, double-check that your tenant ID is just the subdomain (no
https:// and no .trackdesk.com) and that you copied the whole API key, then try again.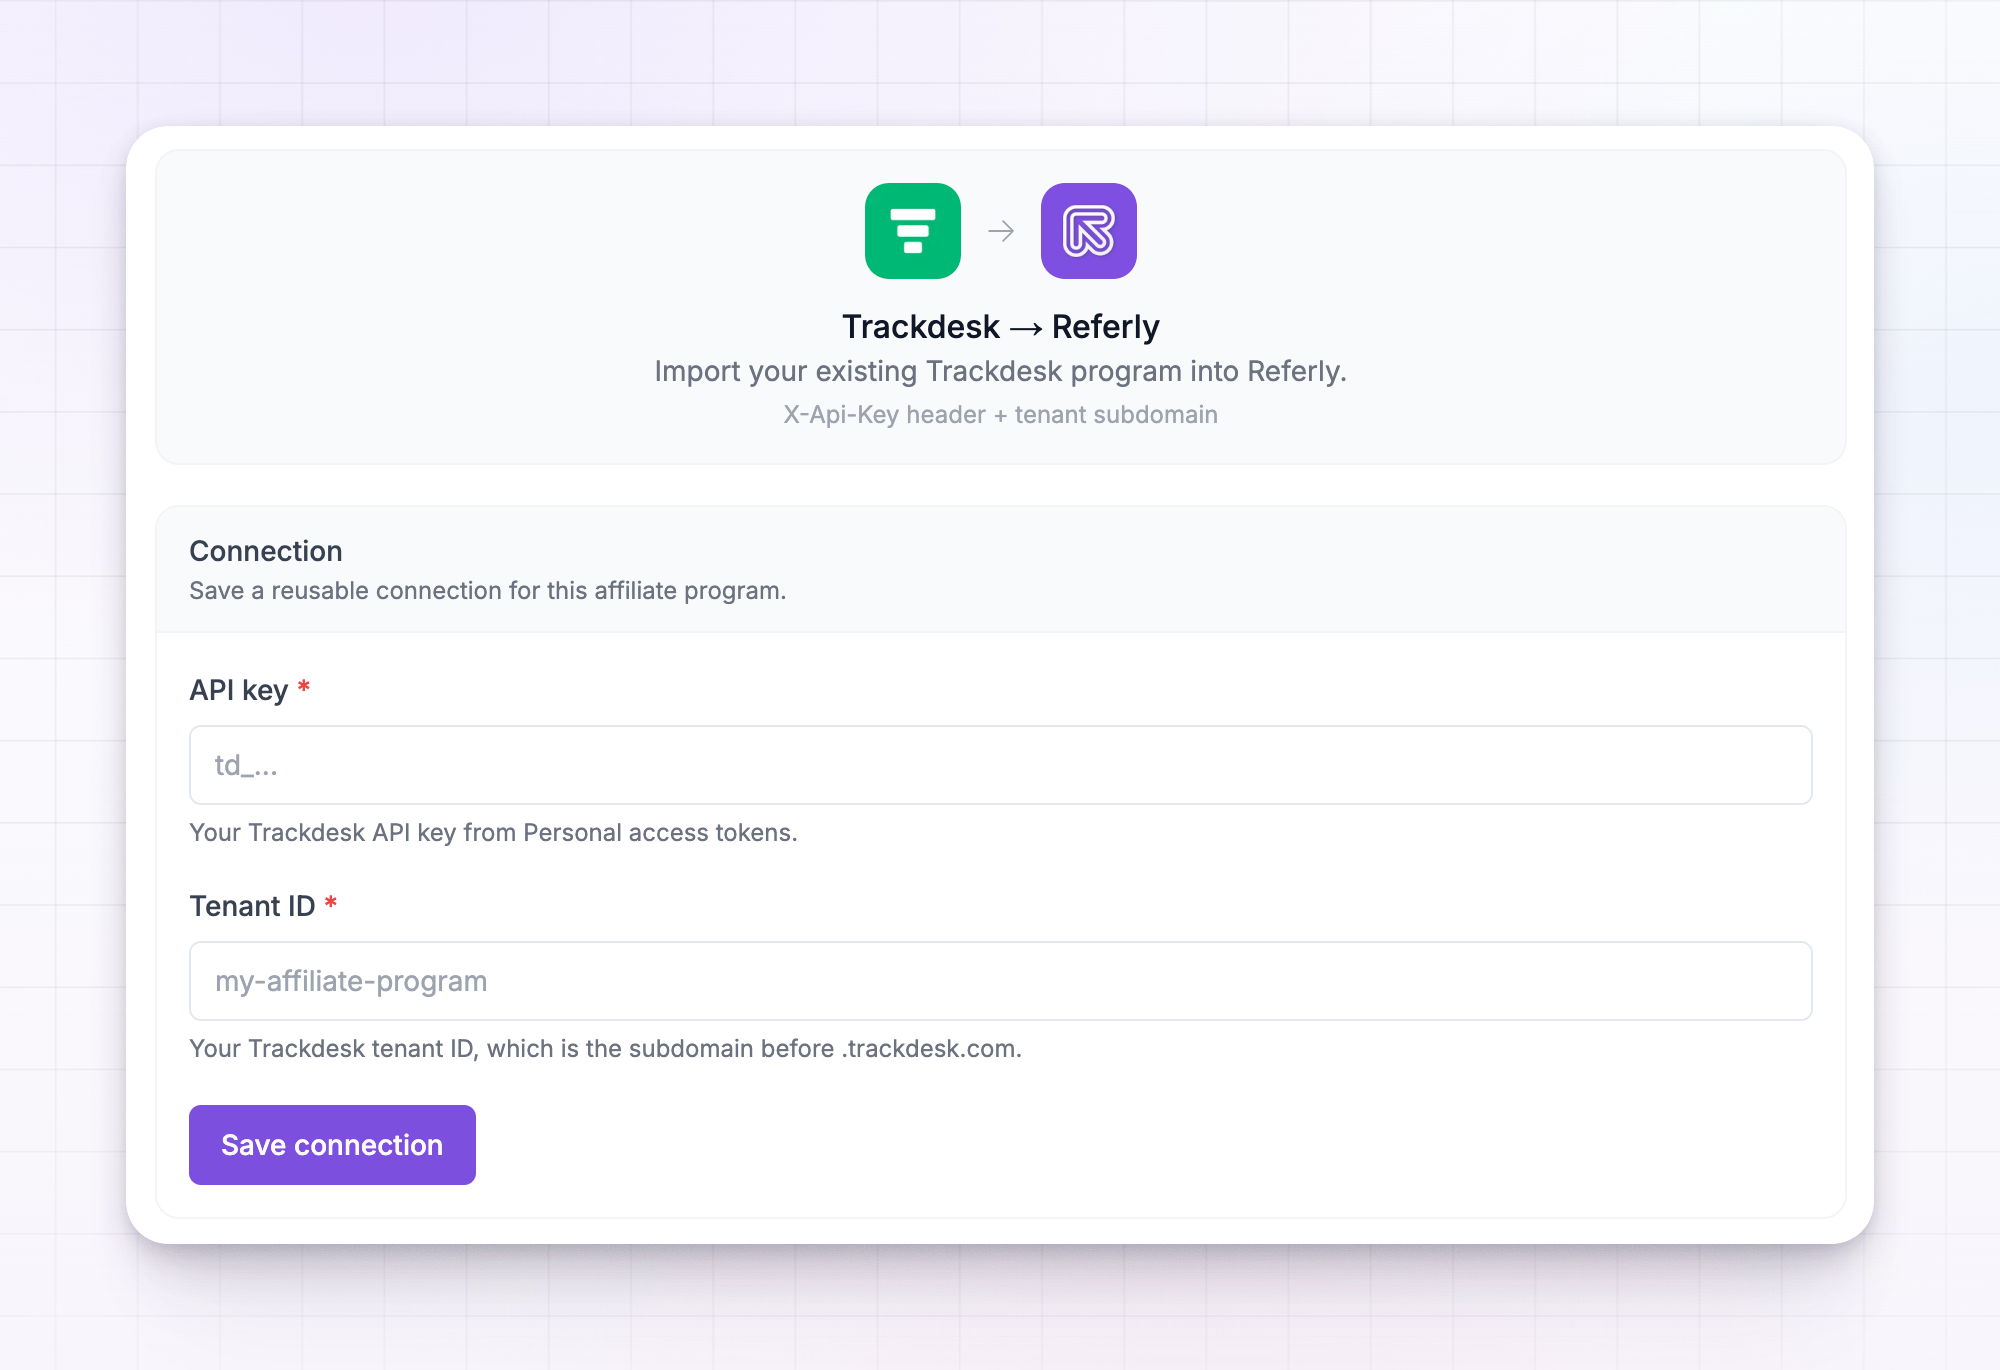 Referly remembers this connection, so the next time you import from Trackdesk — say, to bring sales across after your affiliates — you won’t have to enter either detail again. To swap in a different key later, select Replace connection.
Choose what to import
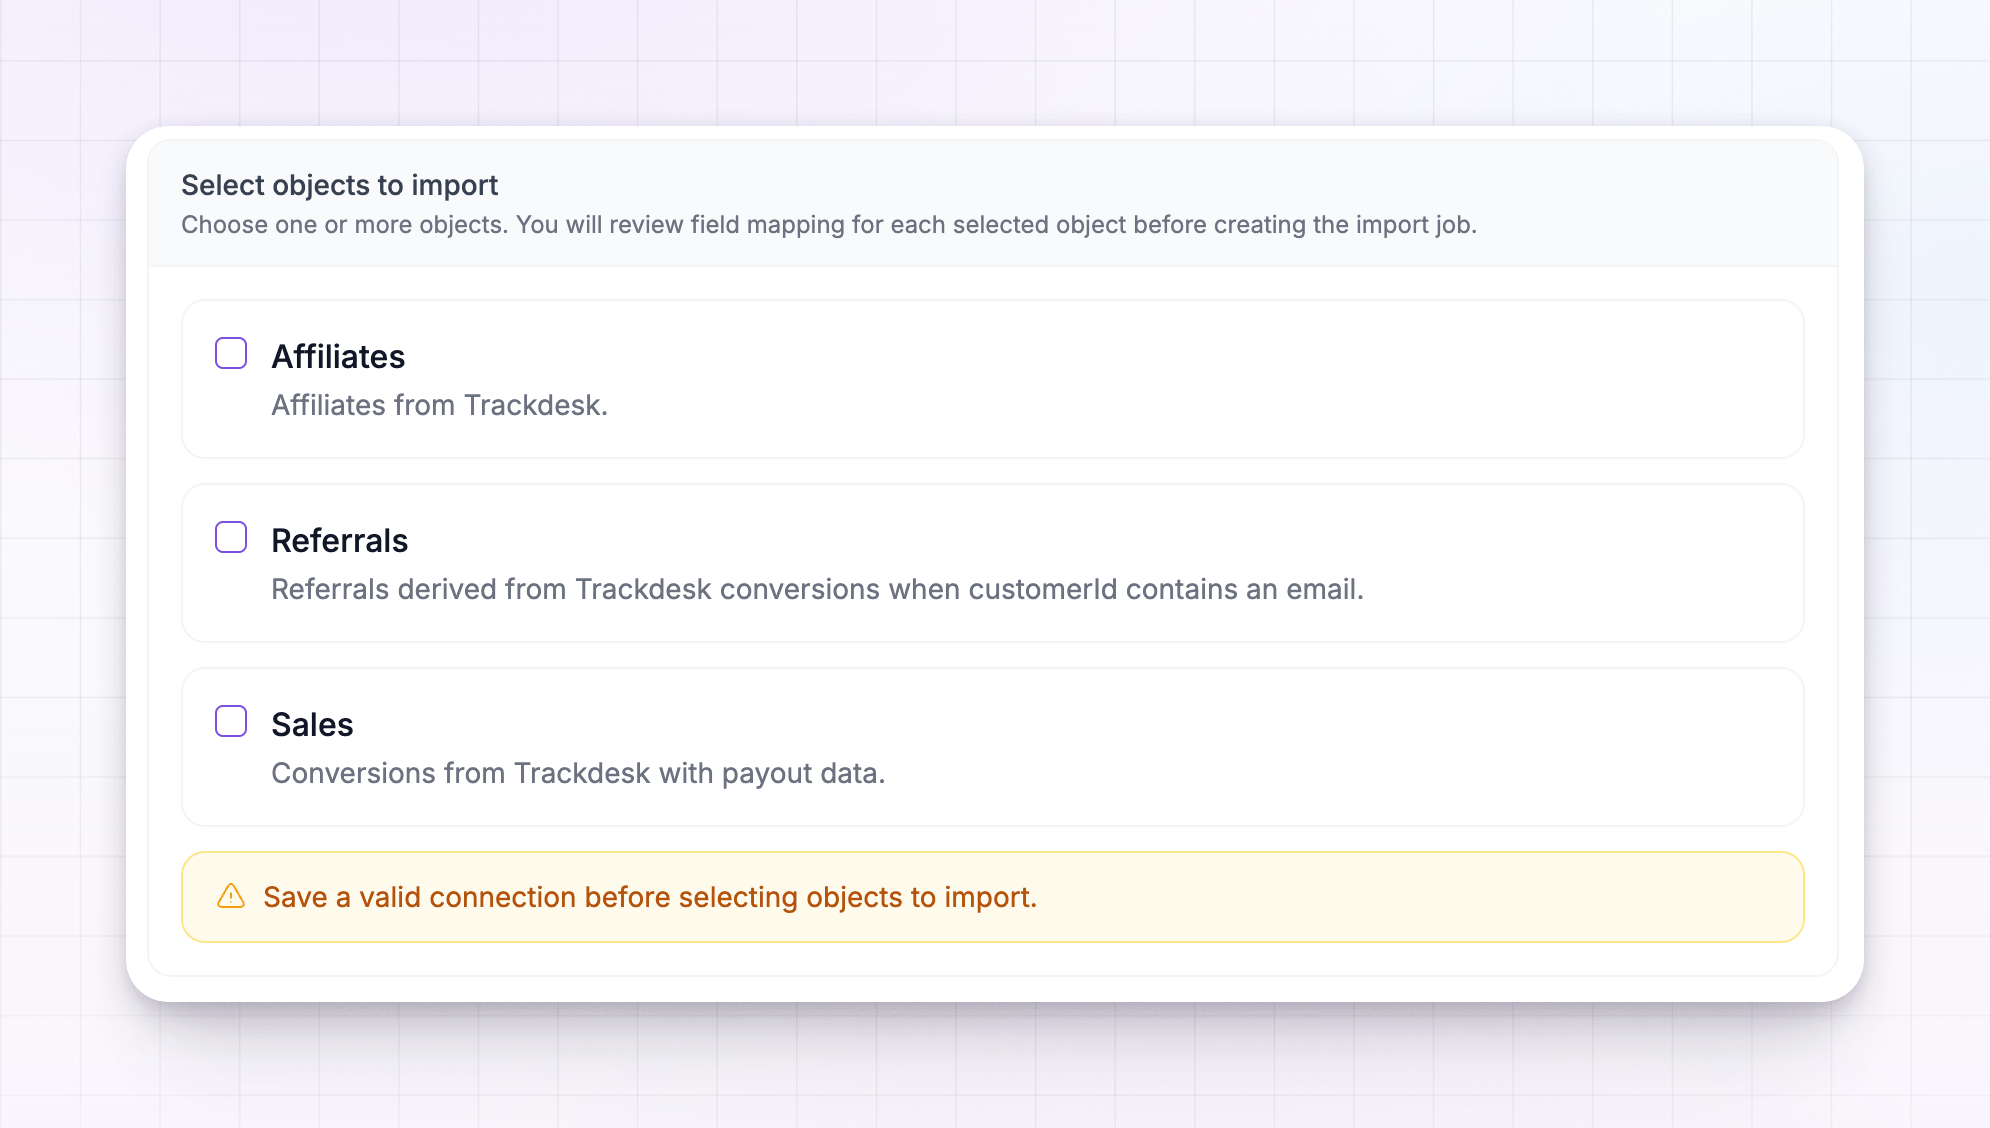
Once the connection is saved, you choose which parts of your Trackdesk program to bring over. There are three, and they line up with Trackdesk like this:
You can tick one, two, or all three — but the order you import them matters. Referred customers attach to affiliates, and sales attach to customers, so those have to exist in Referly first. Always bring your affiliates over first, then referrals, then sales. See Import in the right order below.
Pick the fields to bring across
When you tick an object, it expands to show every field Referly can pull from Trackdesk for it. Each field has a checkbox, so you decide exactly what comes across. A few fields are marked Required — these are the details Referly needs to create the record, so they’re always on and can’t be switched off. Here’s what you can bring for each object.Affiliate fields
Affiliate fields
- First name (required) — the affiliate’s first name.
- Last name (required) — the affiliate’s last name.
- Email (required) — the affiliate’s email address. This is also how Referly links their referred customers and sales back to them.
- Join date — when they registered in your Trackdesk program, so their history stays accurate.
- Affiliate link — their referral ID from Trackdesk, so their existing links carry over.
- Provider affiliate ID — the ID Trackdesk used for the affiliate, kept for your reference.
- Provider status — the affiliate’s status in Trackdesk (for example, active), kept for your reference.
Referral (customer) fields
Referral (customer) fields
- First name (required) — the customer’s first name.
- Last name (required) — the customer’s last name.
- Email (required) — the customer’s email address.
- Affiliate email (required) — the email of the affiliate who referred them. This is how each customer gets attached to the right affiliate, which is why affiliates must be imported first.
- Join date — when the conversion was first recorded in Trackdesk.
- External user ID — the customer identifier Trackdesk had on the conversion, kept for your reference.
- Provider customer ID — the customer’s ID in Trackdesk, kept for your reference.
- Provider status — the conversion’s status in Trackdesk (for example, approved or pending).
Sale fields
Sale fields
- Customer email (required) — the email of the customer who bought.
- Customer name — the customer’s name.
- Affiliate email — the email of the affiliate credited for the sale.
- Transaction amount (required) — the revenue value of the conversion.
- Transaction date — when the conversion happened.
- Commission (required) — the commission earned on that conversion.
- Paid status — the conversion’s status in Trackdesk (for example, approved or pending), so your payout history stays right.
- Promo code — the coupon code used on the sale, when there was one.
- Affiliate link — the referral ID tied to the sale.
- Provider transaction ID — the conversion’s ID in Trackdesk, kept for your reference.
- Provider status — the conversion’s status in Trackdesk.
Trackdesk tracks your customers and sales as conversions, and it identifies each customer by whatever value you passed as the customer ID when the conversion was recorded. Referly can only bring a referred customer or their sale across when that customer ID is an email address. If your Trackdesk conversions use an anonymous ID instead of an email, those customers and sales are skipped — your affiliates still come across cleanly. If most of your customers have emails on file elsewhere, the CSV import is a good way to bring the rest in.
Check the field matches
Before anything is imported, Referly shows you a preview of your Trackdesk data lined up against the matching Referly fields. This is your chance to confirm everything landed in the right place — that names, emails, and amounts are matched to the fields you’d expect.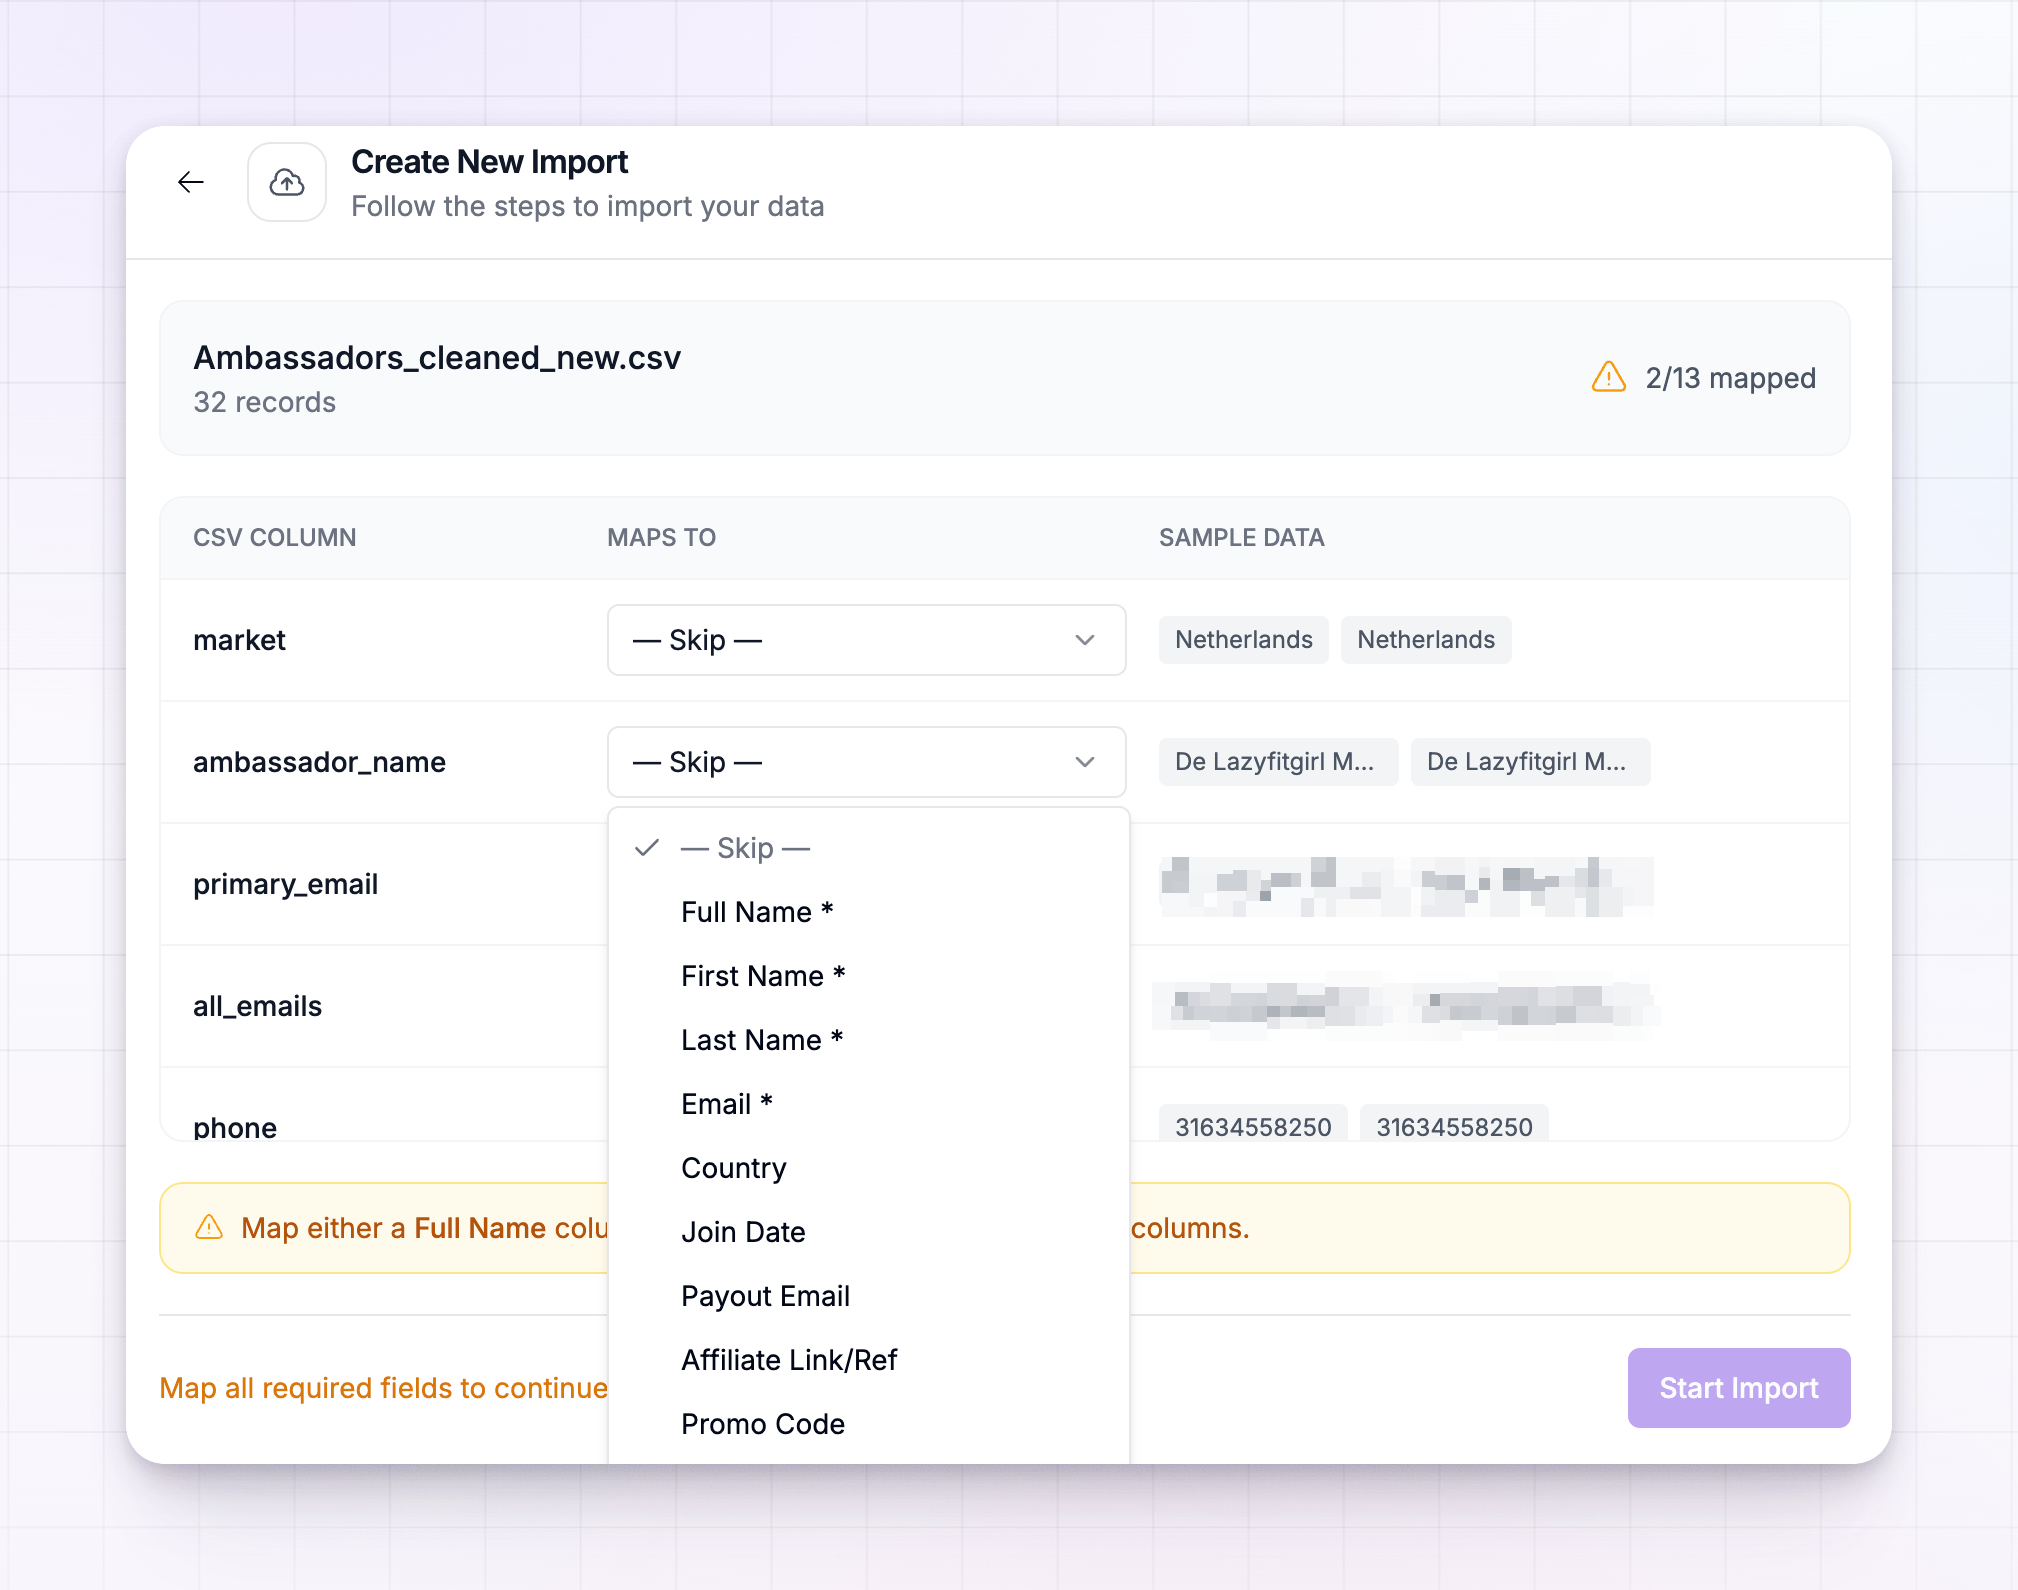 Look the preview over, and when it looks right, confirm to start the import.
Start the import and follow its progress
Imports run in the background, so you can close the panel and keep working. Every import appears in the Recent Imports list inside the import tool, each with its own progress. An import moves through these states:
Each card shows a progress bar and a running count of how many records came in and how many were skipped. A record is skipped when it’s missing a detail Referly needs to place it — most often a Trackdesk affiliate with no email, or a conversion whose customer ID isn’t an email. That’s normal; the skipped count just tells you those few couldn’t be brought across.
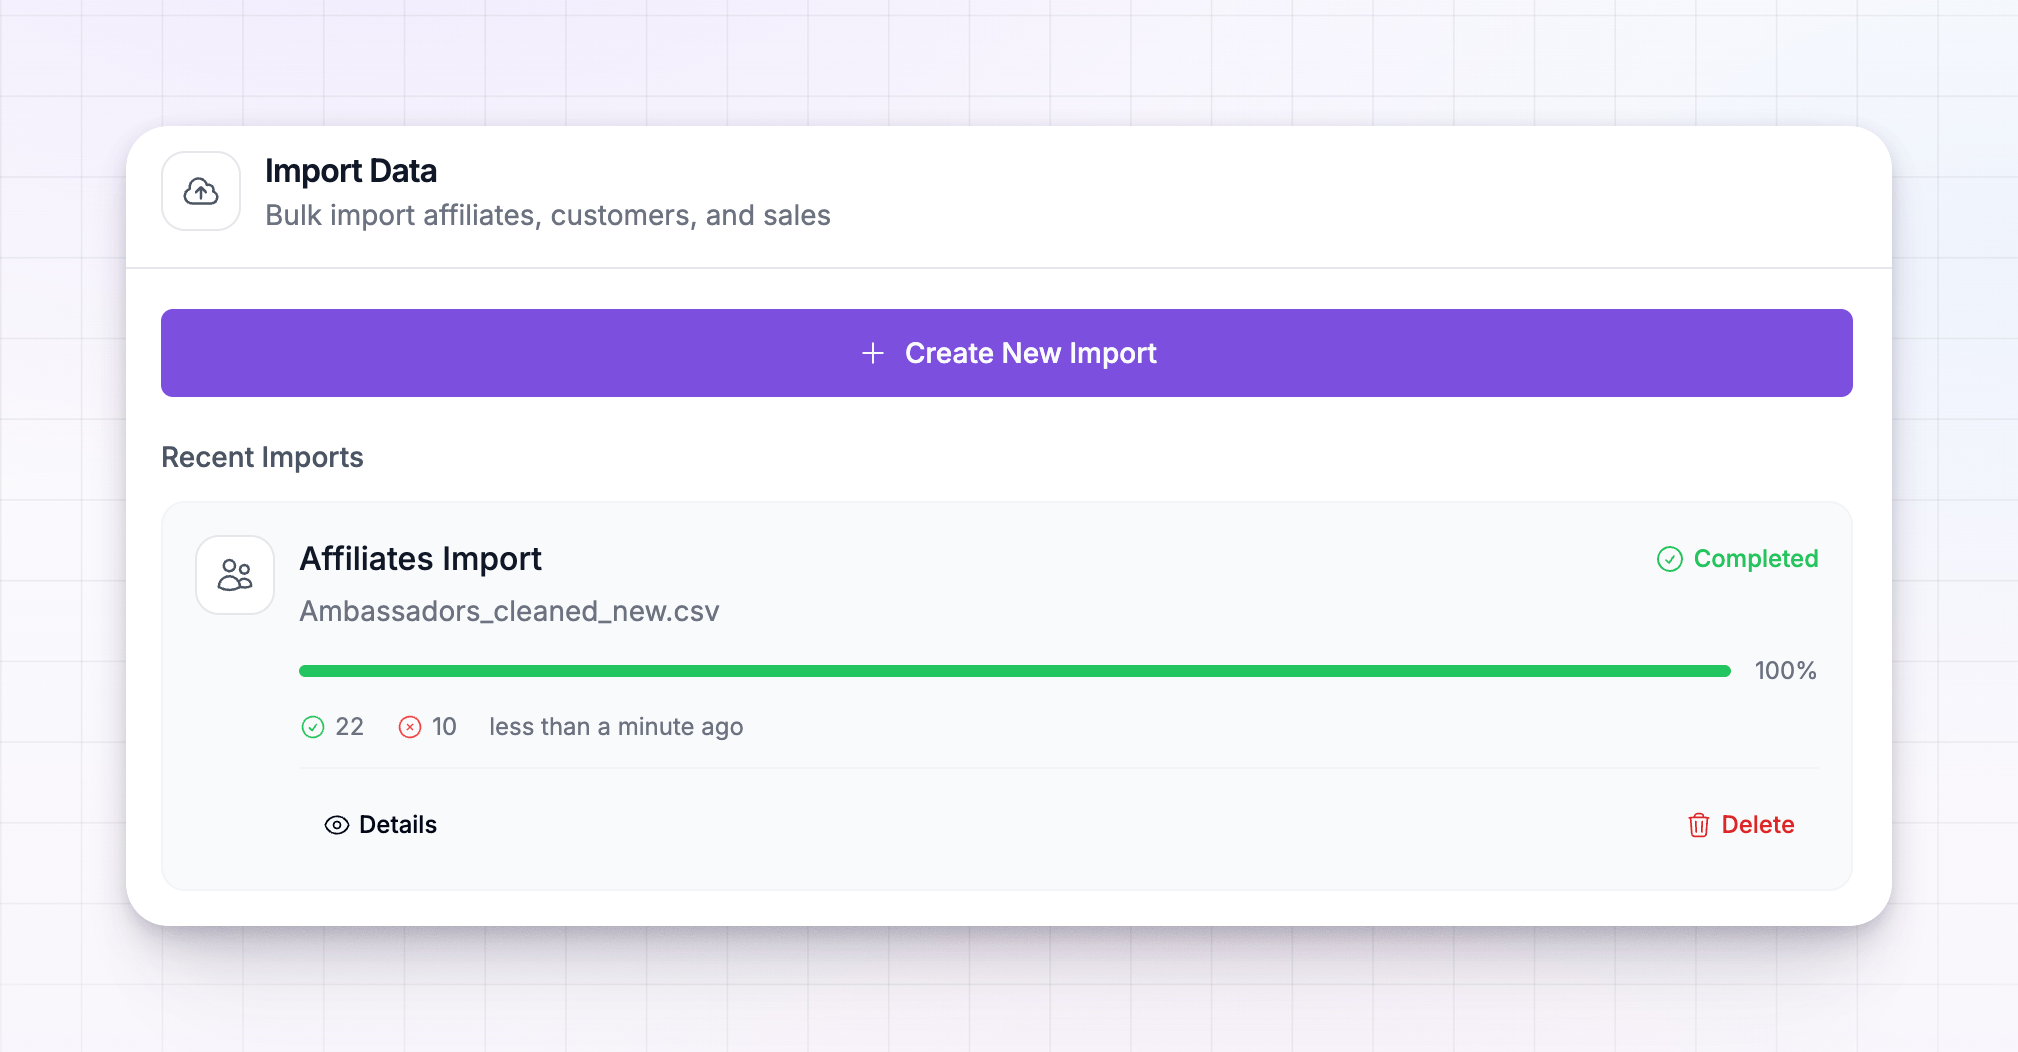 You can pause a running import and resume it later, open Details for the full breakdown, or delete one you no longer need.
Import in the right order
Because referred customers attach to affiliates and sales attach to customers, run your Trackdesk imports in this order and let each finish before starting the next:1
Affiliates first
Bring your affiliates over so there’s someone for every customer and sale to attach to.
2
Referrals next
Import your referred customers. Each one links to its affiliate by email — which only works once those affiliates are already in.
3
Sales last
Import your conversions and commissions, credited to the affiliates and matched to their customers.
Related
Migration overview
How imports work and what you can bring across.
Migrate from CSV
Prefer a spreadsheet? Import affiliates, customers, or sales from a file.
Commission plans overview
Set the terms your migrated affiliates earn on.
Invite affiliates
Bring new partners into your program by email.