The Stripe Pricing Table is the ready-made plan comparison you build in the Stripe Dashboard and paste onto your site as two lines of code. Customers pick a plan on your page and go straight into Stripe’s checkout. Referly tracks it by putting the referral identifier onto the pricing table before a visitor picks a plan, so Stripe carries it through to the payment. There’s a snippet that does this for you.
Using a single button instead of a full table? See Stripe Buy Button. Sharing plain checkout URLs? See Stripe Payment Links. Building checkout from your own backend? The Stripe Session API method is the most precise of all.

What this method tracks

What it can’t track

  • Sign-ups before payment. The referral only exists once someone completes checkout. If you want a referral recorded at sign-up, you need the Session API method.
  • A table that finished loading before the referral identifier was ready. Both load independently, so this needs verifying rather than assuming — see make sure the identifier arrived.
  • A referral identifier Stripe rejects. Stripe only accepts letters, numbers, dashes and underscores here and silently ignores anything else. Keep affiliate codes plain — no spaces, dots or accented characters.
  • A buyer who switches devices between clicking the referral link and paying.
  • A buyer whose browser blocked the script, or who cleared their cookies in between.
  • A purchase after the cookie window closed. See tracking methods.
  • Live payments while you’re connected in test mode, and the reverse. Referly deliberately ignores the mismatched ones.

Before you start

1

A Stripe account you can log into as an administrator

You’ll authorize Referly from inside Stripe, so you need permission to connect apps.
2

Somewhere to paste code on your site

You need to be able to add code to the head section of your pages, and to place the pricing table where you want it.
3

Your commission plan set up

Have it ready before the first sale arrives. See affiliate program setup.

Step 1: Build your pricing table in Stripe

Skip this if your table is already on your site.
1

Open pricing tables in Stripe

In the Stripe Dashboard, go to Product catalog, then Pricing tables.
2

Create the table

Select Create pricing table and add your products — up to four per billing interval. Add a free trial here if you offer one.
3

Set the look and the payment settings

Use Display settings to match your brand, and Payment settings to choose what customer information Stripe collects. Stripe’s full walkthrough is in their pricing table guide.
4

Turn on promotion codes if your affiliates use them

In the payment settings, allow customers to enter a promotion code at checkout. Without it, an affiliate’s promo code can’t be used. See coupons and promo codes.
5

Copy the embed code

Select Copy code. Stripe gives you two lines — a script tag and the table itself:
Paste it where you want the table to appear on your page.
You don’t need to change the embed code for Referly. The identifier gets added to it automatically once the snippet in Step 4 is in place.

Step 2: Install the tracking script

The tracking script records clicks and remembers which affiliate sent each visitor. Nothing works without it. Open Integrations from the left sidebar, find the Stripe Pricing Table card, and select it. The guide that opens has your script already filled in with your program’s ID. Copy that snippet and paste it into the head section of every page on your site — especially your pricing page. It looks like this:
Copy the snippet from your dashboard rather than from this page. Your program ID is unique, and programs run by an agency load the script from a different address.
If you use Google Tag Manager, the same guide has a Tag Manager version to add as a Custom HTML tag firing on all pages.

Step 3: Connect your Stripe account

Connecting Stripe is what lets Referly hear about payments. You don’t create API keys and you don’t set anything up by hand — you authorize Referly’s app from inside Stripe.
1

Open the connect dialog

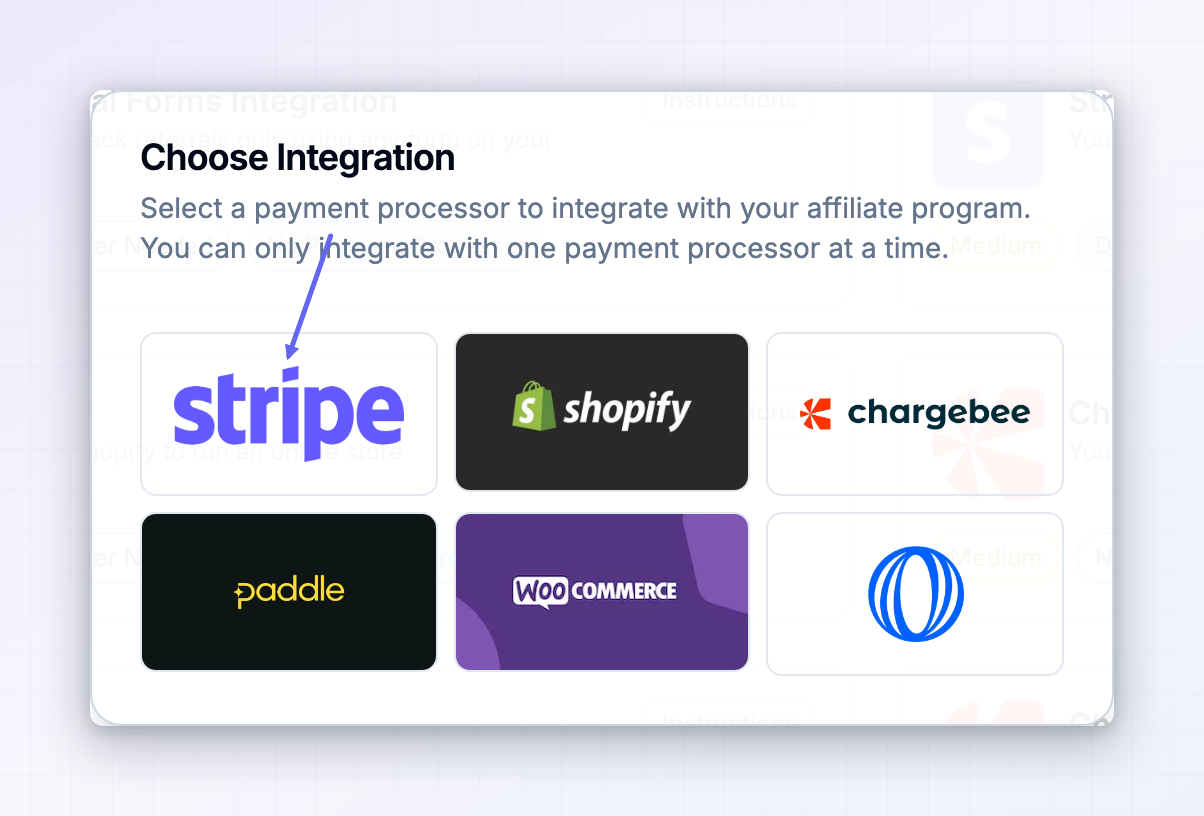
On the Integrations page, select Connect Integration at the top right, then choose Stripe.
2

Choose live or test

Select Connect Stripe Account for your real account, or Connect Test Mode to connect a sandbox first. Testing first is the safer order.
3

Authorize Referly in Stripe

A Stripe page opens in a new tab. Sign in, pick the account from the account picker at the top, and confirm. If you’re connecting test mode, make sure a sandbox is selected — Stripe explains sandboxes in their test mode guide.
4

Confirm the connection

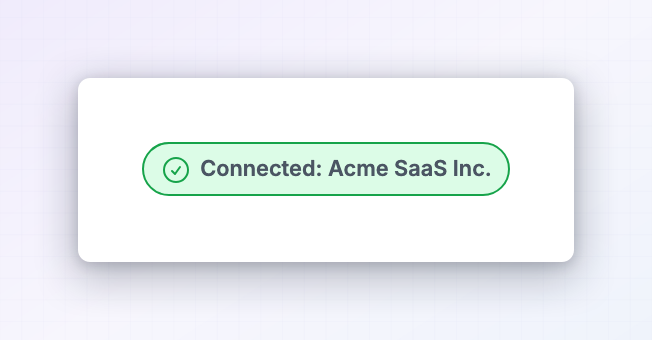
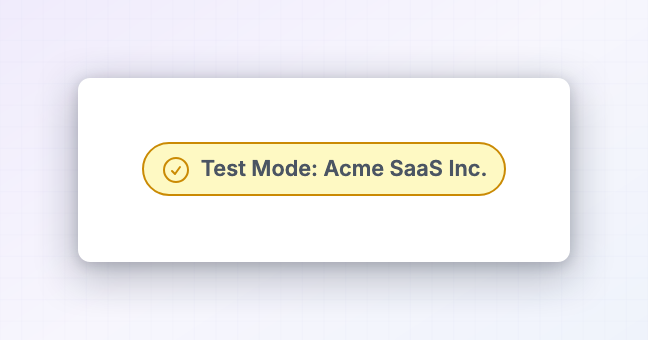
Back in Referly, the Stripe panel shows a green Connected badge with your account name, or a yellow Test Mode badge for a sandbox.
The badge colour decides which payments count. Yellow Test Mode means real payments are ignored. Green Connected means test payments are ignored. This is the most common reason a correct setup appears to record nothing.

Step 4: Add the pricing table snippet

This is the piece that does the work. It waits for the referral identifier, then adds it to your pricing table so it travels with the customer into Stripe’s checkout. Copy it from the Stripe Pricing Table guide on the Integrations page and paste it into the head section, after the tracking script from Step 2. Order matters — the snippet needs the tracking script to have loaded first.
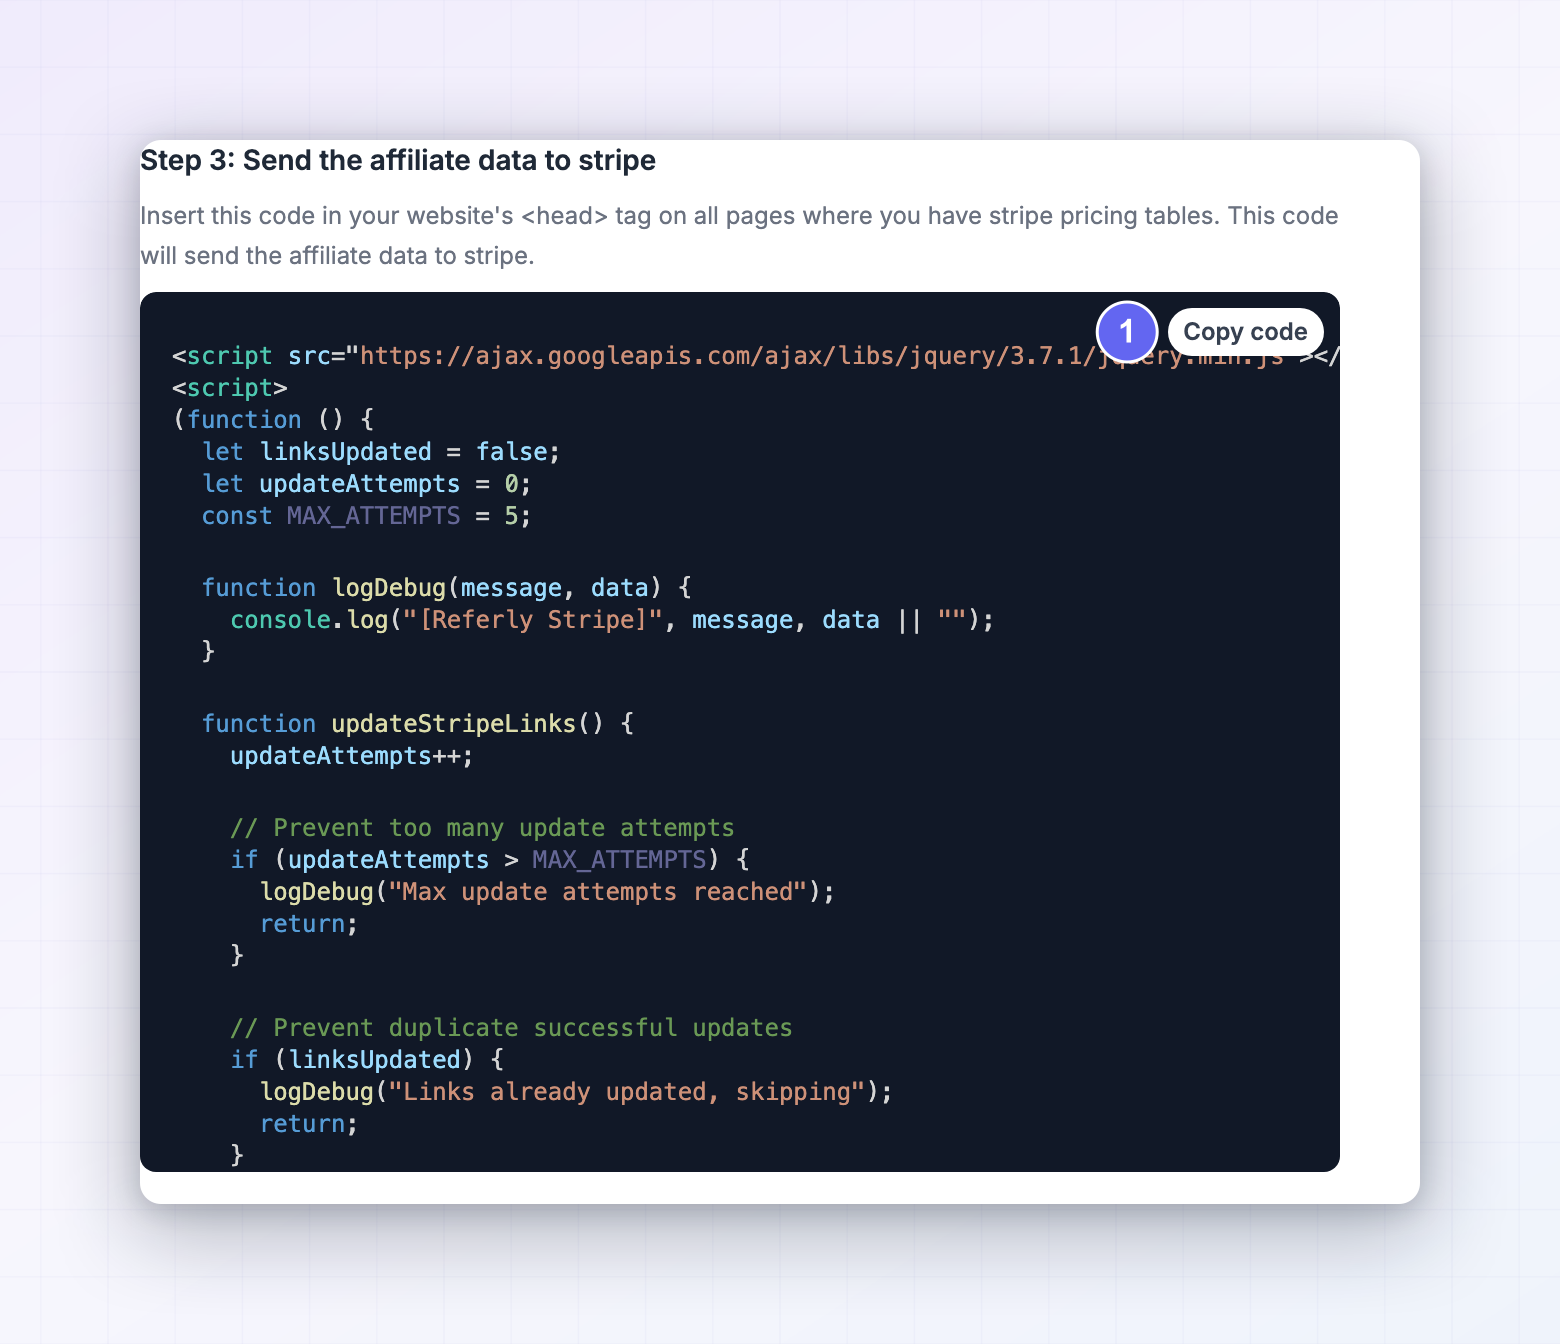
The snippet needs jQuery, which is why the first line loads it. If your site already loads jQuery, delete that first line — loading it twice can break other scripts on your page.
The same snippet also handles payment links and buy buttons, so you only need it once even if you use more than one.

Make sure the identifier arrived

This step matters more for a pricing table than for a plain link, and it’s worth doing properly rather than assuming. The pricing table is loaded and drawn by Stripe’s own code, and your visitor’s referral identifier is fetched by Referly’s code. The two happen independently, so the only way to know they lined up is to check.
1

Visit your pricing page through a referral link

Use a private window and a real affiliate’s code, for example your-domain.com/pricing?ref=THEIRCODE.
2

Inspect the pricing table element

Right-click the pricing table and choose Inspect. Find the stripe-pricing-table element in your page. It should now carry a client-reference-id attribute with a value in it.
3

Then confirm with a real test purchase

The attribute being present is a good sign, but not proof. Complete a test checkout from the table and confirm the value reaches Stripe — the next section walks through it.

If the identifier never lands

If your test purchase shows an empty Client reference ID in Stripe, the table had already finished loading before the identifier was ready. Set the attribute yourself instead of relying on the snippet, and hold the table back until you have a value:
Keep Stripe’s own pricing-table.js script tag on the page as well — this only replaces the table element, not the script that powers it.
Always draw the table eventually, even when there’s no referral. Most of your visitors won’t come from an affiliate, and they still need to be able to buy.

Step 5: Test the whole flow

Test before you send a single affiliate link out, with your Stripe connection showing the yellow Test Mode badge.
1

Switch Stripe to a sandbox and make a test table

In the Stripe Dashboard, use the account picker at the top to switch into a sandbox, then build a pricing table there. Test and live tables have different IDs and different publishable keys, so use the test embed code on a test page.
2

Visit your pricing page through a referral link

Open it in a private window with a real affiliate’s code.
3

Check the attribute is set

Inspect the pricing table element and confirm it has a client-reference-id with a value.
4

Buy a plan with a test card

Pick a plan and pay with Stripe’s test card 4242 4242 4242 4242, any future expiry, and any three-digit security code. The full list is in Stripe’s testing guide.
5

Confirm it in Stripe

Open the payment in the Stripe Dashboard and check the Checkout Session shows your value in Client reference ID. This is the check that actually matters.
6

Confirm it in Referly

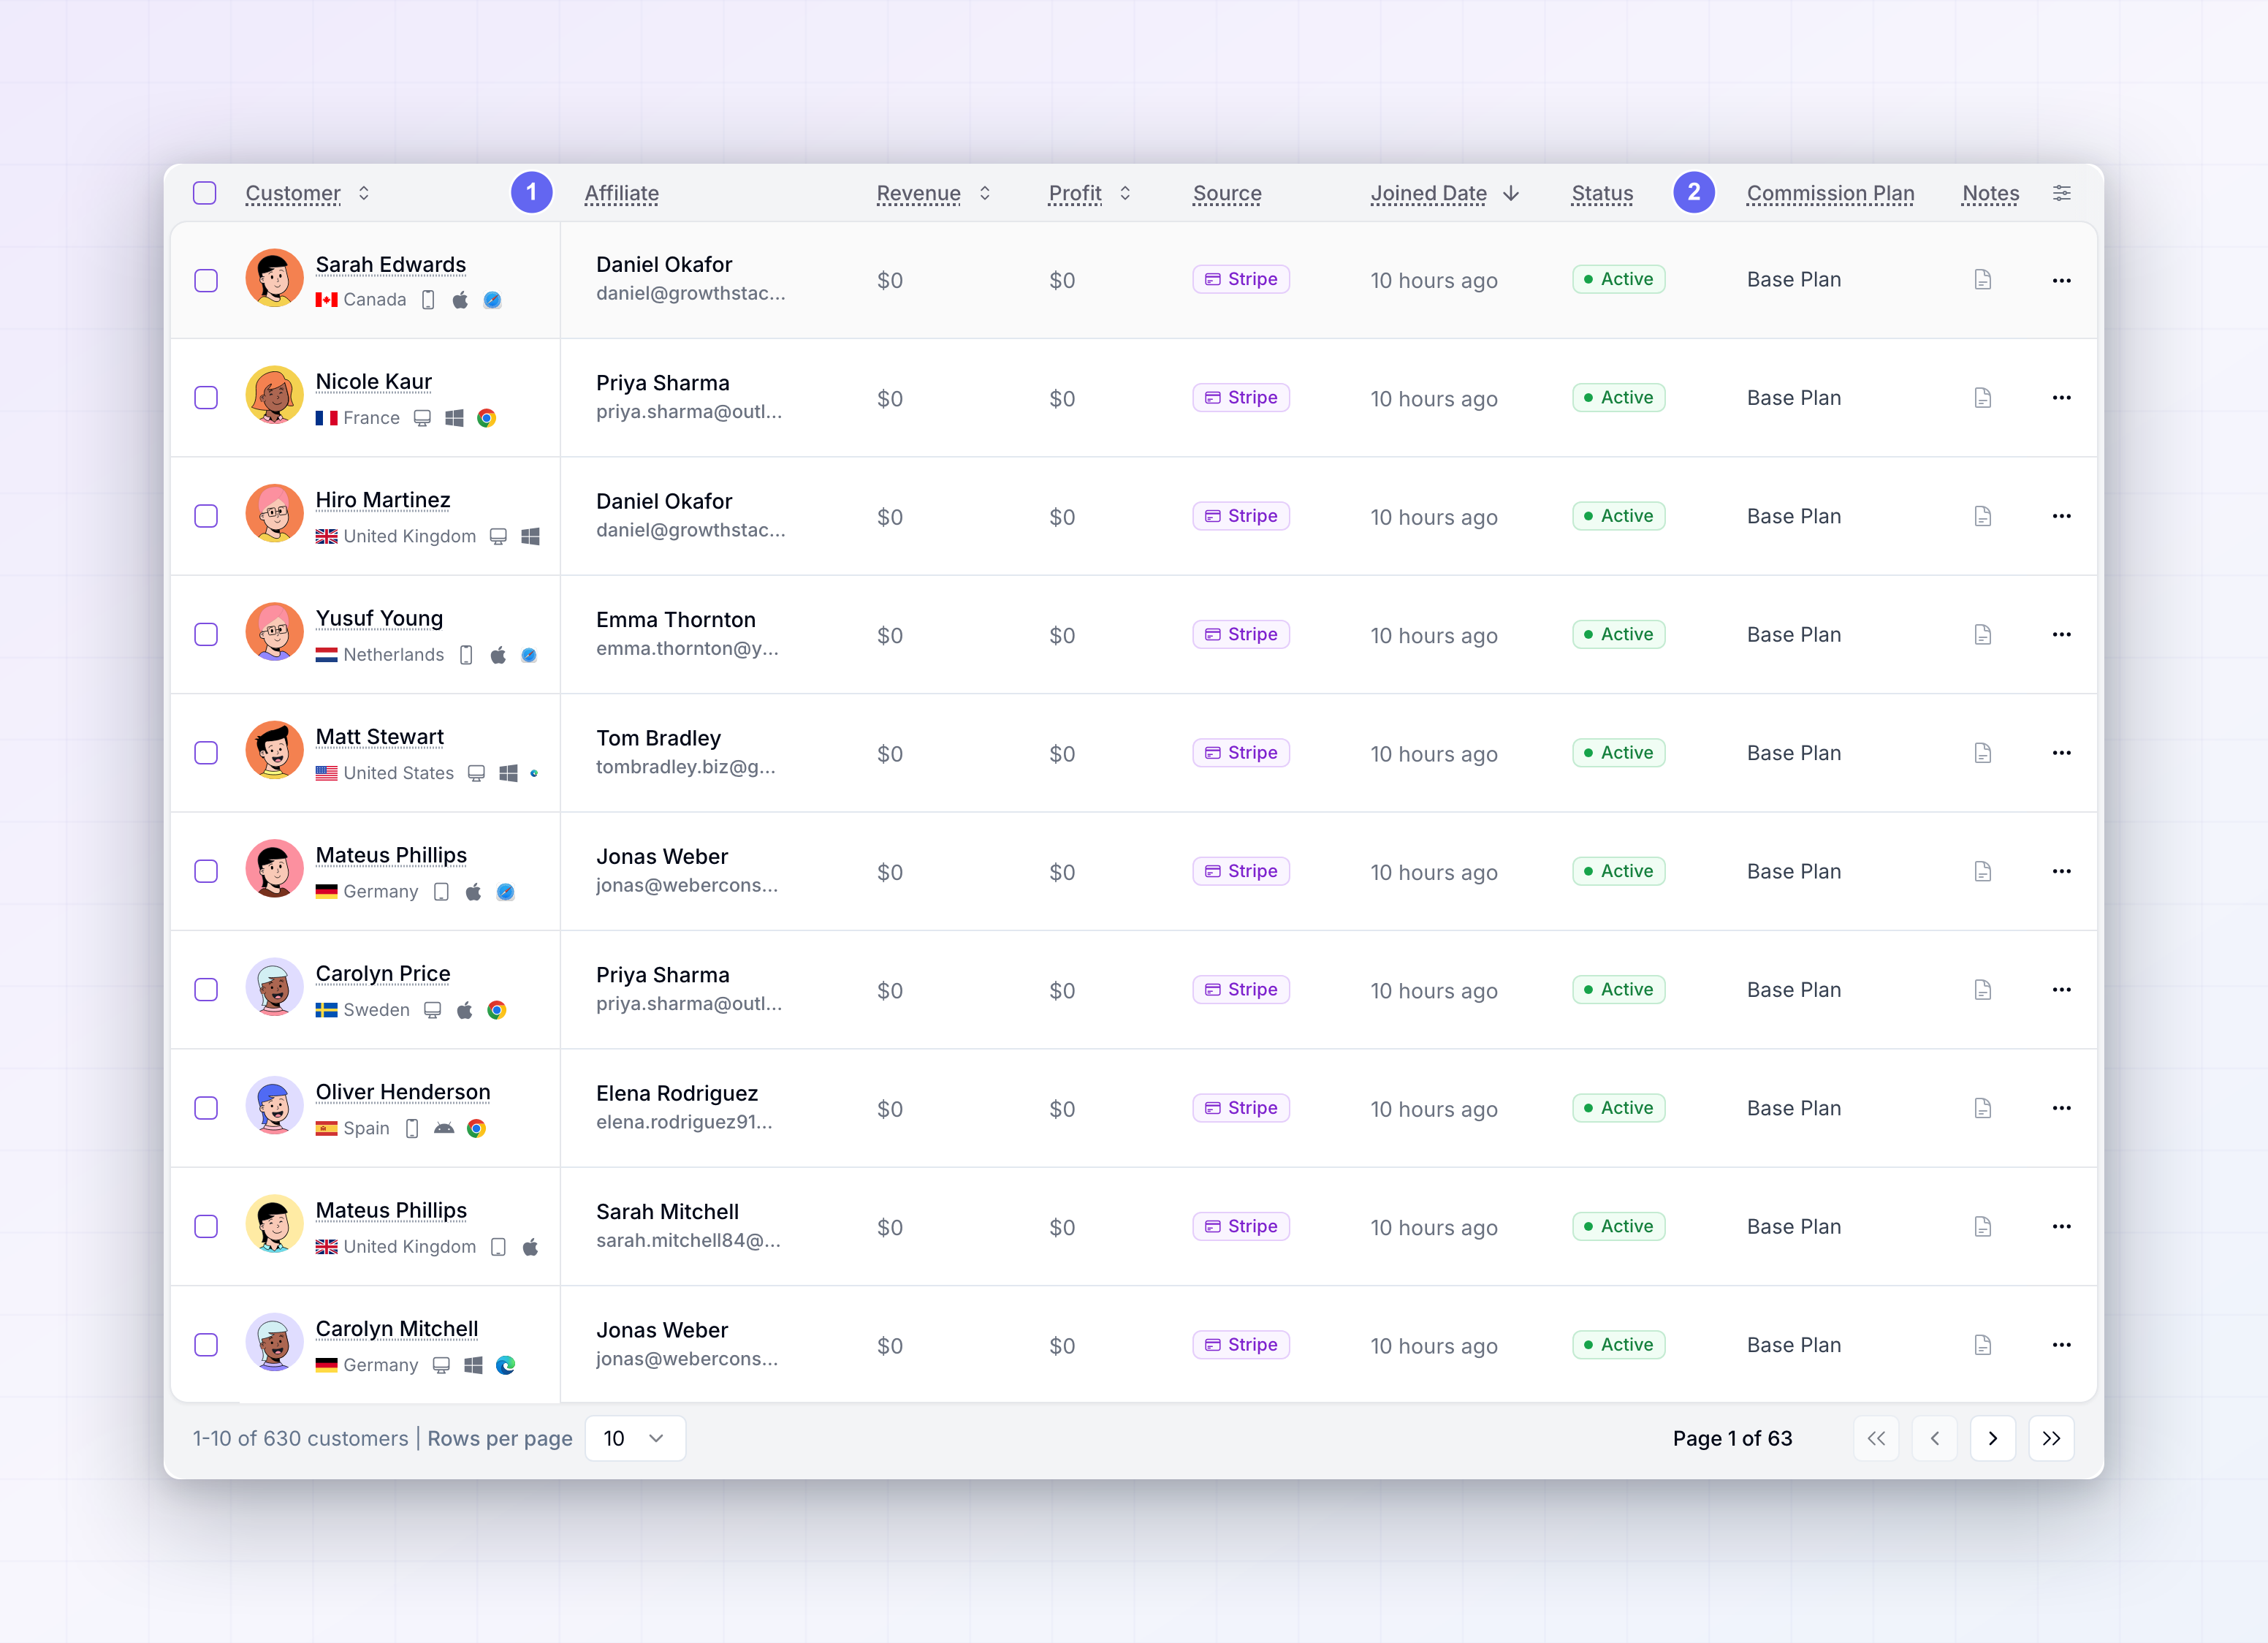
Open Referrals in the left sidebar — the customer should be listed against the right affiliate with the plan name filled in. Then open Rewards to see the commission.
When the Checkout Session in Stripe carries the value and the referral in Referly shows the right affiliate, your setup works. Repeat once in live mode with a small real payment you refund afterwards — the refund should void the reward.

Go live

  1. On the Integrations page, open the Stripe panel and select Disconnect.
  2. Select Connect Stripe Account and authorize your live account.
  3. Confirm the badge is green and reads Connected.
  4. Swap the test pricing table embed code on your site for the live one, including the live publishable key.
Referrals created during testing stay in your dashboard. Delete them before you launch if you don’t want test data in your reports.

Troubleshooting

Work through these in order:
  1. Is the tracking script loading? Open your browser’s developer console and type window.affiliateId. If it’s empty, go back to Step 2 — the script isn’t running, or you didn’t arrive through a referral link.
  2. Is jQuery loaded? The console shows an error mentioning jQuery if it’s missing. The snippet does nothing without it.
  3. Is the snippet after the tracking script? If the order is reversed, the snippet runs too early.
  4. Is the table added to the page later? If a pop-up or a tab reveals the table after the page has settled, the snippet has already stopped looking. Use the manual approach.
Two likely causes. Either the table finished drawing before the attribute was set, in which case use the manual approach. Or Stripe rejected the value — it only accepts letters, numbers, dashes and underscores, and drops anything else without warning. Check the affiliate’s code for spaces or punctuation.
Almost always the test-mode mismatch. A yellow Test Mode badge means live payments are ignored, a green Connected badge means test payments are ignored. Reconnect in the mode you’re actually testing in.If the badge is right, confirm the payment actually succeeded in Stripe.
Normal for a free trial — the reward is created when money actually moves. If a payment did go through, check the affiliate is on a commission plan that covers the plan they sold.
Check whether a promo code was used at checkout. An affiliate’s promo code takes priority over the link, so someone who clicked one affiliate’s link but typed another’s code is credited to the code owner. You can move the sale by changing the referral’s affiliate.
Renewals are matched by the customer’s email address. Compare the email on the Stripe customer with the email on the referral in Referly — if they differ, the connection is broken.
If a payment arrives before Referly has finished creating the referral, it’s held and retried a few minutes later rather than dropped. Wait about ten minutes before assuming a sale is missing.

Stripe integration overview

Every way to connect Stripe, and which one fits you.

Stripe Buy Button

The same approach for a single embedded buy button.

Stripe Session API

The most precise method, if you have a developer.

Tracking methods

Set your cookie duration and how clicks are attributed.
Last modified on July 21, 2026