

Not building your own checkout? Use Stripe Payment Links, the Stripe Pricing Table, or the Stripe Buy Button instead — those need no backend code.
What this method tracks
Once it’s set up, Referly follows a referred customer from the first click all the way through renewals and refunds.What it can’t track
Be honest with yourself about these before you launch — every one of them shows up as an unattributed sale, not as an error.- A checkout you create without the identifier. If the value is missing when the session is created, there’s nothing to attribute. Sessions created by hand in the Stripe Dashboard fall into this group.
- A buyer who switches devices. Someone who clicks the link on their phone and pays on their laptop can’t be connected — the referral is remembered in the browser that clicked.
- A buyer whose browser blocked the script, or who cleared their cookies and site data between clicking and buying.
- A purchase after the cookie window closed. Your program’s cookie duration decides how long a click stays valid. See tracking methods.
- Payments taken outside Stripe. Bank transfers or invoices you settle elsewhere never reach Referly. Add those with add a sale.
- Live payments while you’re connected in test mode, and test payments while you’re connected in live mode. Referly deliberately ignores the mismatched ones.
Before you start
1
A Stripe account you can log into as an administrator
You’ll authorize Referly from inside Stripe, so you need permission to connect apps to the account.
2
Access to your site's code
You need to be able to add a script tag to your pages and change the code that creates the Checkout Session.
3
Your Referly program set up
Your commission plan should exist before the first sale arrives, so rewards are calculated correctly. See affiliate program setup.
Step 1: Install the tracking script
The tracking script is what records clicks and remembers which affiliate sent each visitor. Nothing else works without it. Open Integrations from the left sidebar, find the Stripe Session API card, and select it. The guide that opens has your script already filled in with your program’s ID.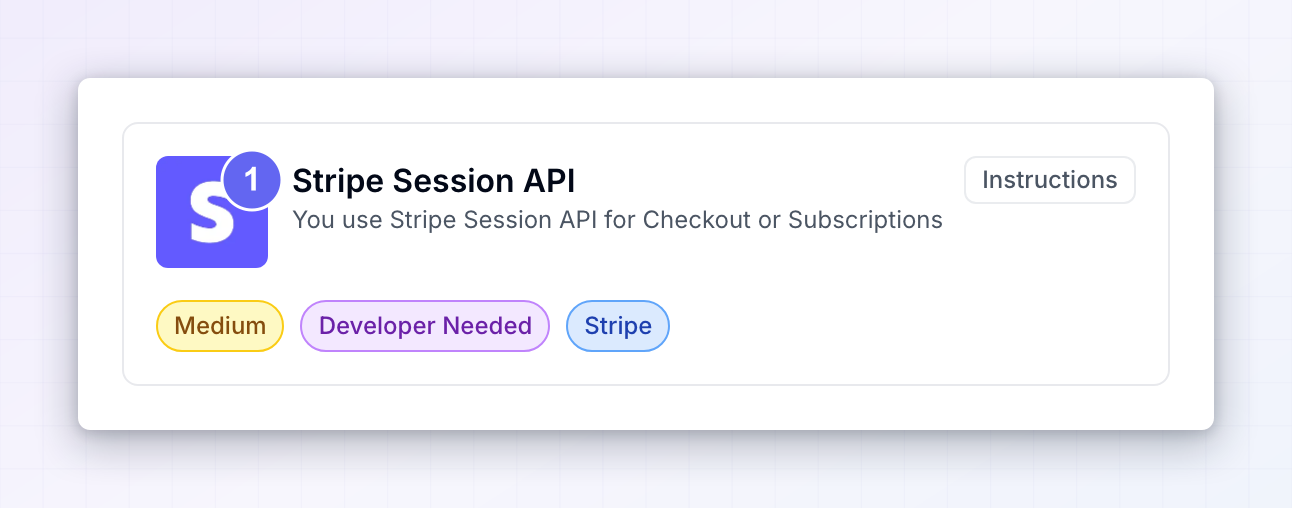 Copy that snippet and paste it into the
 head section of every page on your site — including your pricing page and your checkout page. It looks like this:
Check that clicks are being recorded
Visit your own site with a referral link — for exampleyour-domain.com?ref=TESTCODE, using the code of a real affiliate in your program. Then open Analytics in the left sidebar and confirm the click shows up. If it doesn’t, the script isn’t loading, and there’s no point continuing until it does. See installing the snippet for help.
Step 2: Connect your Stripe account
Connecting Stripe is what lets Referly hear about payments. You don’t create API keys and you don’t set up a webhook endpoint by hand — you authorize Referly’s app from inside Stripe, and everything is wired up for you.1
Open the connect dialog
On the Integrations page, select Connect Integration at the top right, then choose Stripe from the list.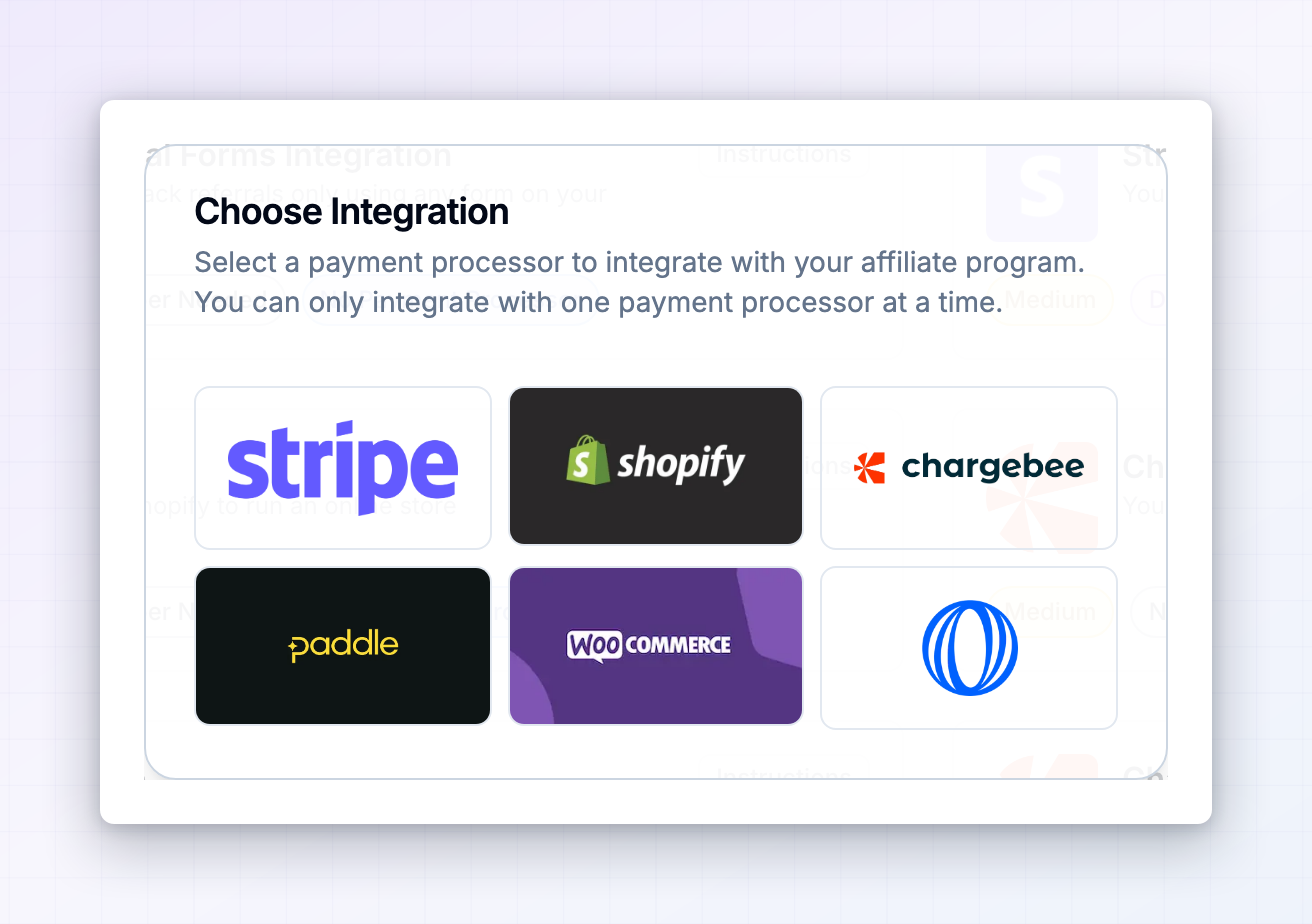
2
Choose live or test
Select Connect Stripe Account to connect your real account, or Connect Test Mode to connect a sandbox first. Most people connect test mode first, check everything works, then disconnect and reconnect in live mode.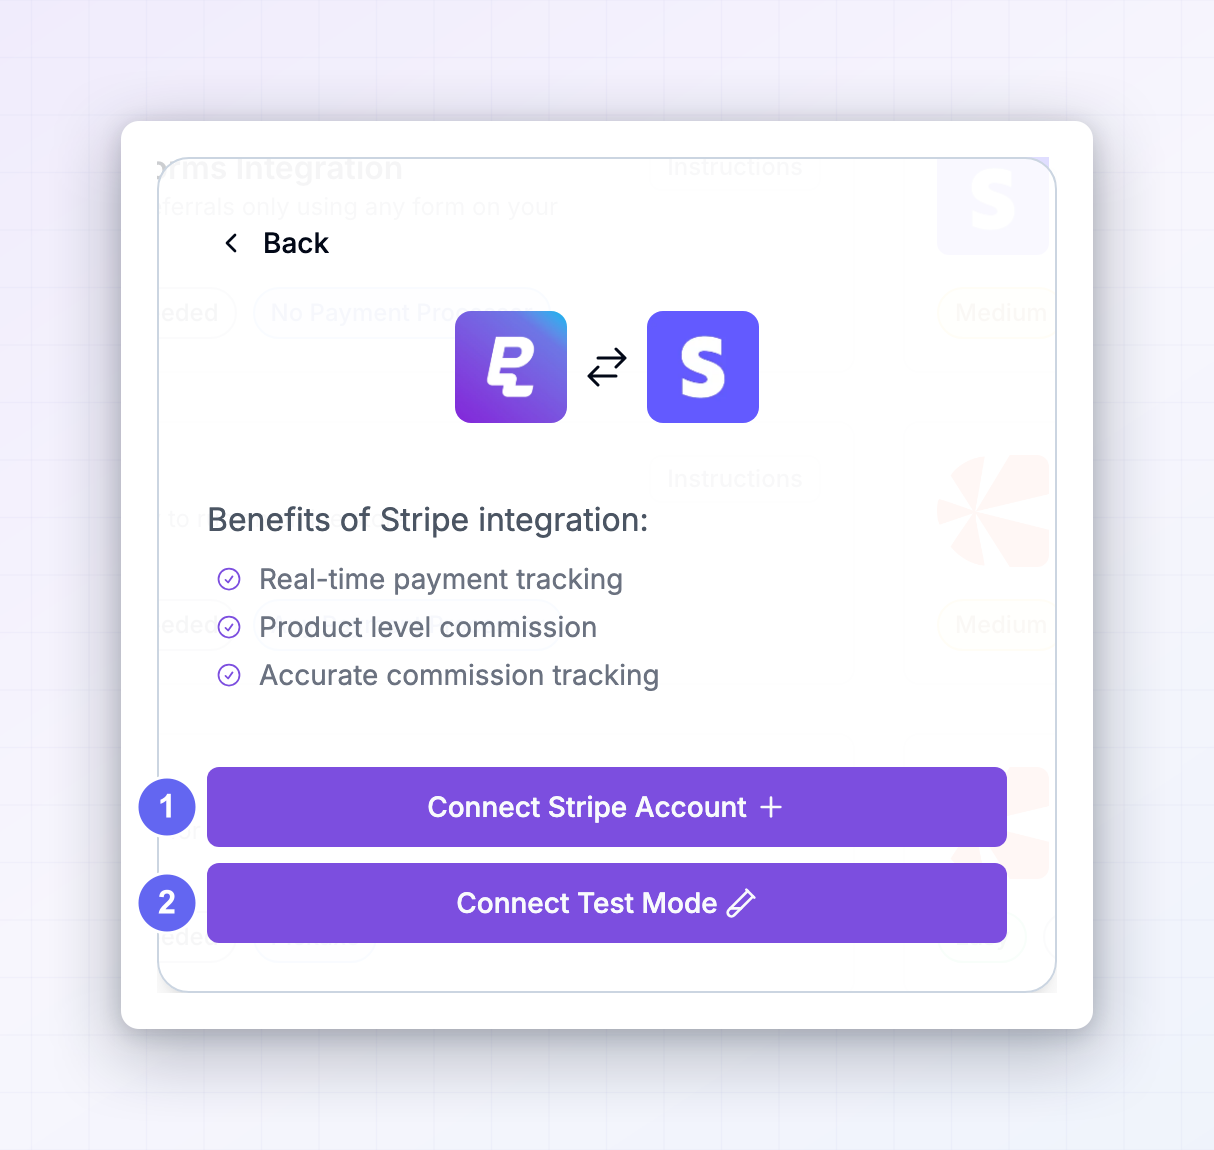
3
Authorize Referly in Stripe
A Stripe page opens in a new tab. Sign in if you’re asked to, pick the account you want to connect from the account picker at the top, and confirm. Stripe’s own walkthrough of this screen is in their connected accounts documentation.If you’re connecting test mode, make sure the account picker is showing a sandbox before you confirm. Stripe explains how sandboxes work in their test mode guide.
4
Confirm the connection
You’re sent back to Referly. The Stripe panel now shows a green Connected badge with your account name, or a yellow Test Mode badge if you connected a sandbox.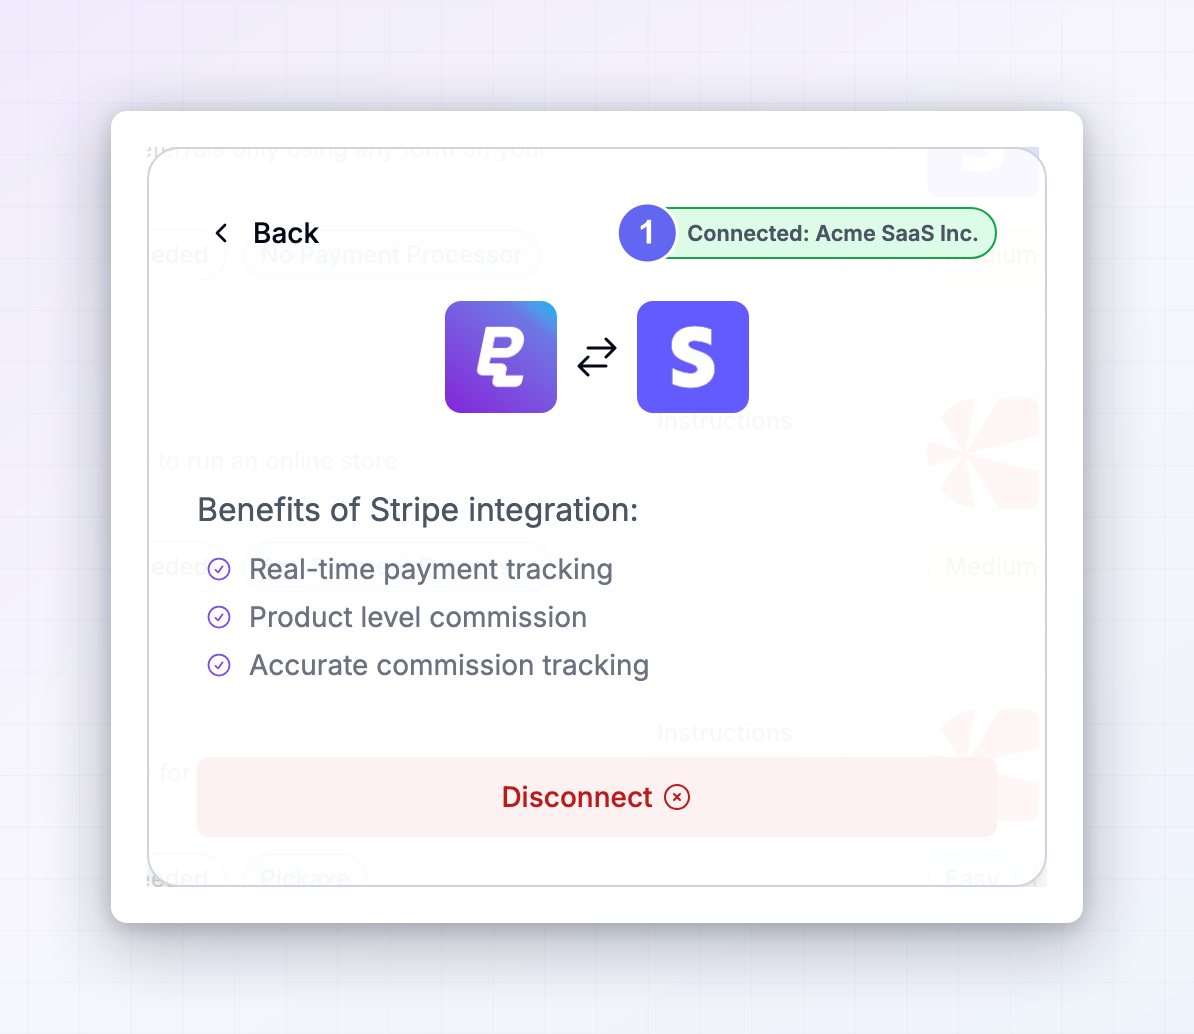
Step 3: Read the referral identifier in your frontend
Once the script from Step 1 is on the page, it makes the referral identifier available to the rest of your frontend code aswindow.affiliateId.
There’s a timing detail that matters. When someone lands with a referral link, the script first sets window.affiliateId to the affiliate’s code, then swaps it for a numeric click ID as soon as it has registered the click with Referly. Both values work for attribution, but only the numeric click ID connects the sale to the exact click, which is what makes your click-to-sale reporting accurate.
So read the value at the moment the customer starts checkout, not when the page first loads. If you need to know the instant it’s ready, listen for the affiliate_id_ready event:
window.affiliateId is empty for visitors who didn’t arrive through a referral link. That’s normal — send null and Referly records the sale without an affiliate.Step 4: Attach the identifier to the Checkout Session
In your backend, put the value you just received onto the Checkout Session. Referly reads it from any of these three places, so pick whichever suits your code:Using client_reference_id
Using metadata instead
Recommended for subscriptions
For a subscription, also copy the identifier onto the subscription itself. Referly reads it when the subscription is created, which means the referral is recorded even in the rare cases where the Checkout Session event doesn’t reach it first.How free trials behave
If your plan starts with a free trial, the subscription is created but no money moves. Referly records the referral straight away, with the plan name and an Active status, and no reward yet. When the trial ends and the first payment succeeds, the sale and the commission are created then. This is usually what you want: affiliates see the trial as progress, and only get paid when it converts. If you’d rather hold rewards even longer, use the holding period.Track sign-ups before payment
By default the referral appears when checkout completes. If you want it to appear the moment someone signs up — before they’ve paid anything — create the Stripe Customer yourself at sign-up and put the identifier in the customer’s metadata:What wins when both are present
Sometimes more than one signal points at an affiliate. Referly resolves it in this order:- An affiliate’s promo code used at checkout. If the Stripe promotion code on the order belongs to one of your affiliates, that affiliate gets the sale, even if the click came from someone else. See coupons and promo codes.
- The identifier you passed on the session. The click ID or affiliate code from Steps 3 and 4.
- The customer’s email matching an existing referral. This is what makes renewals work: a renewal payment carries no click ID, so Referly matches the email to the referral created at the first purchase and pays the same affiliate again.
Point 3 is why the email matters. If a customer’s email in Stripe changes between the first payment and a renewal, the renewal won’t find the original referral and the commission won’t be paid.
Step 5: Test the whole flow
Test before you send a single affiliate link out. Do it with your Stripe connection showing the yellow Test Mode badge.1
Switch Stripe to a sandbox
In the Stripe Dashboard, use the account picker at the top to switch into a sandbox. Point your app at your test API keys — Stripe’s API keys guide explains where to find them.
2
Visit your site through a referral link
Open your site with a real affiliate’s link, for example
your-domain.com?ref=THEIRCODE. Use a private window so you start clean.3
Check the identifier is there
Open your browser’s developer console and type
window.affiliateId. You should get a value back. If it’s empty, go back to Step 1 — the script isn’t running.4
Buy something with a test card
Go through your own checkout and pay with Stripe’s test card
4242 4242 4242 4242, any future expiry date, and any three-digit security code. The full list is in Stripe’s testing guide.5
Confirm it in Stripe
In the Stripe Dashboard, open the payment and check the Checkout Session carries your value in Client reference ID or in metadata. If it isn’t there, the problem is in your backend code, not in Referly.
6
Confirm it in Referly
Open Referrals in the left sidebar. The customer should be listed against the right affiliate, with the plan name filled in. Then open Rewards — the commission for the payment should be there.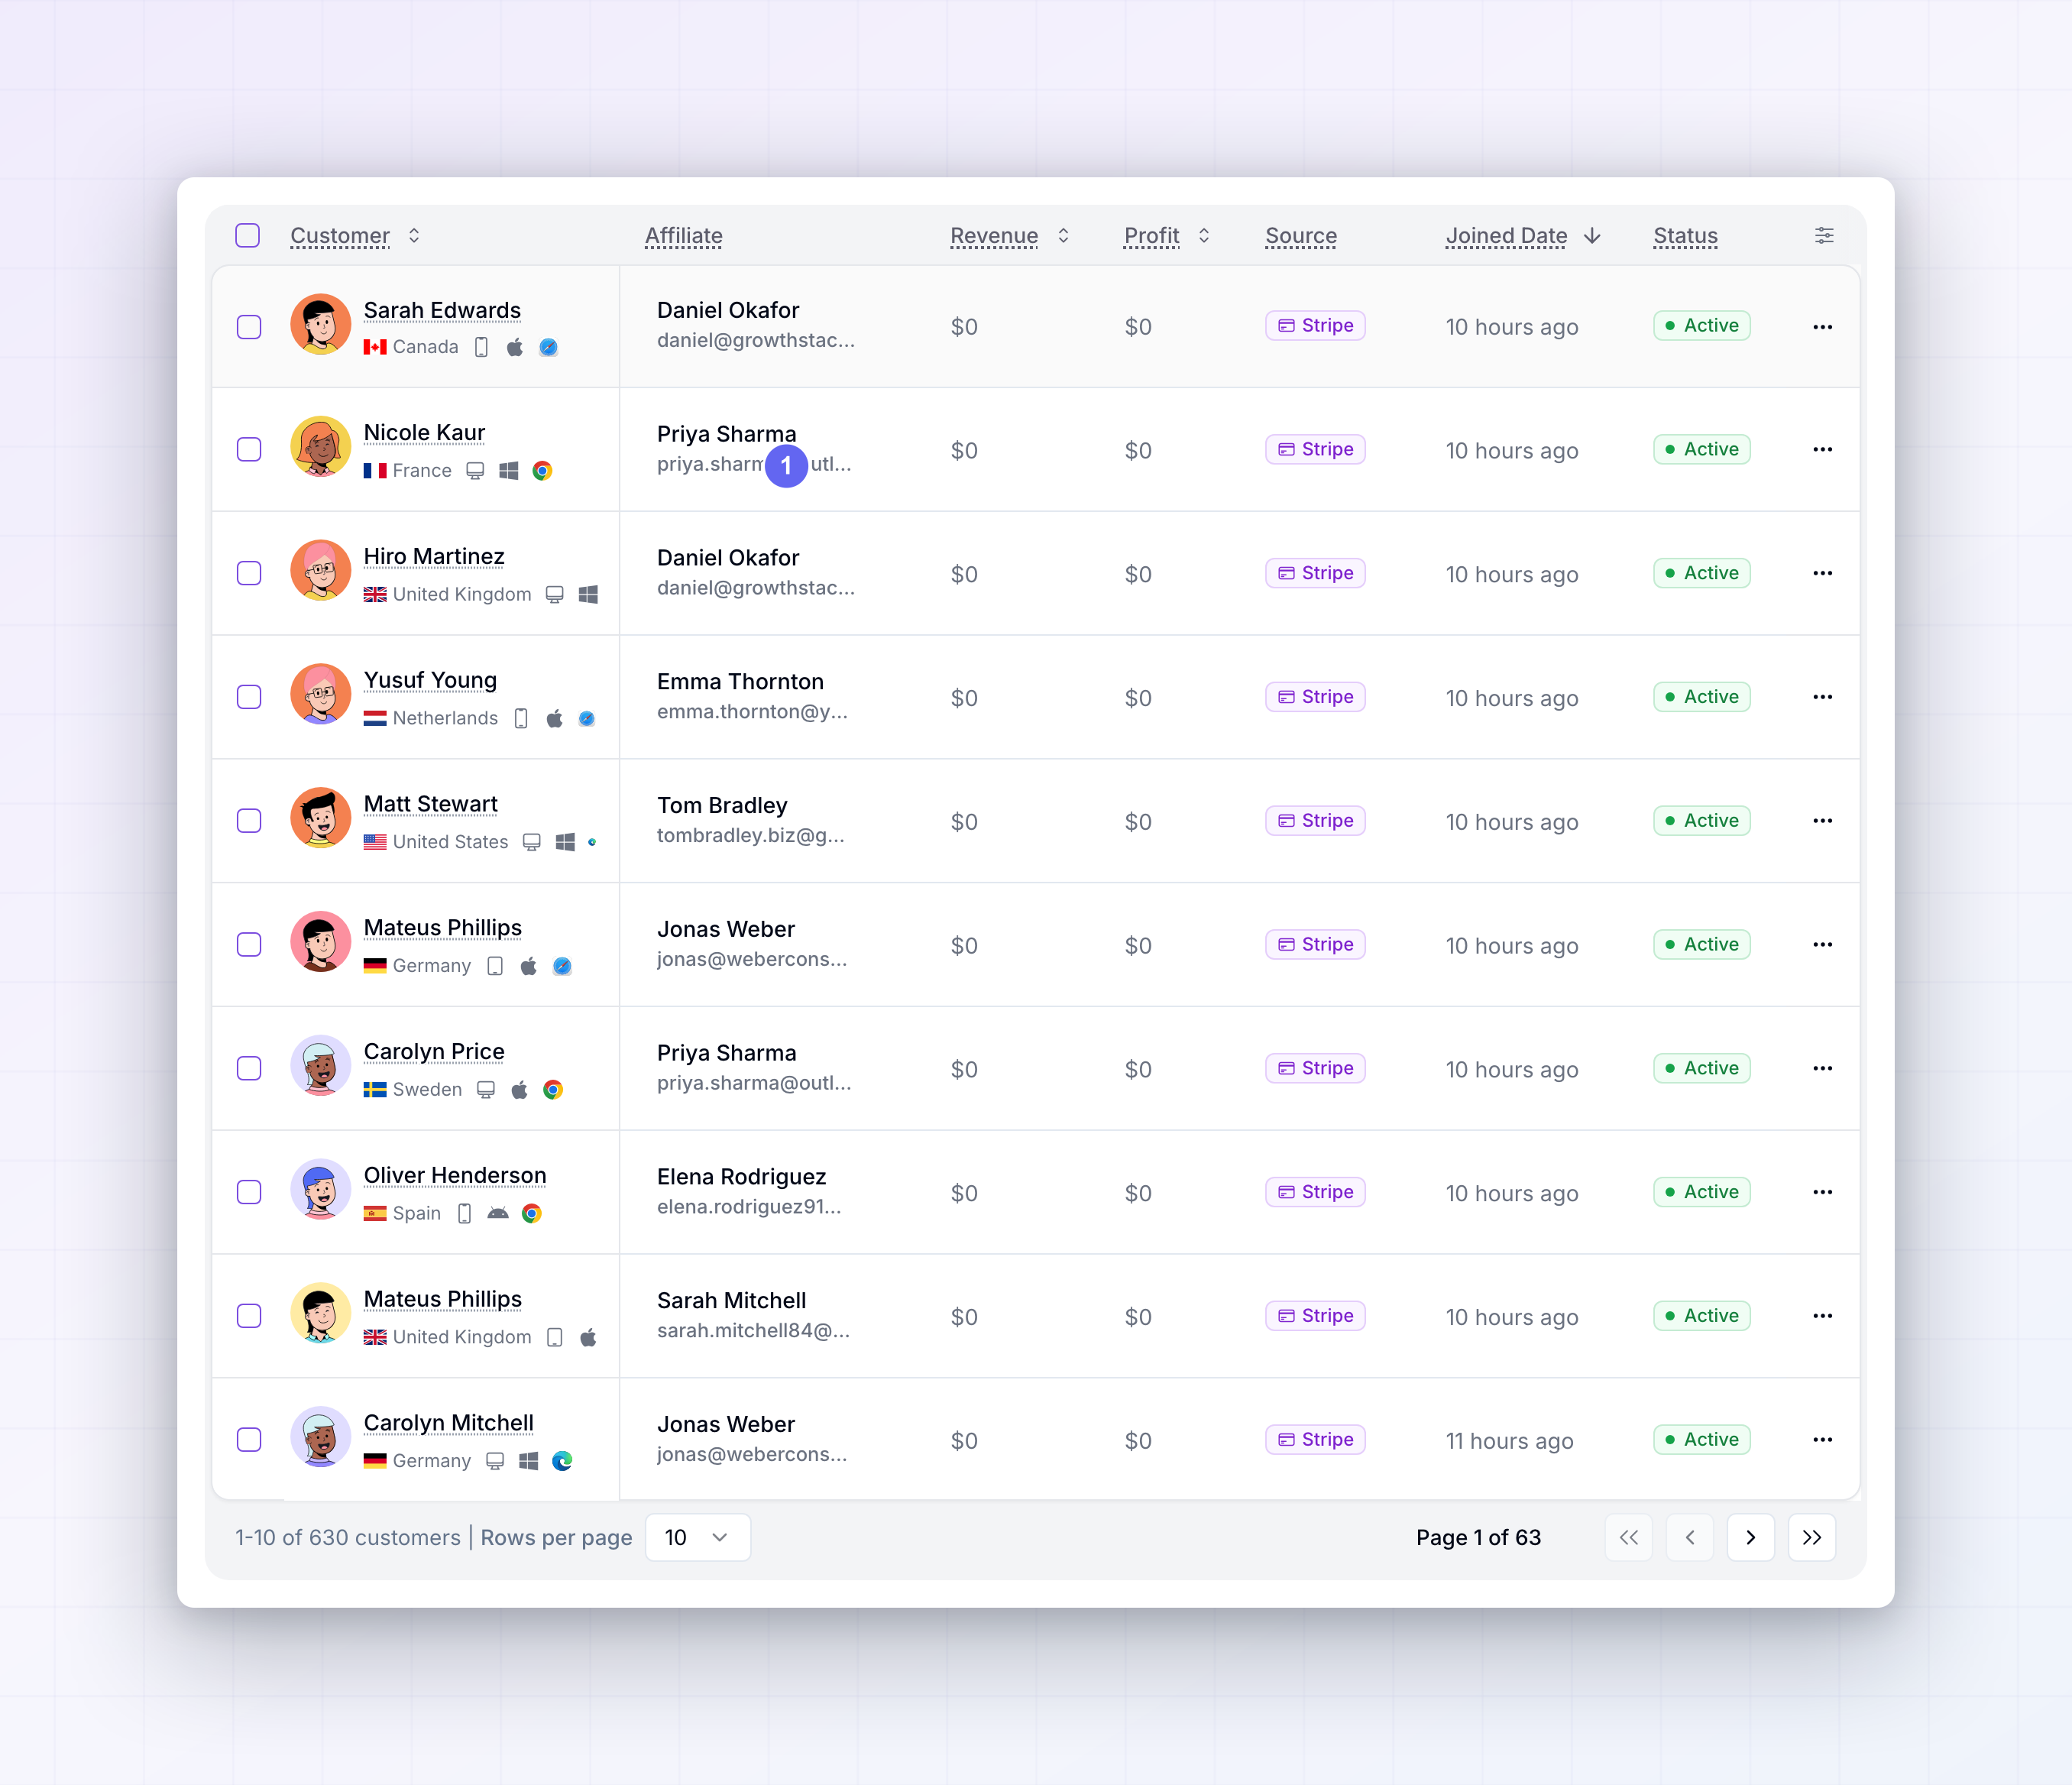
When the referral shows the right affiliate and the reward shows the right amount, your integration is working. Repeat the test once in live mode with a small real payment you refund afterwards — the refund should void the reward.
Go live
When your test passes:- On the Integrations page, open the Stripe panel and select Disconnect.
- Select Connect Stripe Account and authorize your live Stripe account.
- Confirm the badge is now green and reads Connected.
- Deploy your app with your live Stripe keys.
Troubleshooting
The sale is in Referly but no affiliate is attached
The sale is in Referly but no affiliate is attached
The identifier didn’t reach Stripe. Open the Checkout Session in the Stripe Dashboard and look for Client reference ID or your metadata key. If it’s empty, your frontend read
window.affiliateId before the script had set it, or the value wasn’t passed through to your backend. Log the value at the moment you create the session and check what you’re getting.Nothing appears in Referly at all
Nothing appears in Referly at all
Nine times out of ten this is the test-mode mismatch. Check the badge on the Stripe panel: a yellow Test Mode badge means live payments are ignored, and a green Connected badge means test payments are ignored. Reconnect in the mode you’re actually testing in.If the badge is right, confirm the payment succeeded in Stripe — an incomplete or failed payment never creates a sale.
The referral appeared but there's no reward
The referral appeared but there's no reward
A referral with no reward is normal for a free trial, or for a checkout that didn’t take a payment yet. The reward is created when money actually moves. If a payment did succeed and there’s still no reward, check that the affiliate is on a commission plan that covers the product they sold.
The wrong affiliate got the sale
The wrong affiliate got the sale
Check whether a promo code was used. An affiliate’s promo code takes priority over the click, so a customer who clicked one affiliate’s link but typed another affiliate’s code at checkout is credited to the code owner. You can move the sale by changing the referral’s affiliate.
Renewals aren't paying commission
Renewals aren't paying commission
Renewals are matched by the customer’s email address. Compare the email on the Stripe customer with the email on the referral in Referly — if they differ, the link is broken. This usually happens when a customer changes their email in Stripe, or when the first purchase was made as a guest with a different address.
The sale showed up late
The sale showed up late
If a payment arrives before Referly has finished creating the referral, the payment is held and retried a few minutes later rather than dropped. Wait about ten minutes before assuming a sale is missing.
Related
Stripe integration overview
Every way to connect Stripe, and which one fits you.
Stripe Payment Links
Track referrals without writing any backend code.
Tracking methods
Set your cookie duration and how clicks are attributed.
Refunds
What happens to a reward when a Stripe payment is refunded.