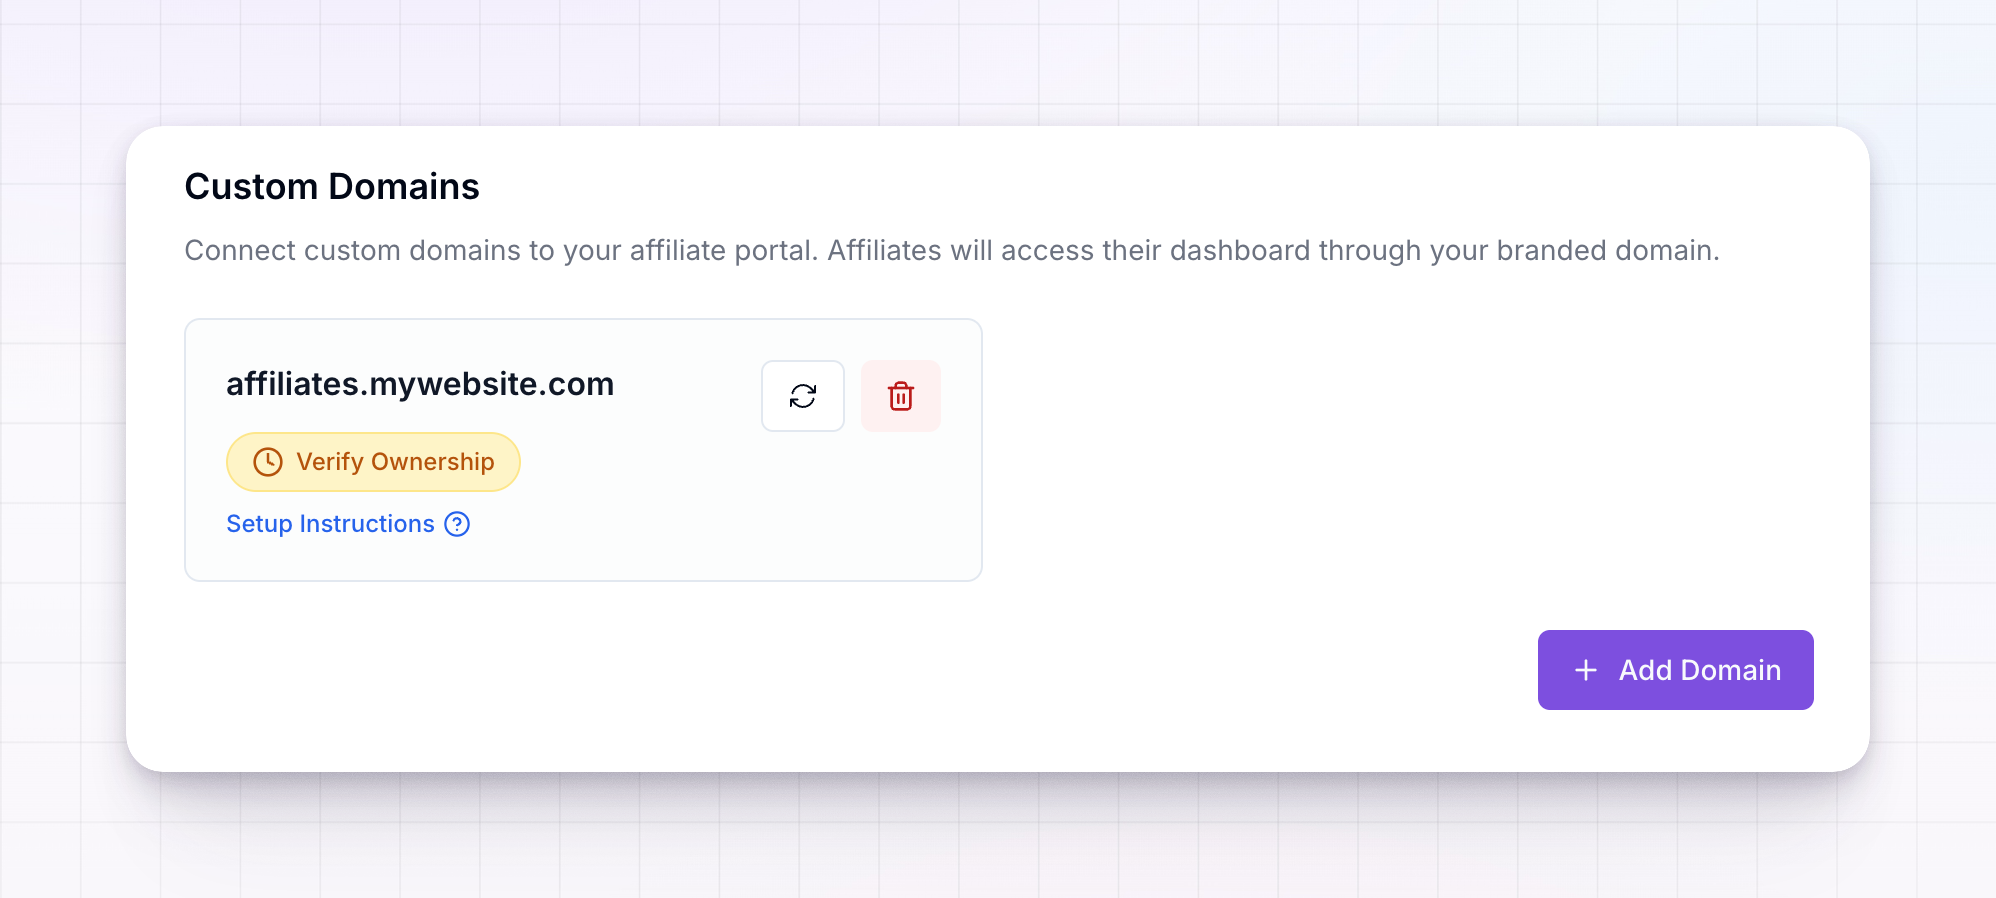
yourprogram.referly.so. A custom domain puts it on your own web address instead — something like partners.yourbrand.com — so affiliates never see another company’s name when they log in to check their earnings.
To find it, open Settings from the left sidebar, go to Affiliate Portal, then select Custom Domain.
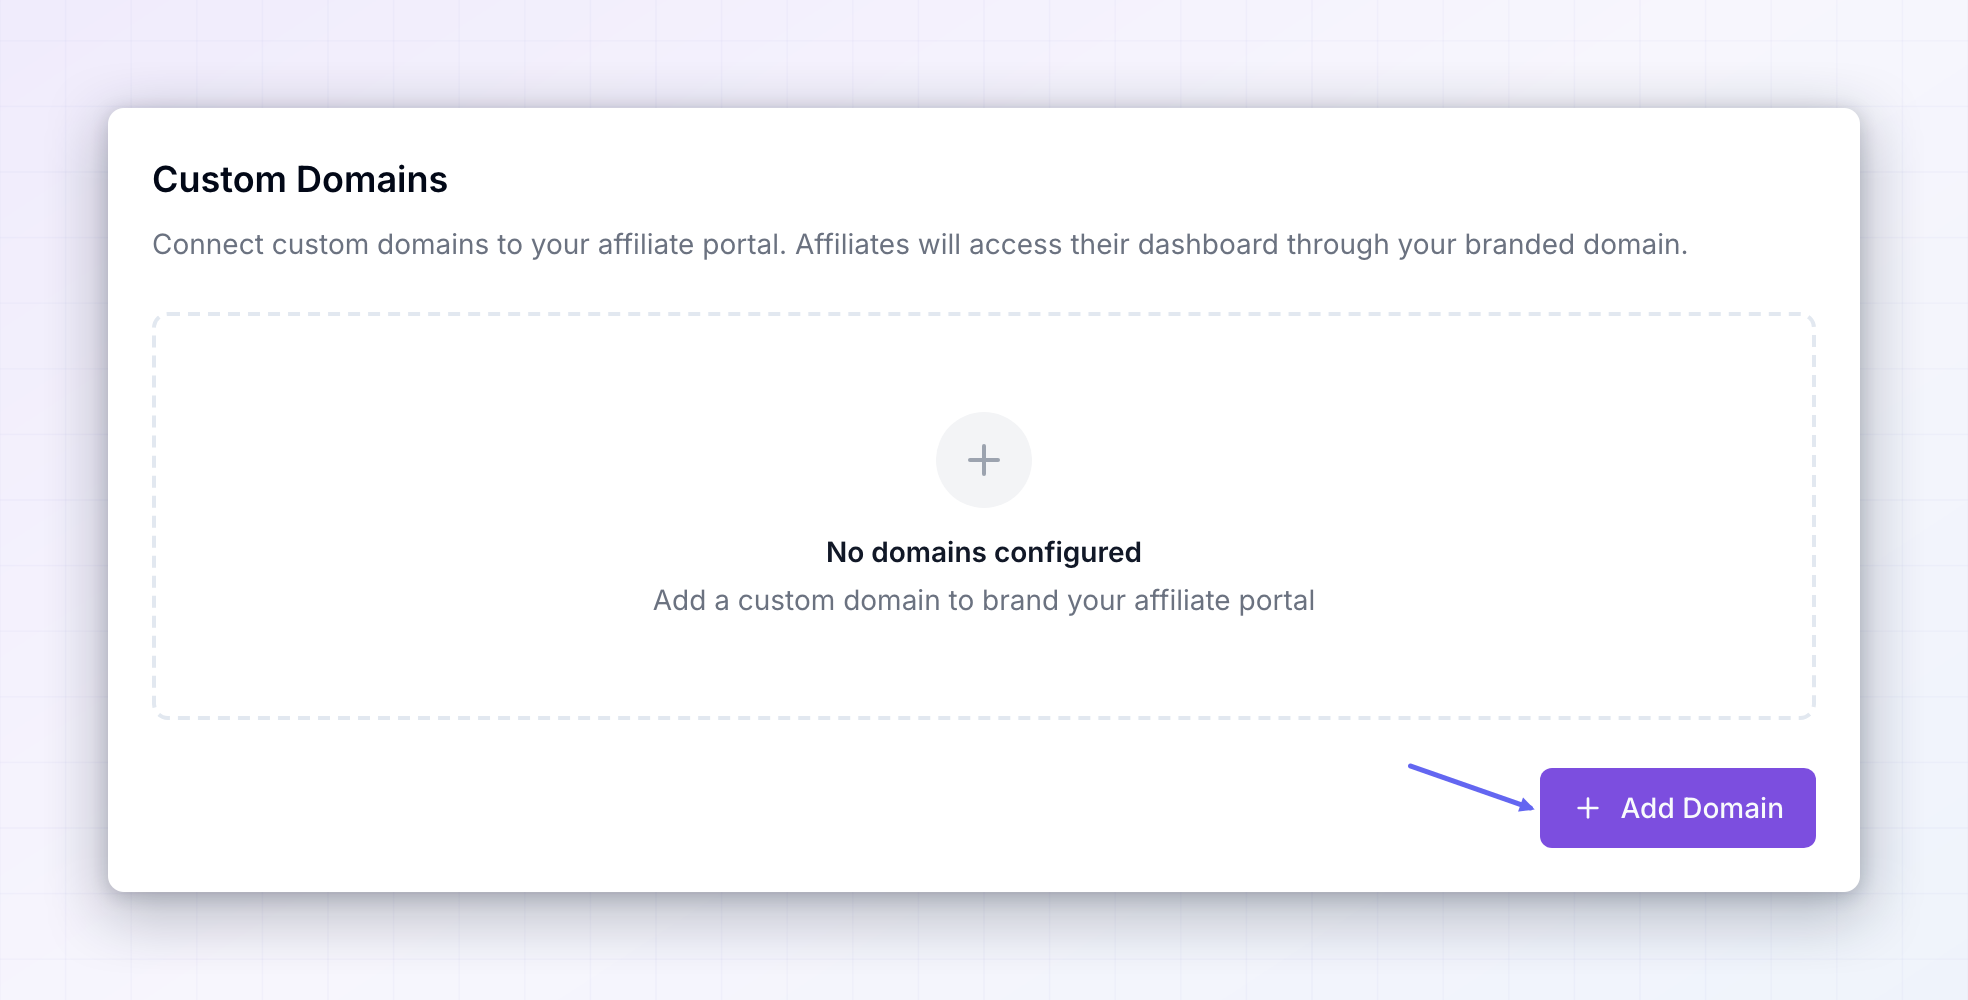
Custom domains need a plan that includes them, and they aren’t available during a free trial. If yours doesn’t include it, the Add Domain button appears locked. See plans and features.
You’ll need access to wherever your domain’s DNS settings are managed — usually the company you bought the domain from, such as GoDaddy, Namecheap, or Cloudflare. If someone else manages that for you, send them the records from the table below.
Add your domain
Select Add Domain. In the Add Custom Domain window, type the address you want your portal to live at in the Domain Name field, then select Add Domain.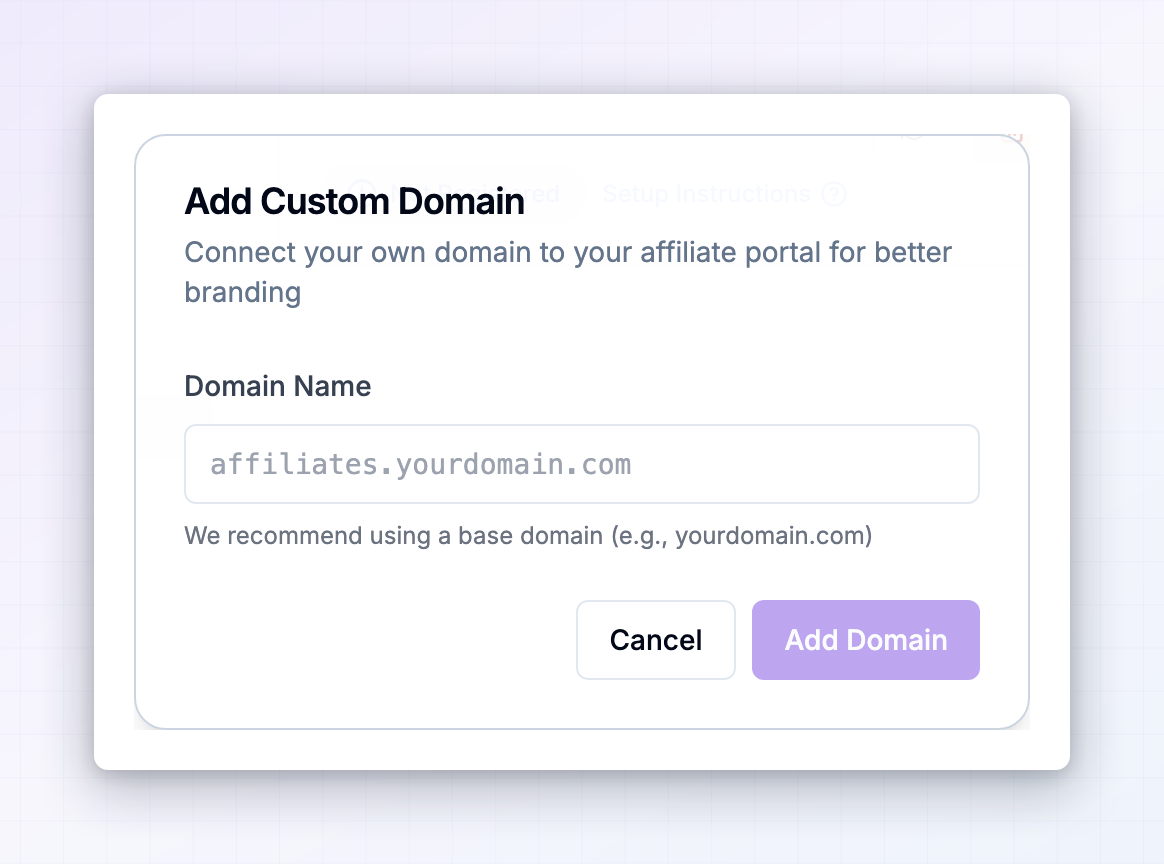 Most people use a subdomain of their main site, like
 partners.yourbrand.com or affiliates.yourbrand.com. Pick something your affiliates will recognize.
The domain appears in the list right away with a status showing it isn’t live yet. That’s expected — you haven’t pointed it at Referly yet.
Point your domain at Referly
On the domain’s card, select Setup Instructions to open the DNS Configuration window. It shows a table of the records you need to create, with a Type, a Name, and a Value for each.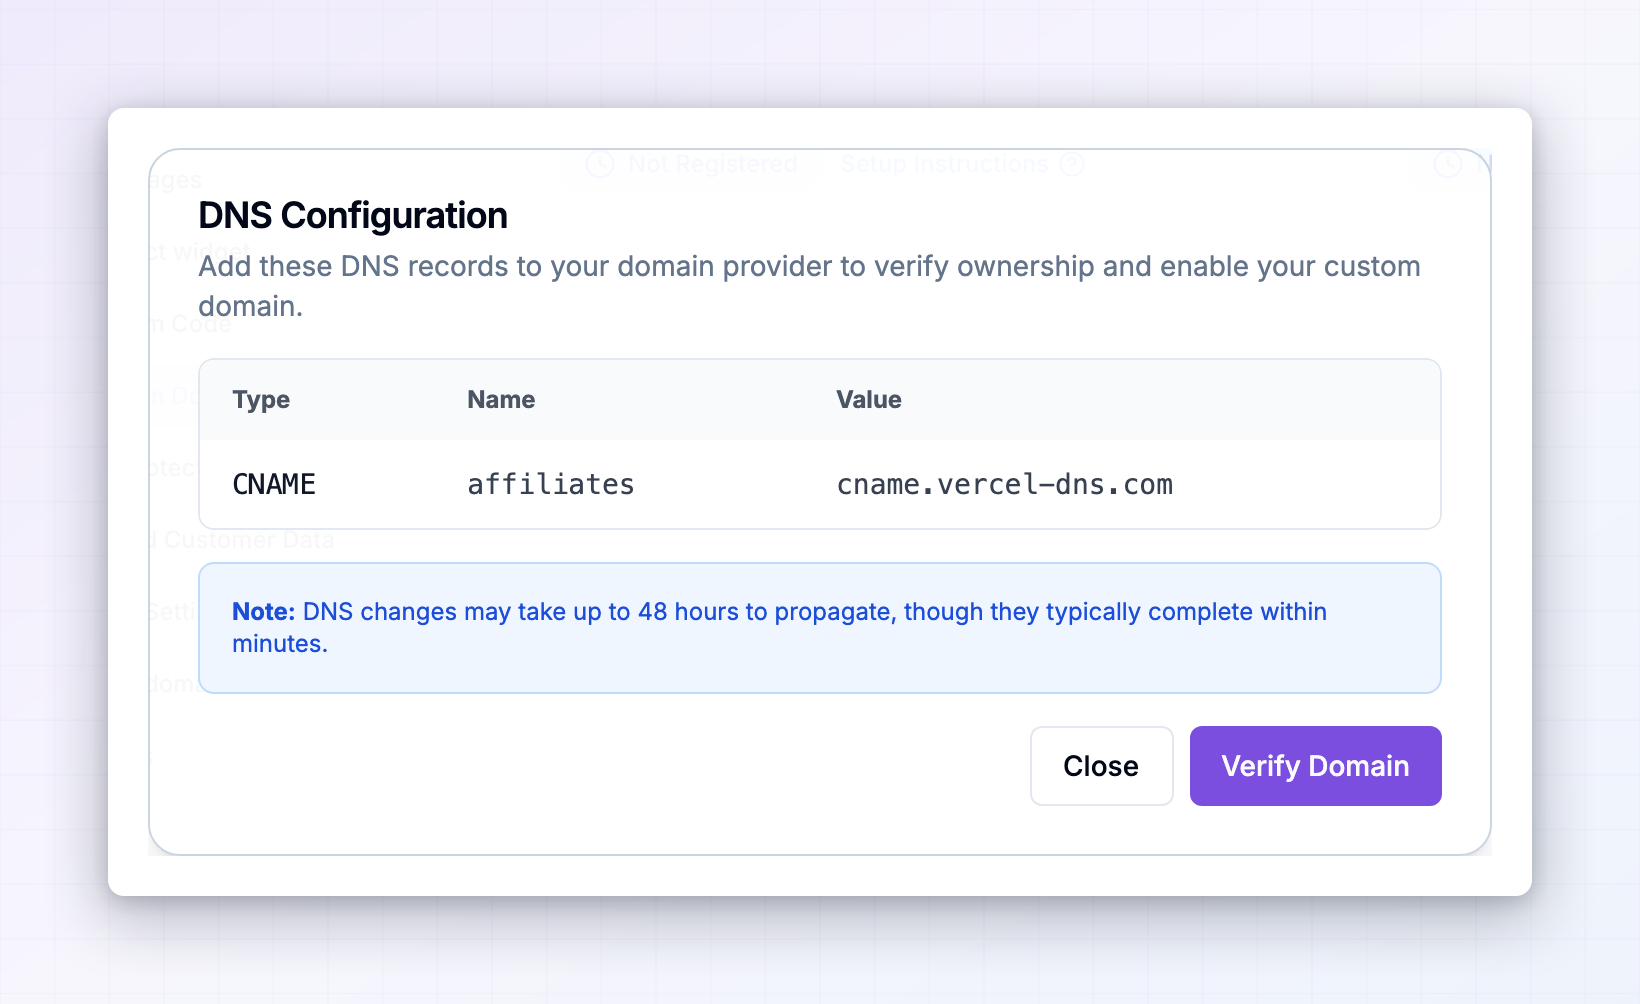 What you’ll see depends on the kind of address you added:
- For a subdomain like
partners.yourbrand.com, you get a CNAME record. The Name is the first part of your address, such aspartners. - For a root domain like
yourbrand.com, you get an A record with a Name of@. - You may also see an extra TXT record. That one proves you own the domain, and it’s only needed sometimes.
1
Open your DNS settings
Sign in to wherever your domain is managed and find the DNS records area. It’s often called “DNS”, “DNS Management”, or “Advanced DNS”.
2
Create each record from the table
Add a new record for every row, copying the Type, Name, and Value exactly as shown on your screen. Copy the values from your own table rather than from any example — they’re generated for your domain.
3
Save at your DNS provider
Save the records. If your provider asks for a TTL and you have no preference, leave the default.
Verify the domain
Back in Referly, select Verify Domain in the DNS Configuration window, or use the refresh button on the domain’s card to check again at any time. DNS changes usually take effect within a few minutes, but they can take up to 48 hours. If it doesn’t work the first time, that’s normal — wait a little and check again. You’ll see a message telling you it isn’t verified yet rather than an error.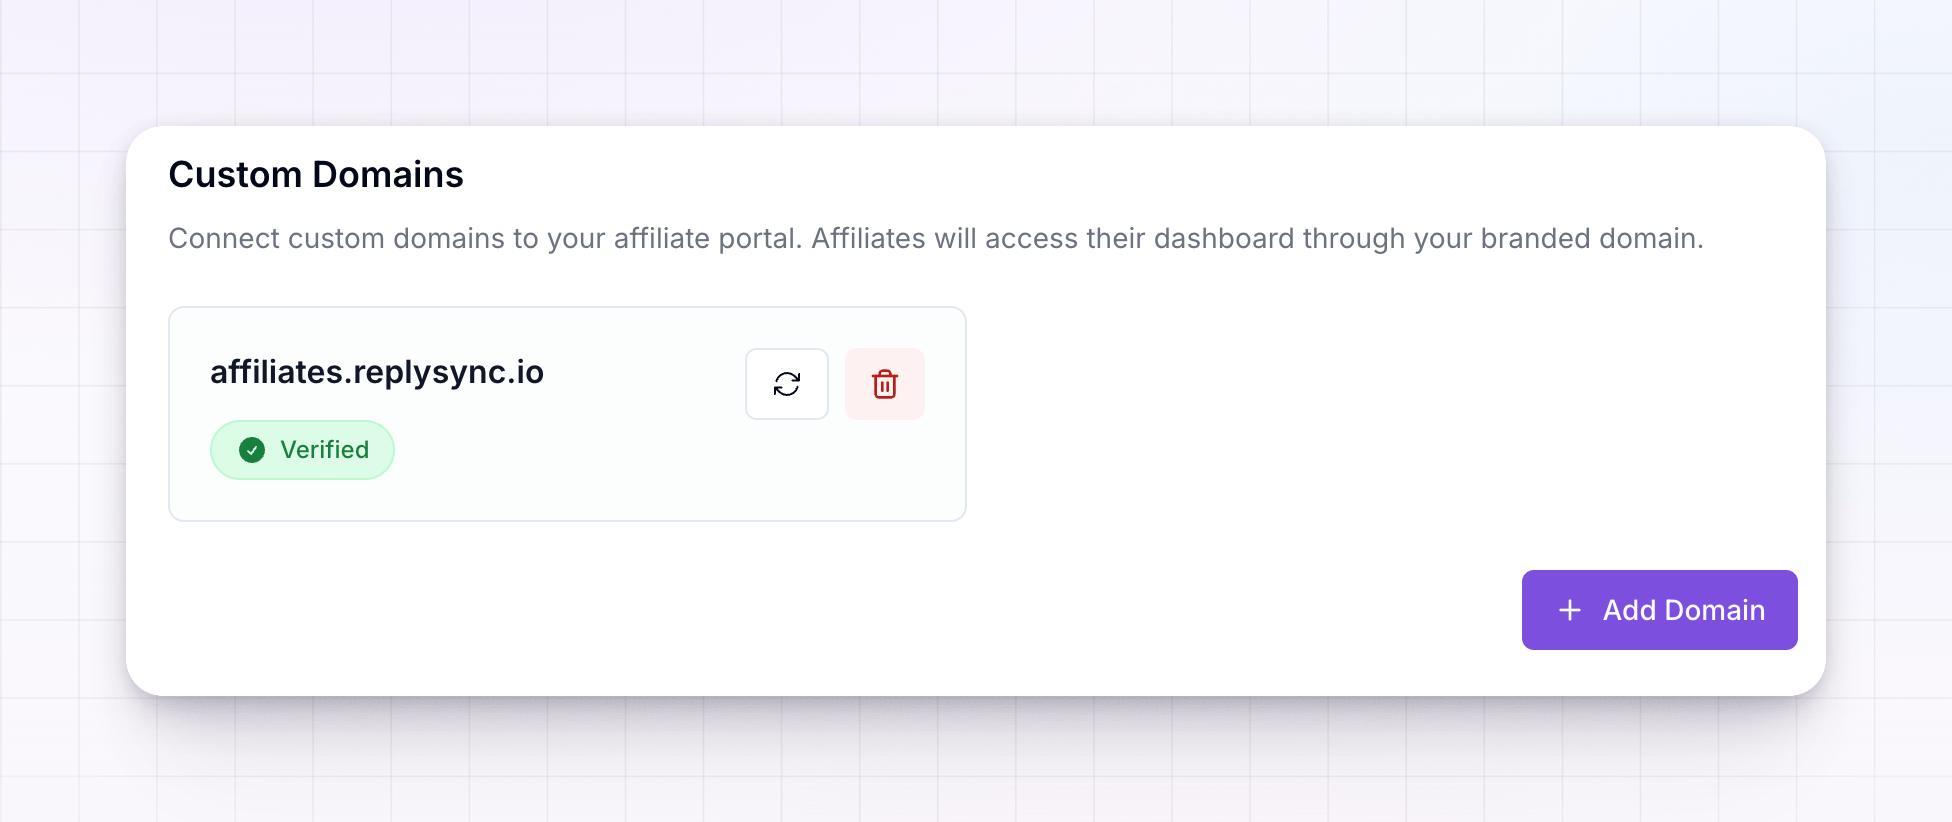 The status pill on the card tells you where things stand:
Once you see the green Verified pill, your portal is reachable at your own address. The secure padlock is set up for you, so there’s no certificate to buy or install.
What changes once it’s live
Your custom domain becomes the main address for your affiliate portal. Affiliates log in there, sign up there, and links to the portal use it. Your original Referly address keeps working, so anyone using an old bookmark isn’t stranded.Remove or change a domain
The trash button on a domain’s card removes it. Your portal falls back to your Referly address straight away, so do this outside of a busy period and let your affiliates know if they’ve bookmarked the old one. To move to a different address, add the new domain and verify it, then remove the old one. You can have more than one domain in the list, and the first one is the address your portal is served from.Related
Social login
Update your Google redirect address after changing domains.
Login and sign up
Customize the pages affiliates land on at your new address.
Agency custom domain
Agencies serving many client portals from one domain.
Plans and features
See which plan includes custom domains.