

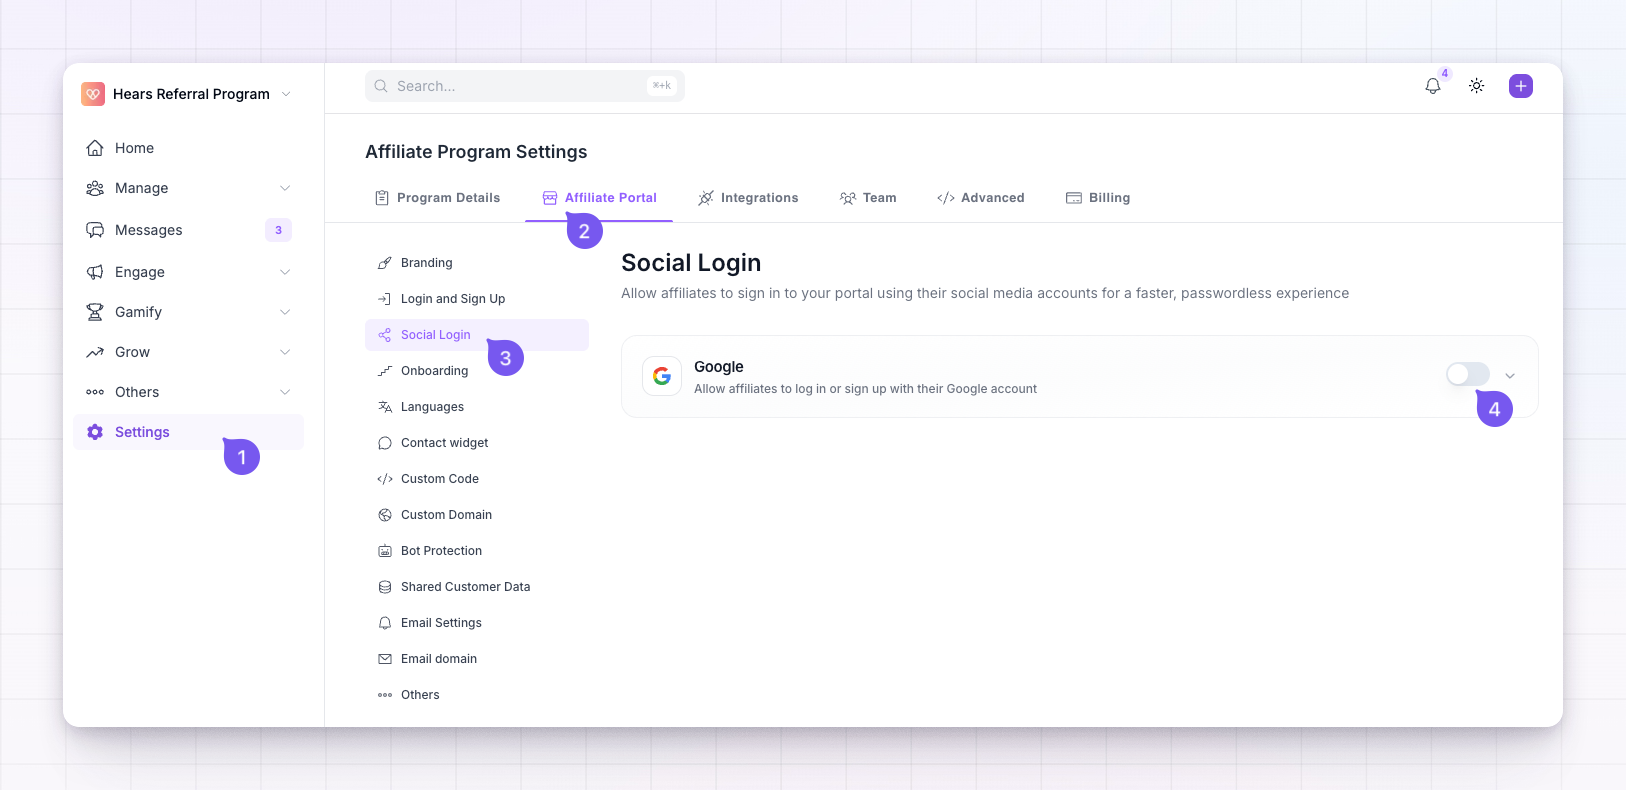
Social login is available on the Business plan or higher. On lower plans the settings appear locked. See plans and features for what each plan includes.
Turn on Google login
At the top of the page is a Google row with a switch on the right. Turn the switch on to open the setup panel underneath. Nothing is live for your affiliates until you add your credentials and save.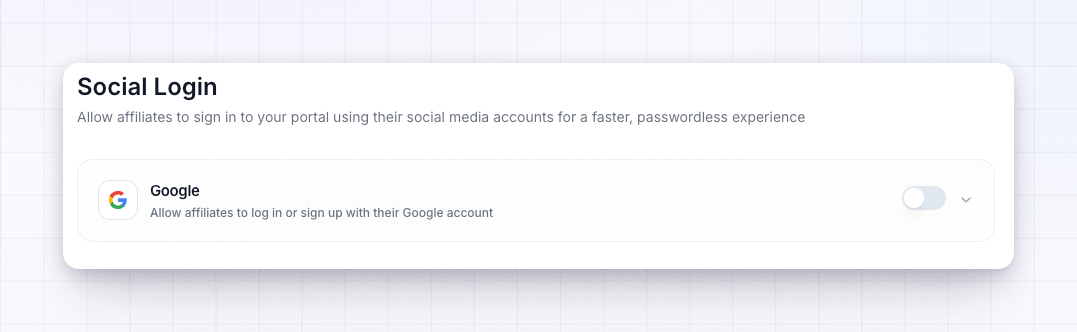 When Google login is on, the Client ID and Client Secret fields are both required. You can’t save until they’re filled in. The next section explains where those values come from.
Create your Google credentials
Your Client ID and Client Secret come from the Google Cloud Console, which is free. You create a project, set up a consent screen, and generate an OAuth client. This is the part that puts your brand on the Google sign-in screen your affiliates see.1
Create or pick a project
In the Google Cloud Console, create a new project (or choose an existing one). This is the container for your login setup.
2
Set up the consent screen
Go to APIs & Services, then OAuth consent screen. Add your app name, your support email, and your logo. This is exactly what affiliates see when they choose to continue with Google, so use your program’s name and logo here.
3
Create an OAuth client
Go to APIs & Services, then Credentials. Select Create Credentials, choose OAuth client ID, and pick Web application as the type.
4
Copy your Client ID and Client Secret
Google shows you a Client ID and a Client Secret. Copy each one and paste it into the matching field on the Social Login page in Referly.
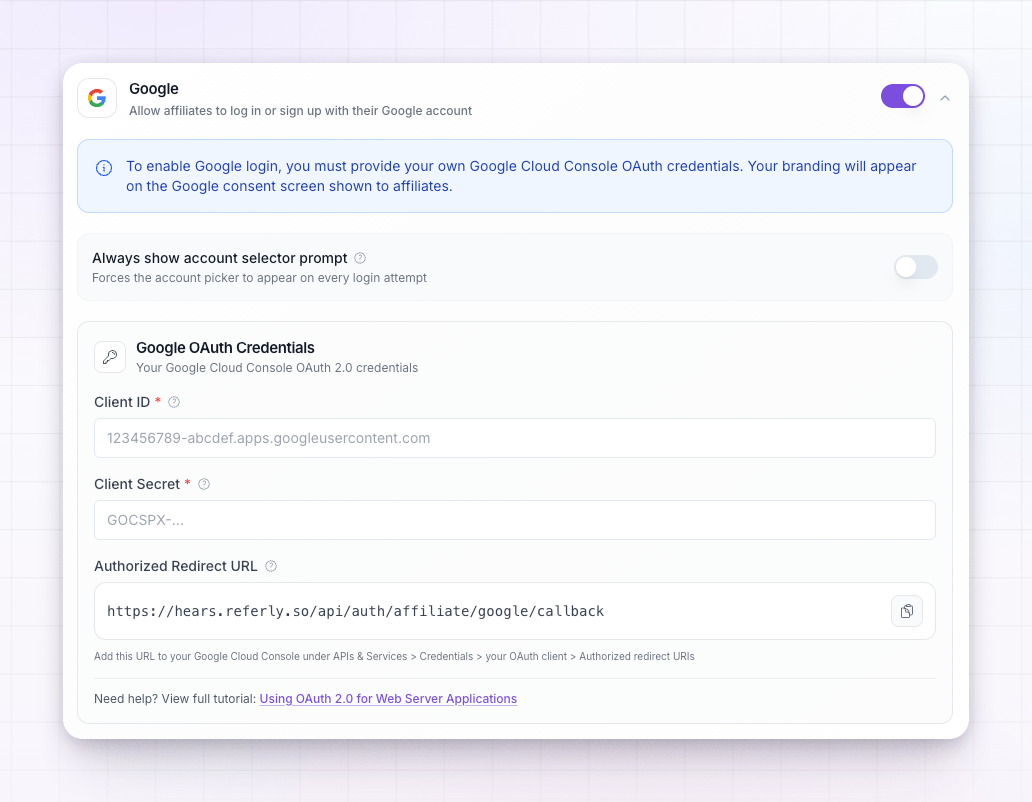 For Google’s own walkthrough, see their guide on using OAuth 2.0 for web server applications.
Add the authorized redirect URL
Google needs to know where to send affiliates back to after they sign in. Referly generates that address for you as the Authorized Redirect URL on the Social Login page.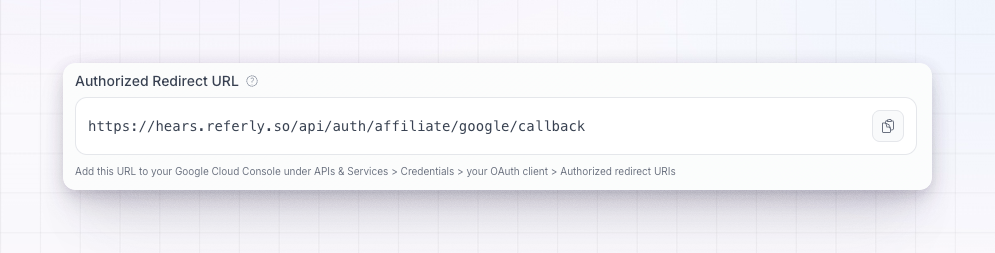 Select the copy button next to the Authorized Redirect URL field. Then, back in the Google Cloud Console, open your OAuth client under APIs & Services then Credentials, and paste the URL into the Authorized redirect URIs field. Save it in Google.
Choose whether to always show the account picker
The Always show account selector prompt switch controls what happens when an affiliate already has a Google account signed in on their device.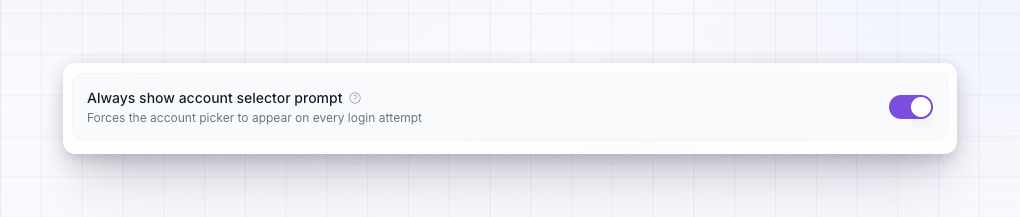 Leave it off and Google signs them in with their current account automatically for the smoothest experience. Turn it on and Google always asks them to pick which account to use, even when they only have one. This is useful for affiliates who share a computer or run more than one Google account.
Save your changes
When you’ve made a change, a Save Changes button appears at the bottom right. Select it to go live.When the “Social login settings saved” message appears, the Google button is live on your affiliate login and sign-up pages.
How it looks to your affiliates
Once it’s on, affiliates see a Login with Google button on the login page and a Sign up with Google button on the sign-up page, above the usual email and password form.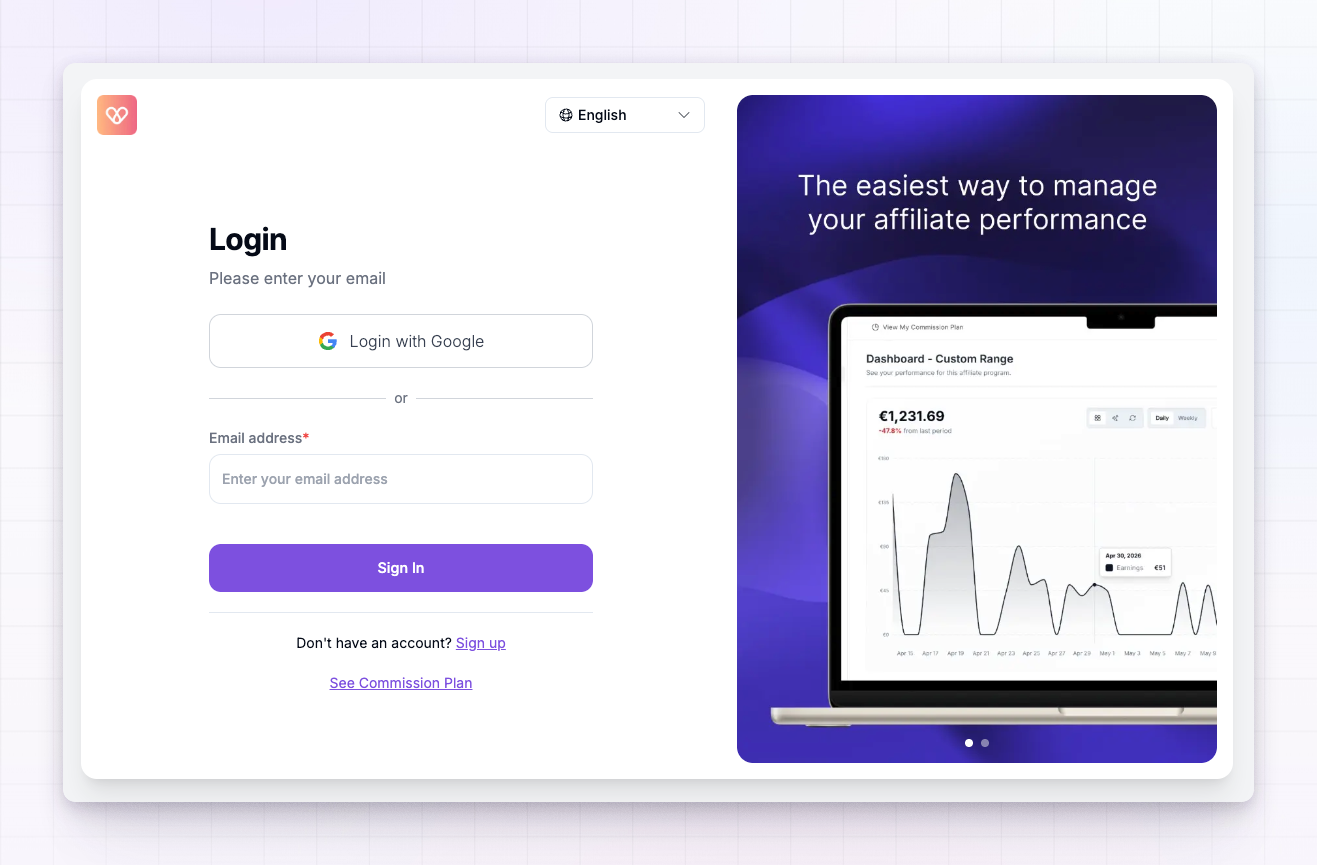 Social login sits alongside email and password, it doesn’t replace it. Affiliates can still use whichever they prefer, and someone who signs up with Google can keep using Google every time they come back. To change how the rest of these pages look, see setting up login and sign up.
Related
Login and sign up
Choose the layout and look of your login and sign-up pages.
Custom domain
Serve your portal from your own web address.
Onboarding
Set up what affiliates do right after they sign in.
Plans and features
See which plan unlocks social login.