

What to expect
Onboarding is a series of steps with a Step 1 of 4 style counter at the top, so you always know how much is left. At the bottom you’ll find Save and continue, Back, and — on steps the brand allows you to pass — Skip for now. Each brand decides which steps to include, what order they come in, and whether any of them can be skipped. That means the flow you get from one program won’t be identical to the next. A few brands turn onboarding off entirely and drop you straight into the portal. Summary is always the last step.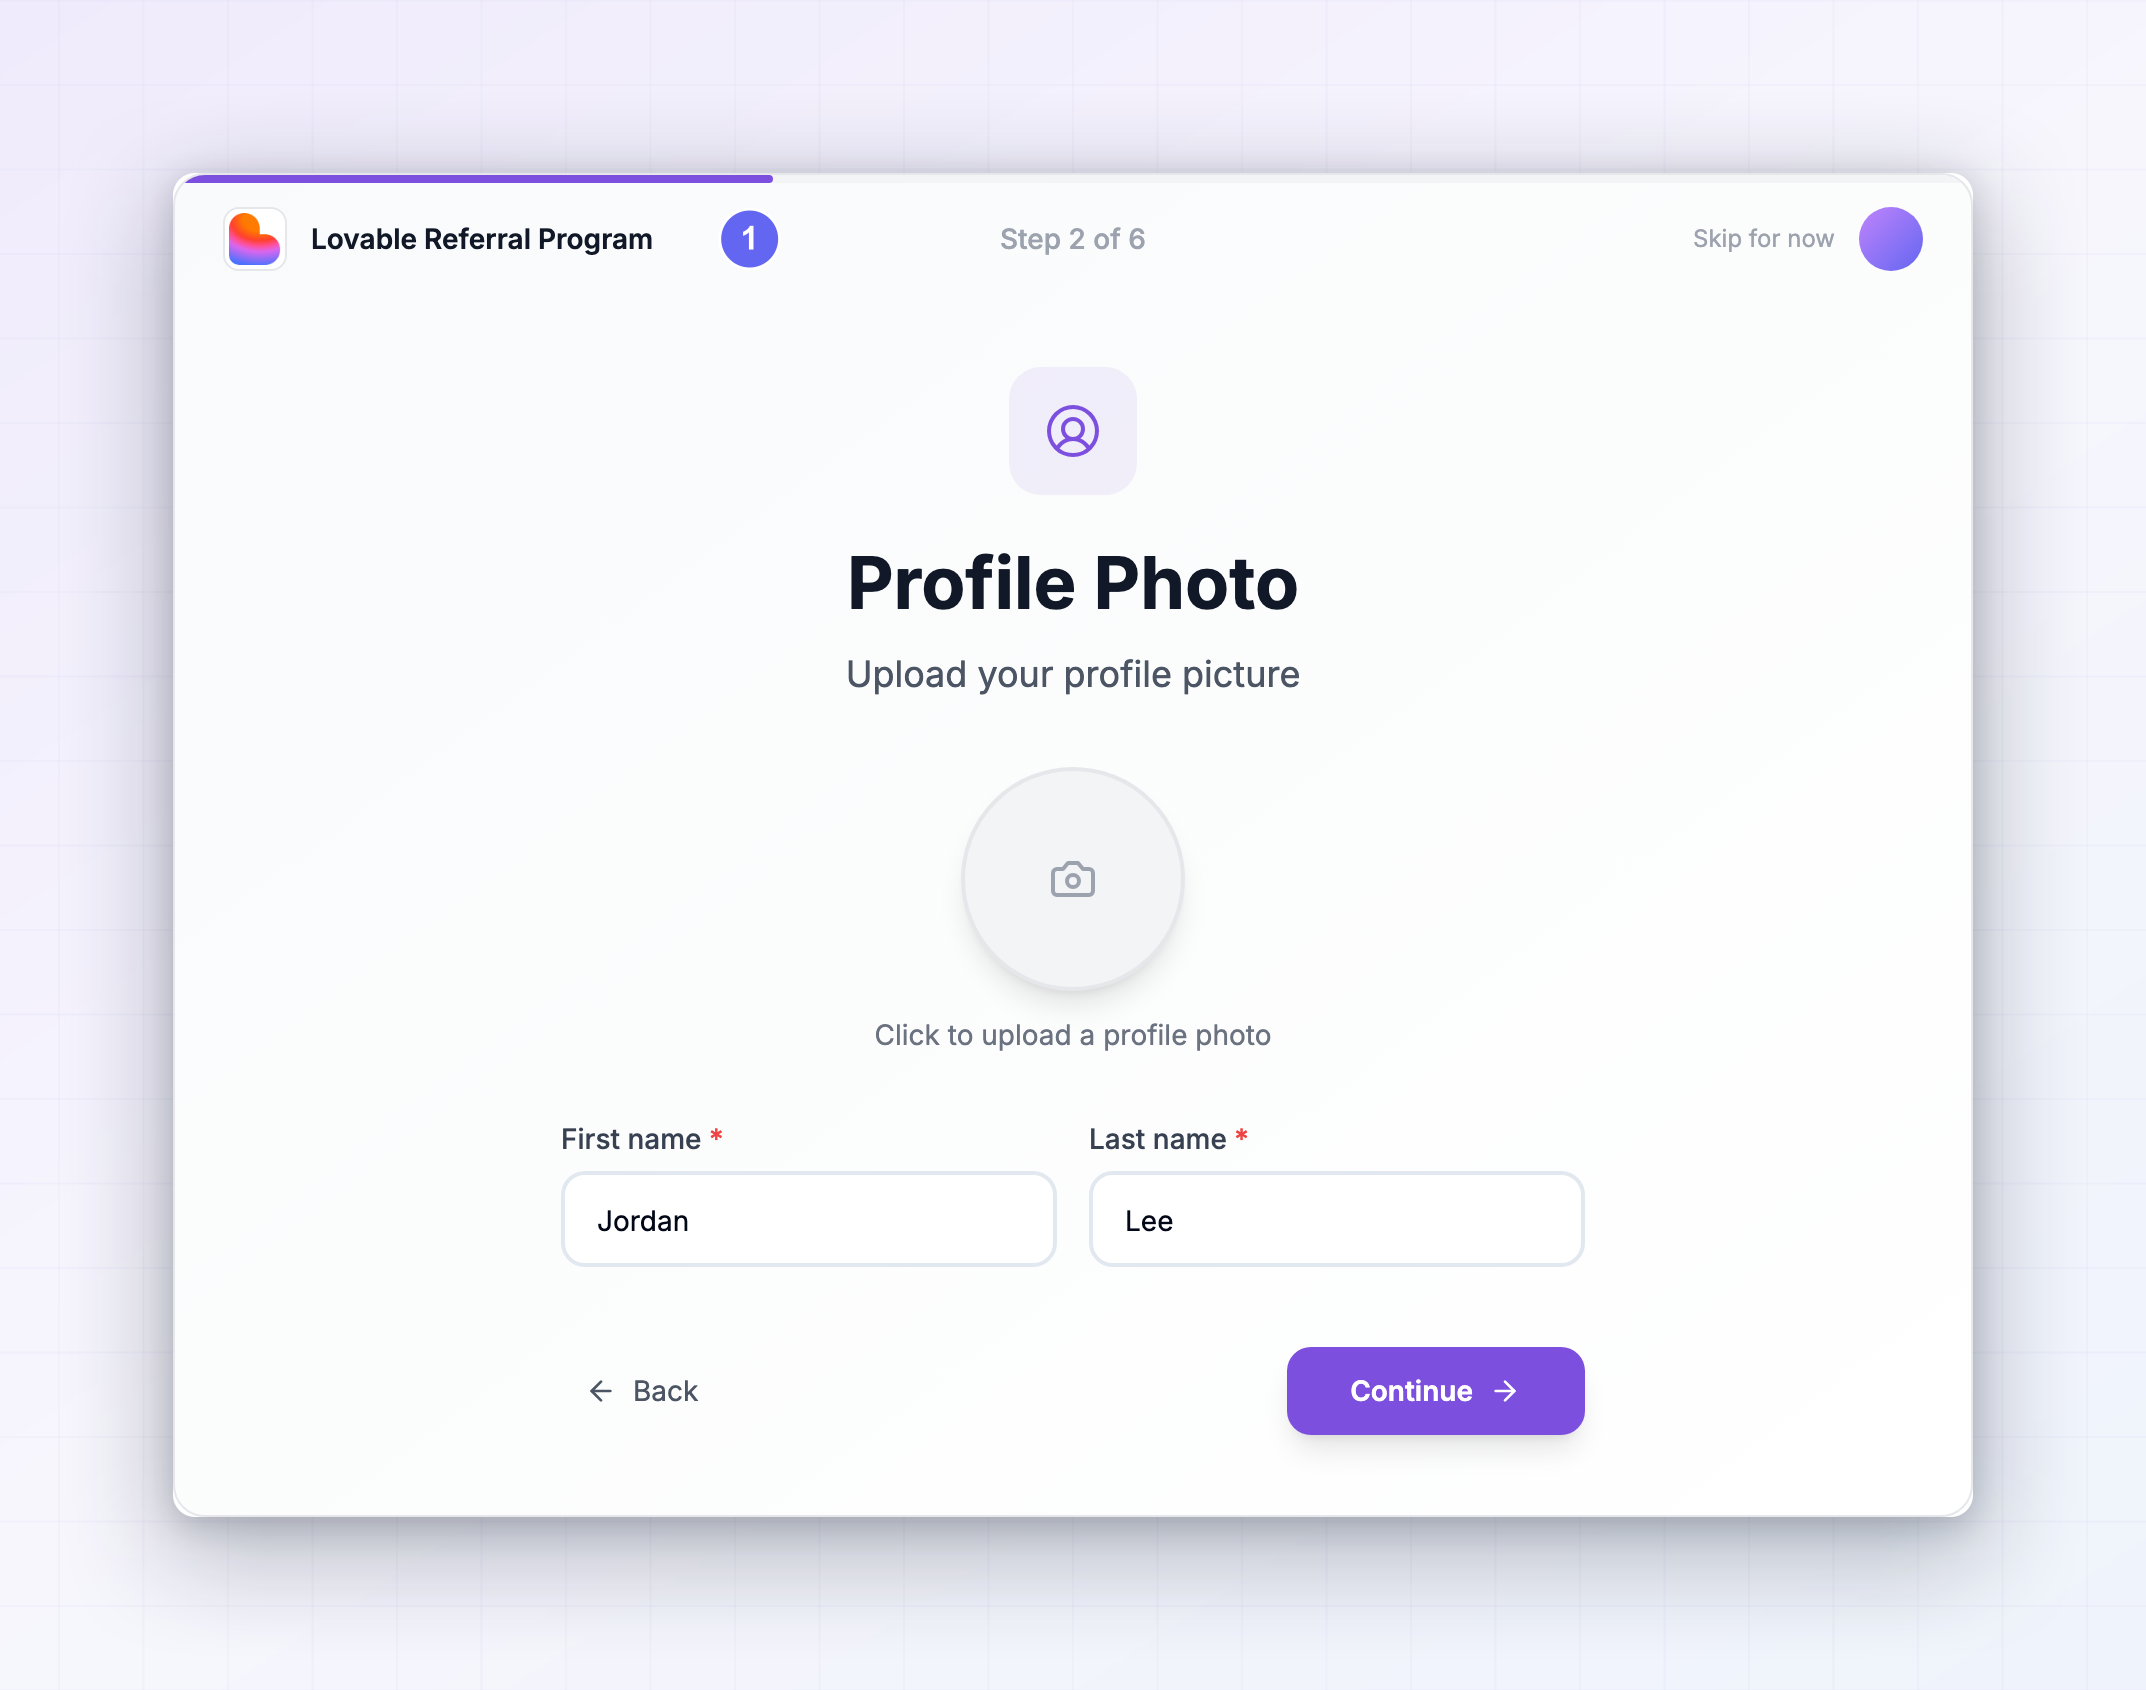
Some programs let you leave the whole flow with Skip onboarding. It’s there for when you’re in a hurry — but anything you skip, the brand doesn’t have, and payout details in particular have to exist before you can be paid.
Basic information
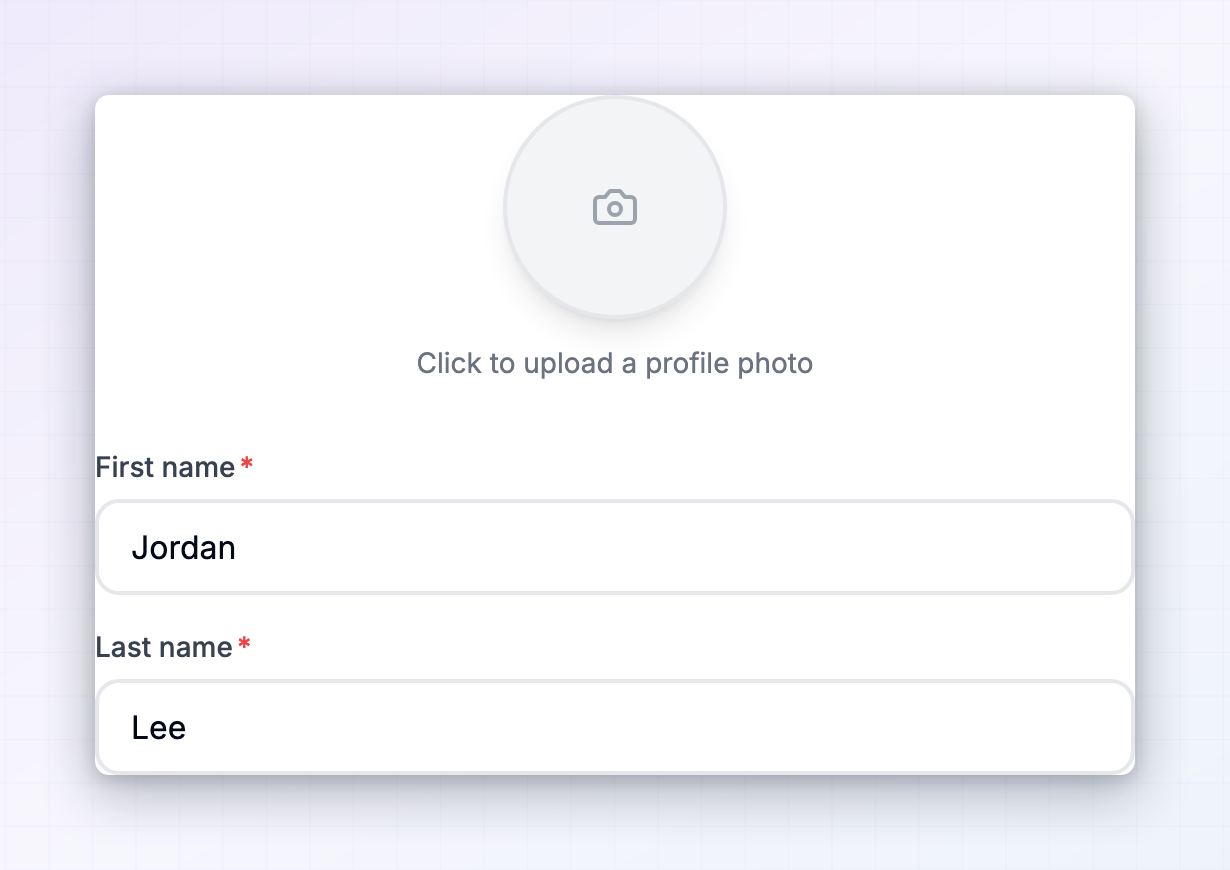
The first step asks who you are.- First name and Last name are required. Use the name you want the brand to see, and the name that should appear on payouts.
- Profile photo is optional. Select the photo area to upload one. It needs to be a PNG, JPEG, or WebP image under 1MB.
Choosing your categories
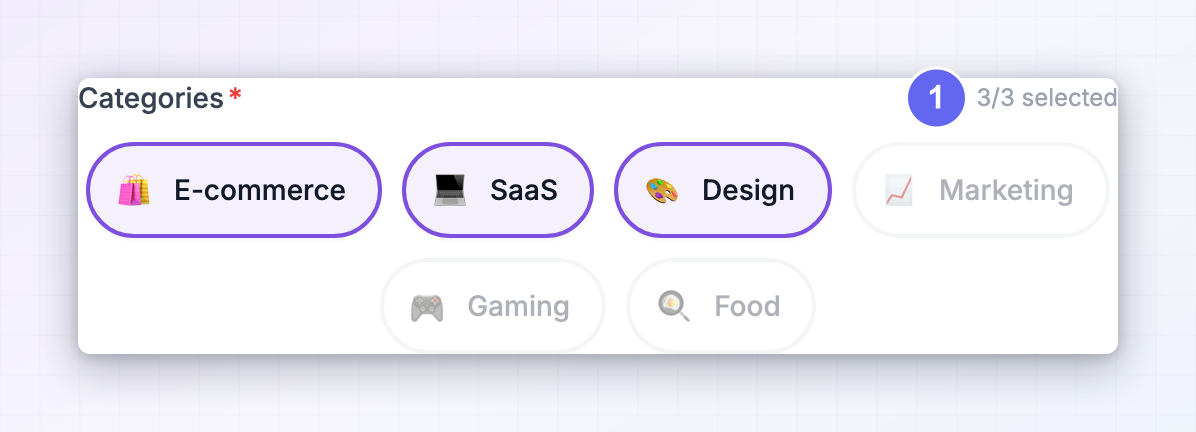
In your Influencer dashboard atinfluencers.referly.so, this step is called Basic information and adds one more thing: Categories, the niches you create content in. You can pick up to three, and at least one is required.
This is worth taking seriously. Your categories feed the match score you see on every marketplace listing — the percentage that tells you how well a program fits you. Programs in your niches score higher, and the Recommended for you row on the marketplace home is built from them. See Join a program.
You can change your categories any time from Settings in your Influencer dashboard.
Website and socials
The Website and socials step is where you add the places you’ll actually promote from: your Website, YouTube, X (Twitter), Instagram, TikTok, and LinkedIn. Enter your handle or address for each one. Brands choose which platforms to ask about, and can mark some as Required — those show the word next to the field. Next to each account you’ll see a Verify button. Verifying proves the account is yours and shows the brand your real follower or subscriber count. Verified accounts sit next to your name when a brand reviews you, which makes a visible difference to whether you get accepted — especially on programs that approve affiliates by hand. Verification takes an extra minute per platform and each one works a little differently. See Connect and verify your social accounts for the walkthrough.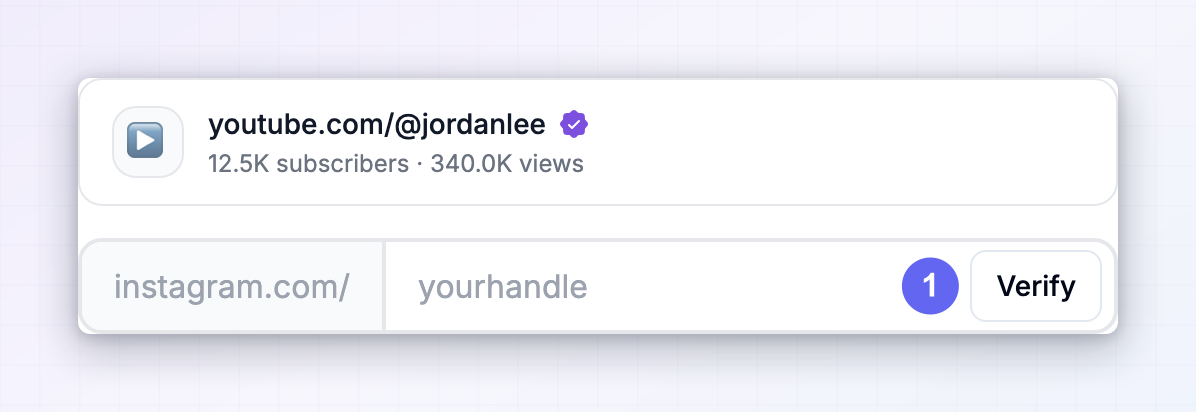
Payout settings
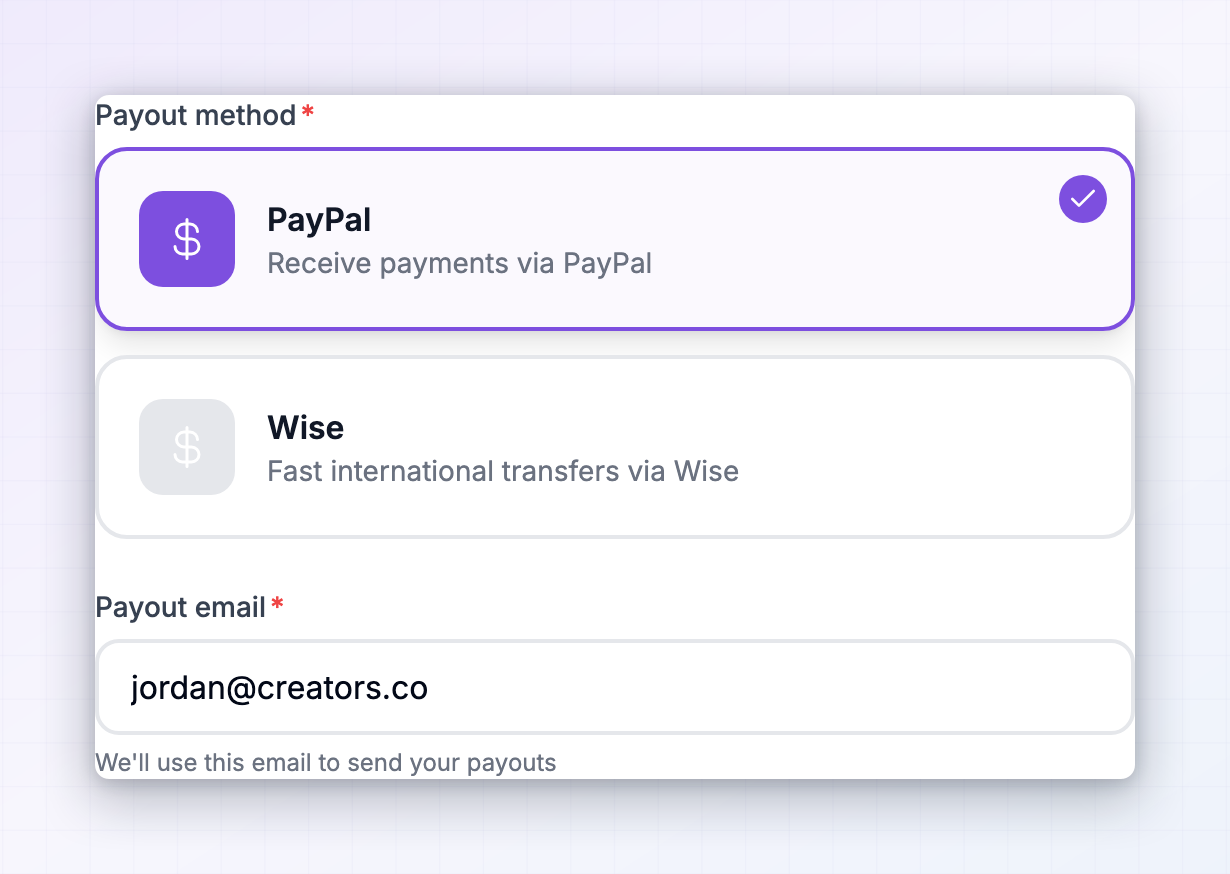
Payout settings is how you get paid. Pick a Payout method from the ones this brand supports:- PayPal — payments to your PayPal account.
- Wise — fast international transfers through Wise.
- Local Bank Transfer — straight into your local bank account. You choose the Currency you want to be paid in, then fill in the bank fields for that currency, which change by country.
- Bank Transfer — a direct bank deposit.
- Credits — your commissions are added to your account balance with the brand instead of being paid out in cash.
Invoice information
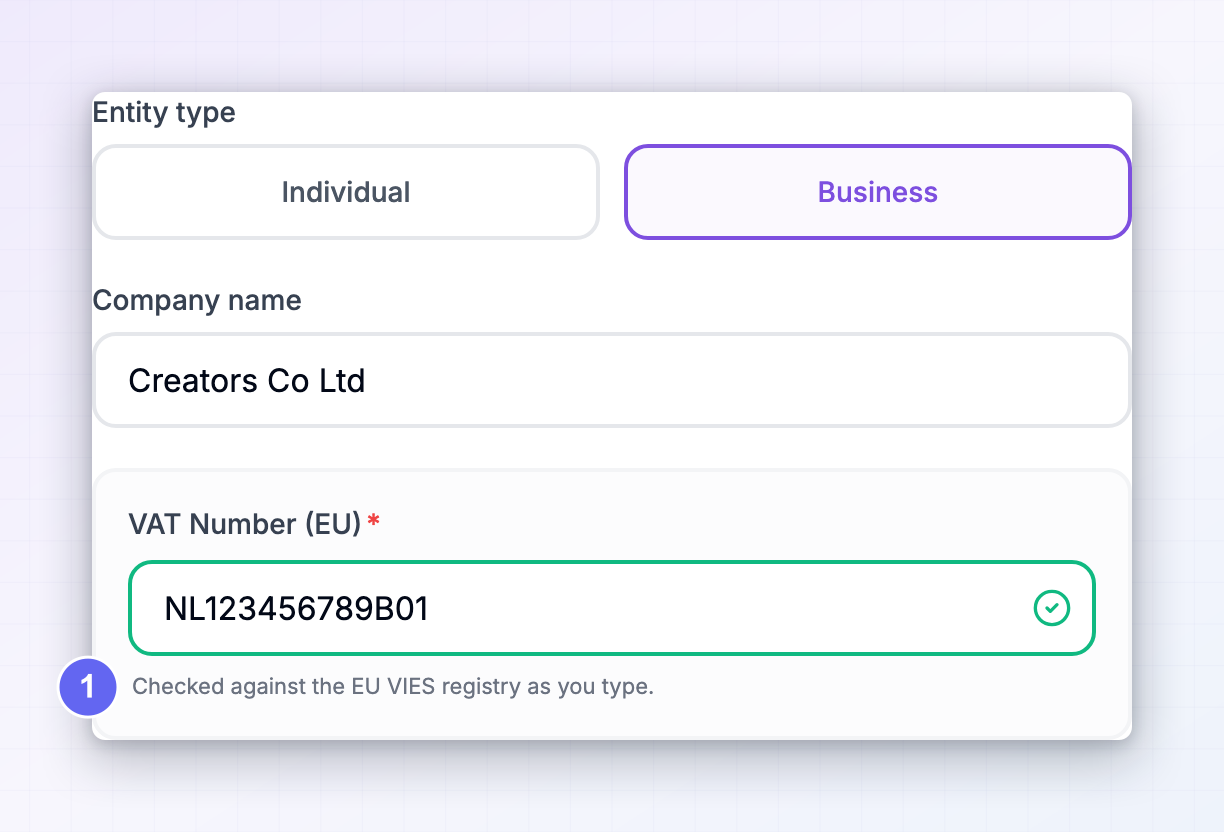
Invoice information is the billing detail that goes on your payout paperwork. Start by choosing your Entity type:- Individual — you’re paid as a person. You’ll be asked for your Full name, address, and an optional Tax ID.
- Business — you’re paid as a company. The name field becomes Company name, and you’re asked for a VAT / Tax ID.
The brand’s own questions
Many programs add their own steps with questions they want answered before approving you — which platforms you post on, how big your audience is, why you want to join, sometimes a file upload for a media kit or ID. Question types vary: short answers, longer written answers, dropdowns, multiple choice, and file uploads. Required questions have to be answered before you can continue; the rest you can leave blank. Answer these properly. On programs that review applications by hand, this is the main thing the brand reads when deciding. “I’ll post about it” and a link to a real channel with real numbers are not treated the same way. Some answers can be edited later from Settings, and some are locked once submitted — that’s the brand’s choice per question.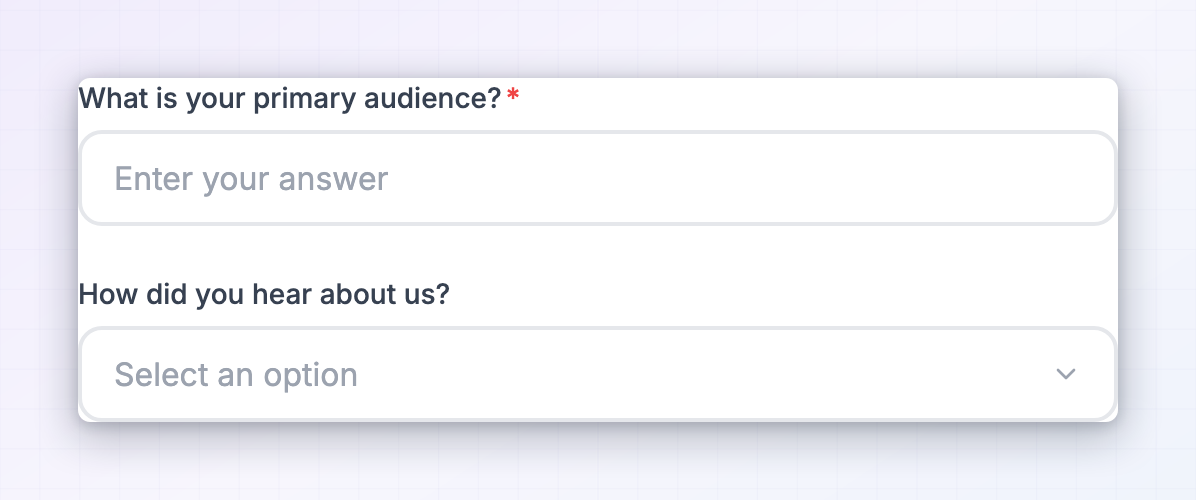
Summary
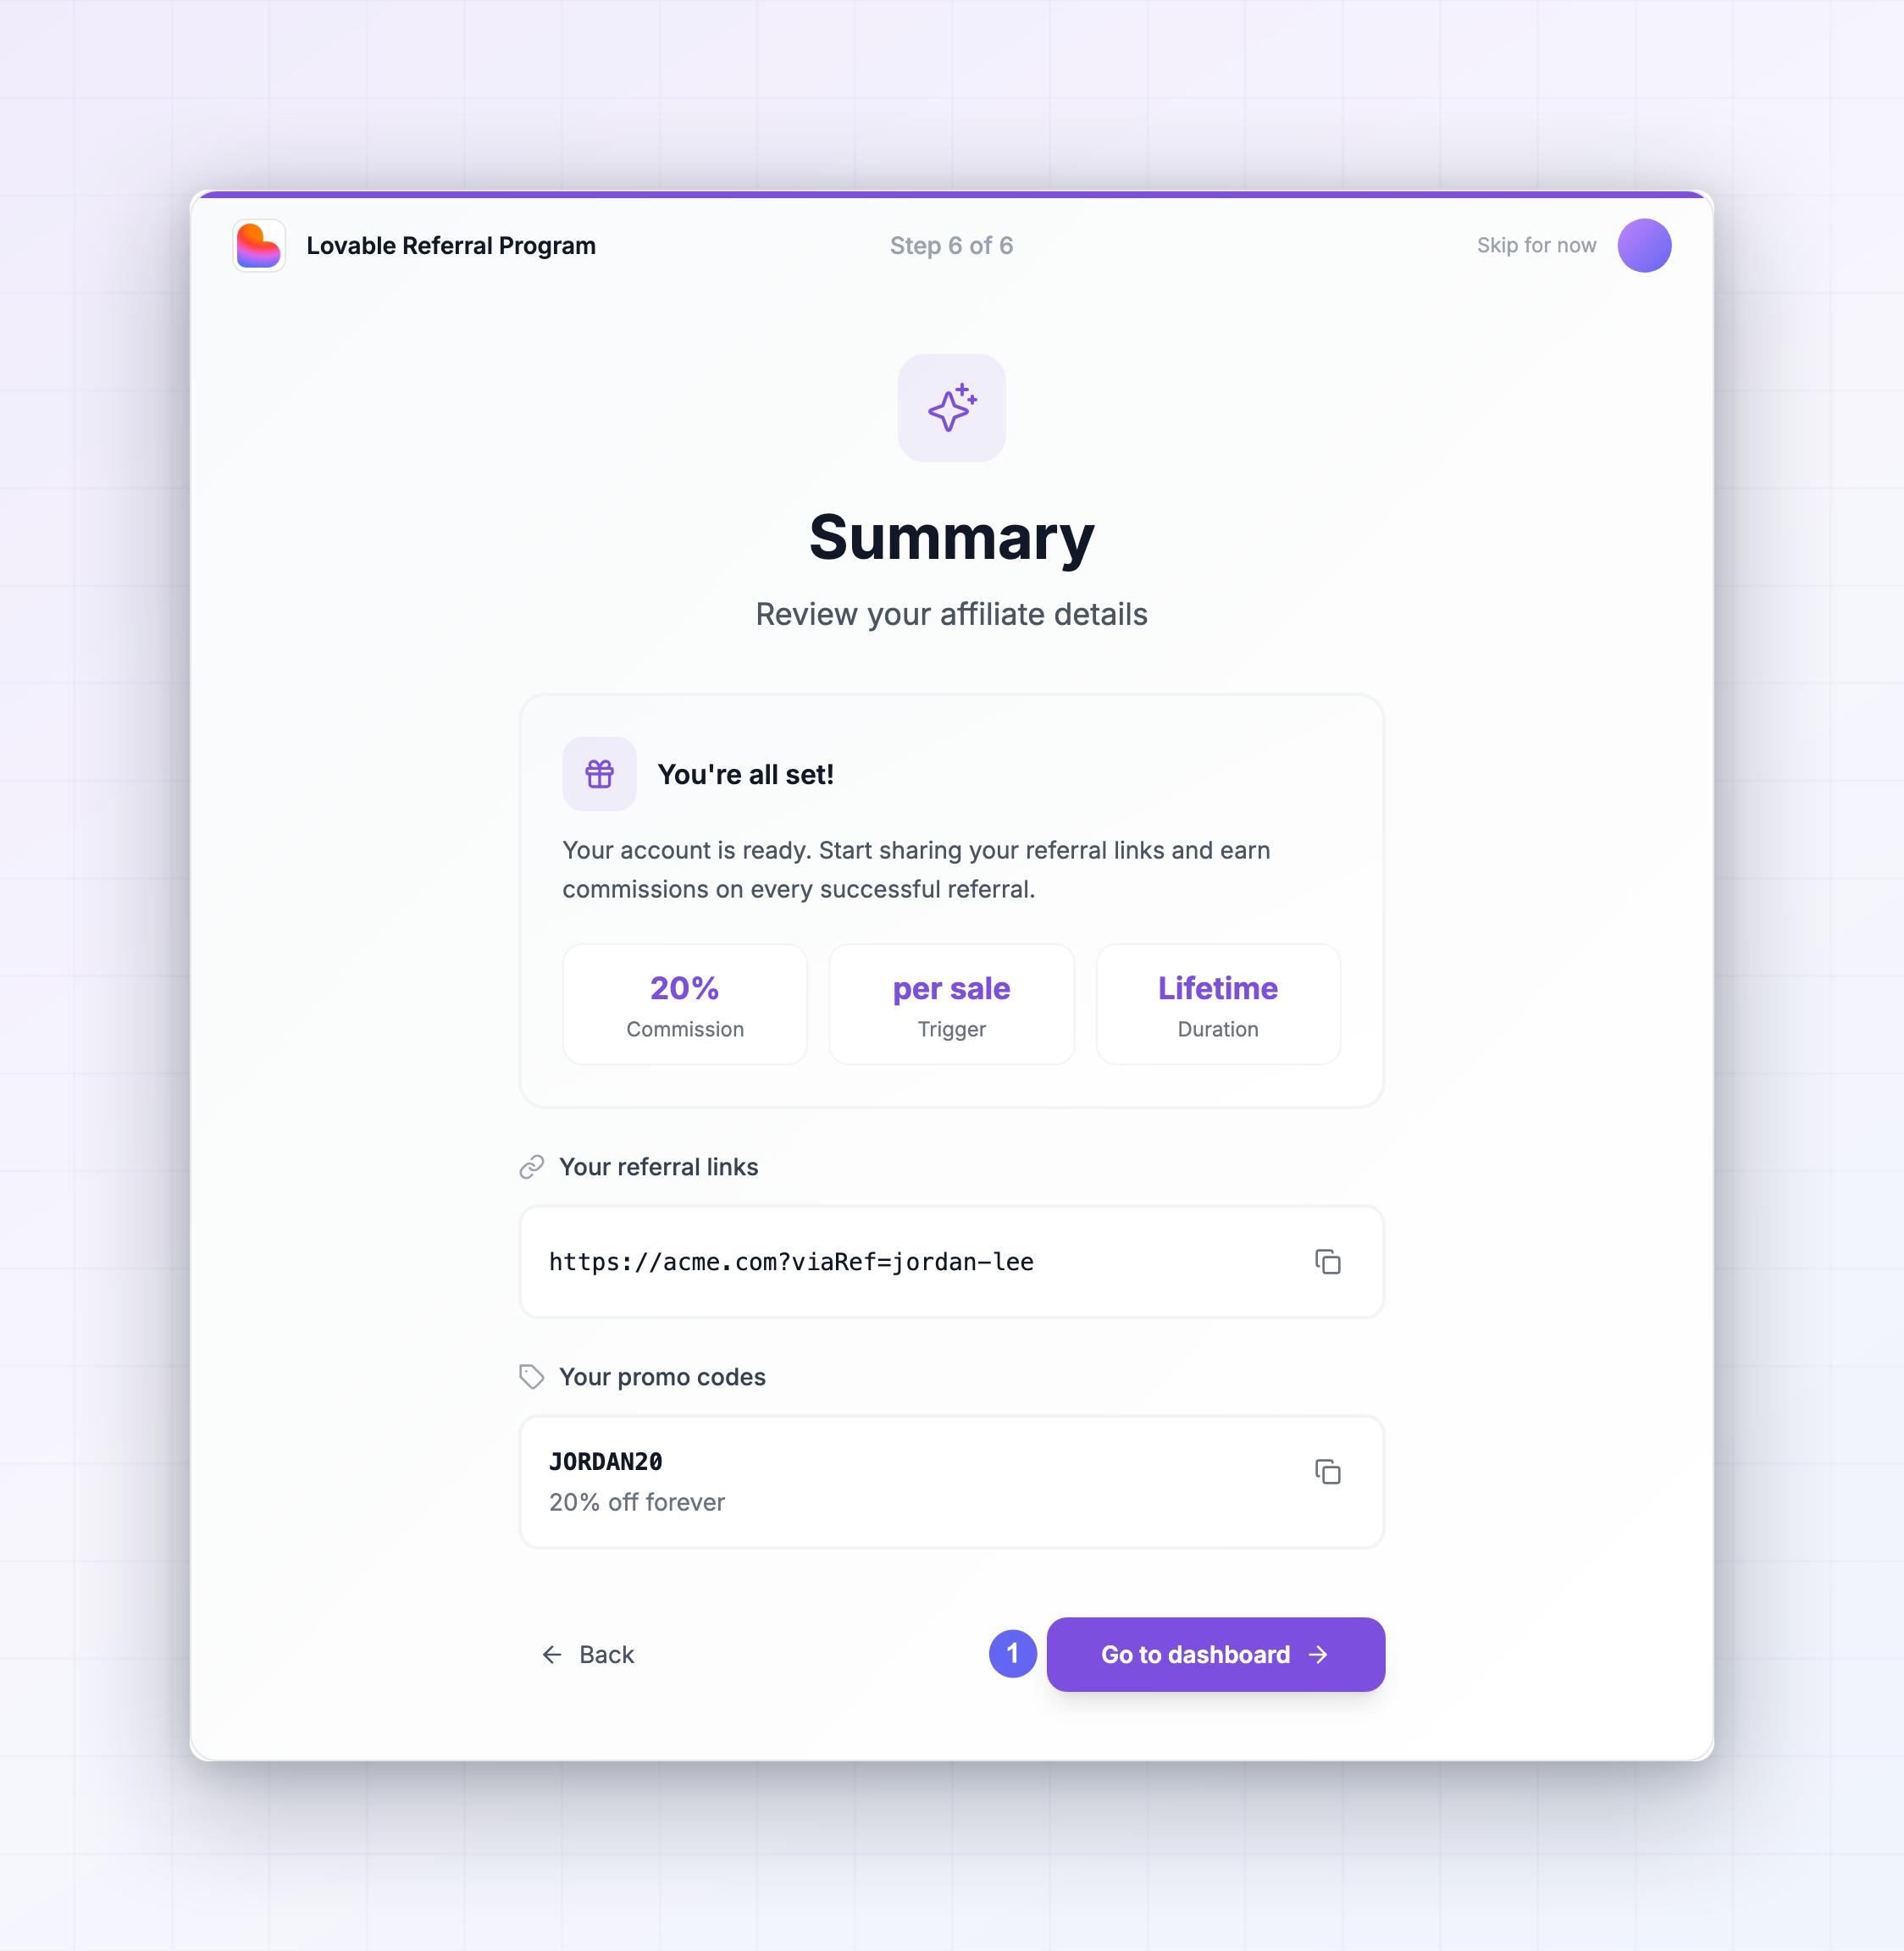
The last step confirms you’re done, and what you see depends on whether the brand approves affiliates automatically. If you’re approved automatically, you’ll see You’re all set! along with:- A summary of the Rewards you can earn in this program, with View commission plan for the full detail.
- Your referral links, ready to copy.
- Your promo codes, if the brand issues them.
Change anything later
Nothing you enter during onboarding is permanent. In the portal, open Settings in the left sidebar and you’ll find the same information under four tabs:- Personal Information — your profile, affiliate links, promo codes, and the program’s questions.
- Payouts — cash payouts, non-cash payouts, and invoice details.
- Preferences — email and in-app notifications.
- Advanced — your postback URL.
Update every program at once
Filling in the same payout email for ten programs is a waste of your time, so you don’t have to. When you change something in your Influencer dashboard that could apply elsewhere — your name, photo, payout details, invoice details, categories, or social accounts — you’re asked Apply to all your programs? Choose Apply to all and the change lands everywhere at once. You can set this to happen automatically, or to never happen, from Settings in your Influencer dashboard.Related
Sign up as an affiliate
Create your account before you start onboarding.
Join a program
Find programs and apply to them from the marketplace.
Your profile
Keep your details, socials, and answers up to date.
Getting paid
What happens after your payout details are in.