What the Wise integration can and can’t do
It helps to be clear about this up front, because Wise splits the work between Referly and your Wise account. What Referly does for you:- Builds the payout batch from approved commissions, so you never assemble a list of who gets what.
- Creates one Wise transfer per affiliate, in the currency each affiliate asked to be paid in.
- Shows you the Wise fee and the exchange rate for every transfer before you commit to anything.
- Keeps the payout statuses in your dashboard in step with Wise, so a payout flips to Paid or Failed on its own once Wise processes it.
- Emails you when a payout fails, and records the reason Wise gave.
- It can’t put money into your Wise balance. You top up Wise yourself, in advance. If the balance is short when you go to pay, the transfers won’t go through.
- It can’t approve the payment for you. Referly creates the transfers; you sign in to Wise to approve and fund them. This is a Wise security rule, not a Referly limitation — Wise only supports funding transfers over an integration for accounts based in the US, Canada, Australia, New Zealand, Singapore, and Malaysia. Everywhere else, approving in Wise is the only way.
- It can’t pay an affiliate who hasn’t given you their details. An affiliate with no payout email (or no bank details, if they chose the local bank option) is skipped.
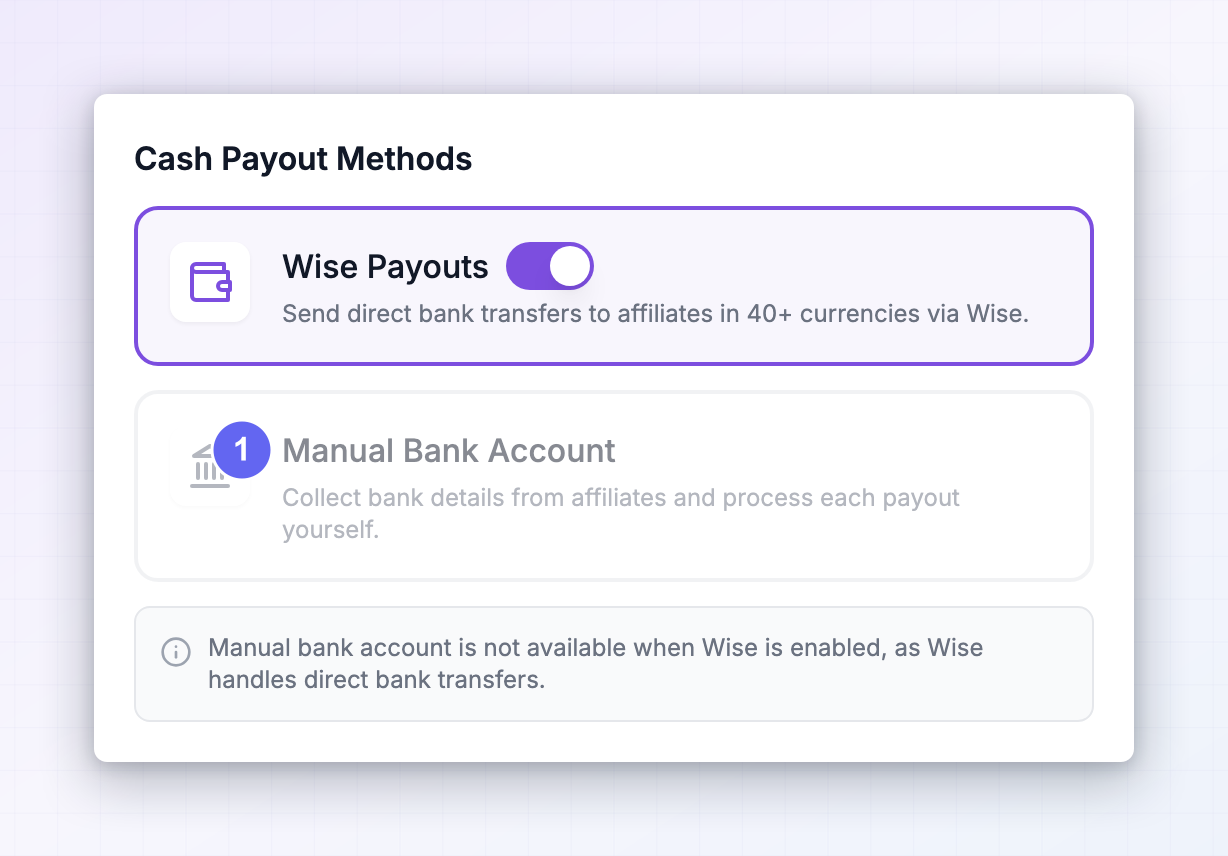
- It can’t run alongside manual bank transfer. Turning Wise on switches the Manual Bank Account method off, because Wise already sends money to bank accounts for you.
Before you start
You’ll need all of these before the connection will work:A Wise Business account
A verified account
2-step verification turned on
Money in your Wise balance
Admin access to your Referly program
Step 1: Open or upgrade to a Wise Business account
Do this on Wise’s site, not in Referly.Go to Wise and choose the business option
Enter your business details
Pay the one-off setup fee if Wise asks for one
Step 2: Finish business verification
Wise won’t let you send money or create a key until it has verified you.Upload the documents Wise asks for
Wait for the review
Confirm your account is active
Step 3: Turn on 2-step verification in Wise
Wise will not let you create an API key without this.Open your Wise account settings
Find the security section
Choose your second step
Step 4: Create the API key in Wise
This is the one piece of information Referly needs from Wise. It’s a long string of letters and numbers that lets Referly act on your Wise account.Open the API tokens page
Add a new token
Name it and set the access level to full
Referly payouts. Then set the access level to Full access. This part matters: a read-only key lets Referly see your account but not create transfers, so payouts will fail.Complete 2-step verification
Copy the key
Step 5: Top up your Wise balance
Referly pays affiliates out of your Wise balance. Wise won’t pull money from your bank on demand for these transfers, so the money has to already be sitting there.Work out how much you need
Add money in the right currency
Wait for it to land
Step 6: Connect Wise to Referly
Now you’re back in Referly.Open your payout settings
Find the Wise Payouts card
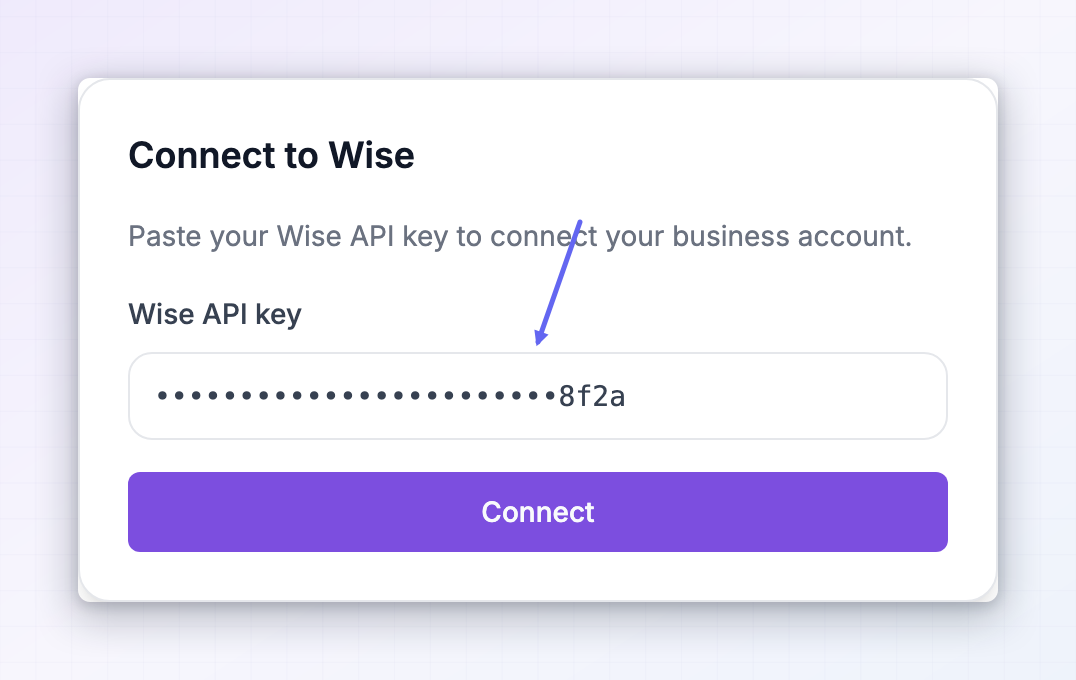
Paste your API key
Select Connect
Choose which Wise profile to pay from
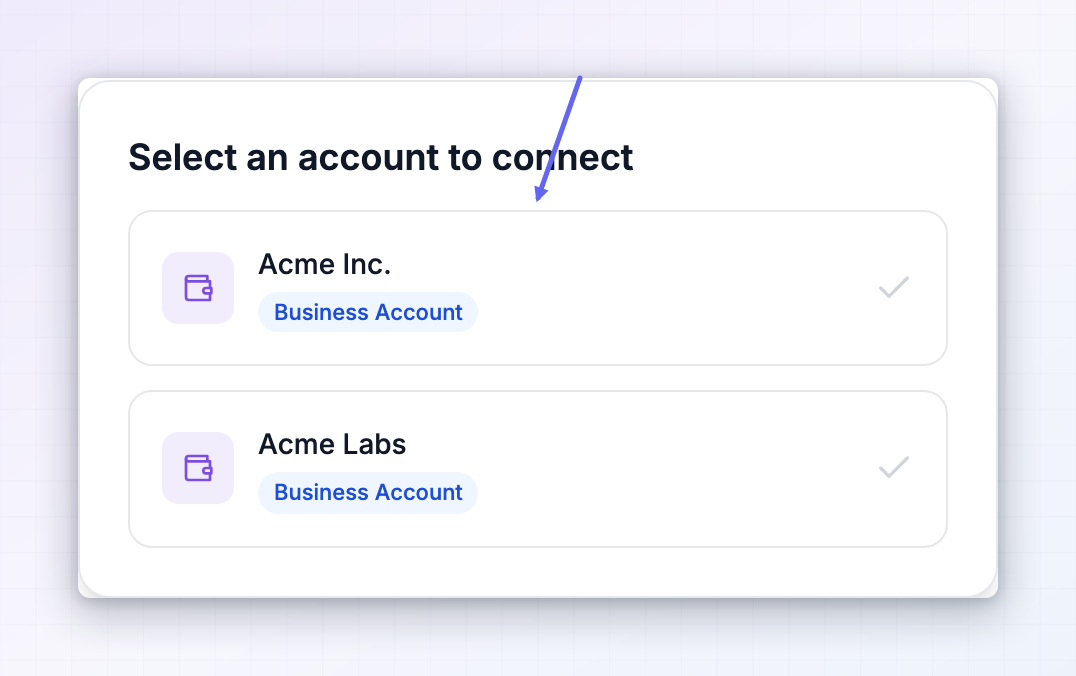 When it works you’ll see a “Wise account connected successfully” message, and a green Connected badge showing your Wise profile name at the top of the panel. That badge is your at-a-glance confirmation from then on.
 Behind the scenes, Referly also sets up a live status feed with Wise at this point. That’s what lets your payouts update themselves later instead of you having to check Wise and mark things off by hand.
Step 7: Turn Wise on as a payout method
Connecting the account and offering it to affiliates are two different things.Toggle the Wise Payouts card on
Check what happened to manual bank transfer
Save
How your affiliates set up their side
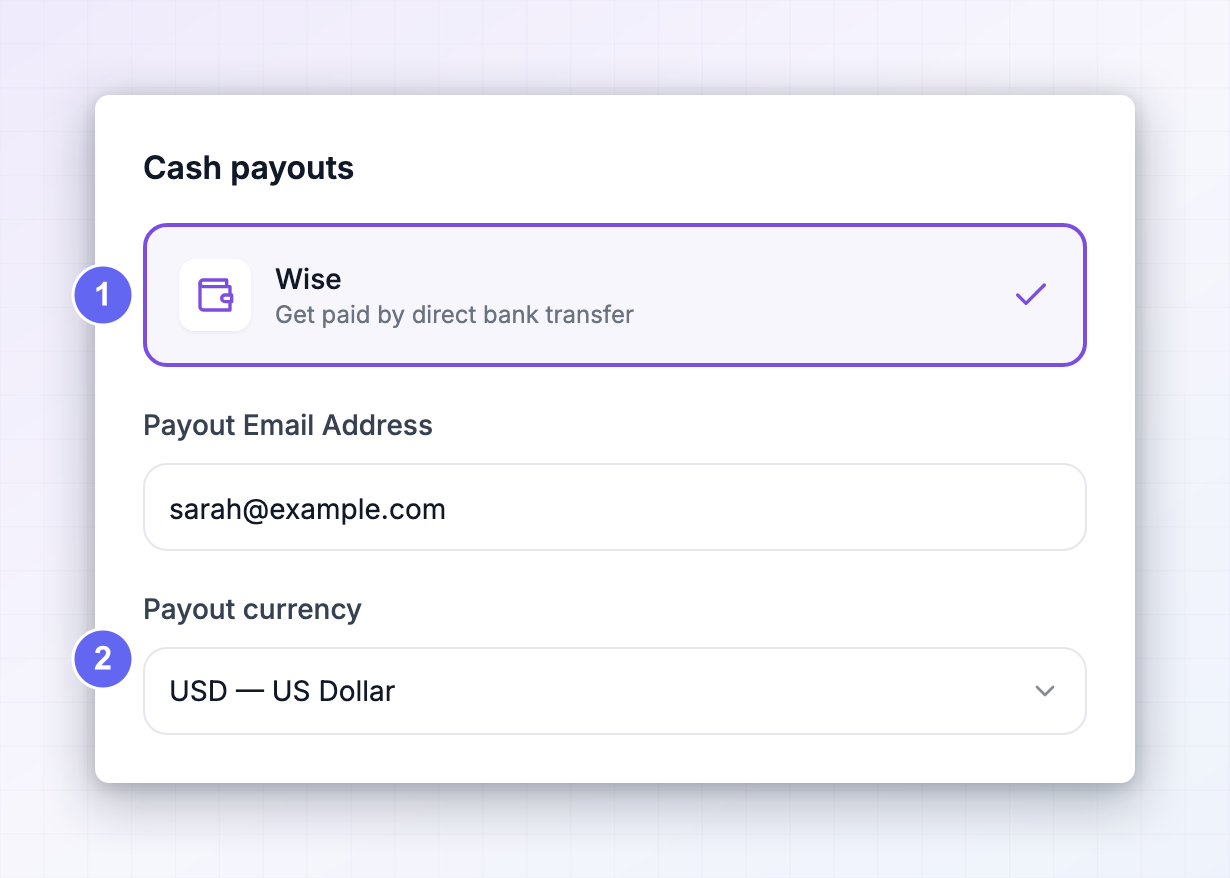
You can’t pay an affiliate until they’ve told Referly where the money should go. Here’s what they do, so you know what to tell them.They open their payout settings
They pick a method
They enter a payout email address
They choose a payout currency
Pay a batch through Wise
Once a batch is ready, this is the full sequence.Review the fees before you create anything
Open the batch and select the pay action. Referly asks Wise to quote every transfer in the batch and shows you a breakdown in the Pay with Wise dialog: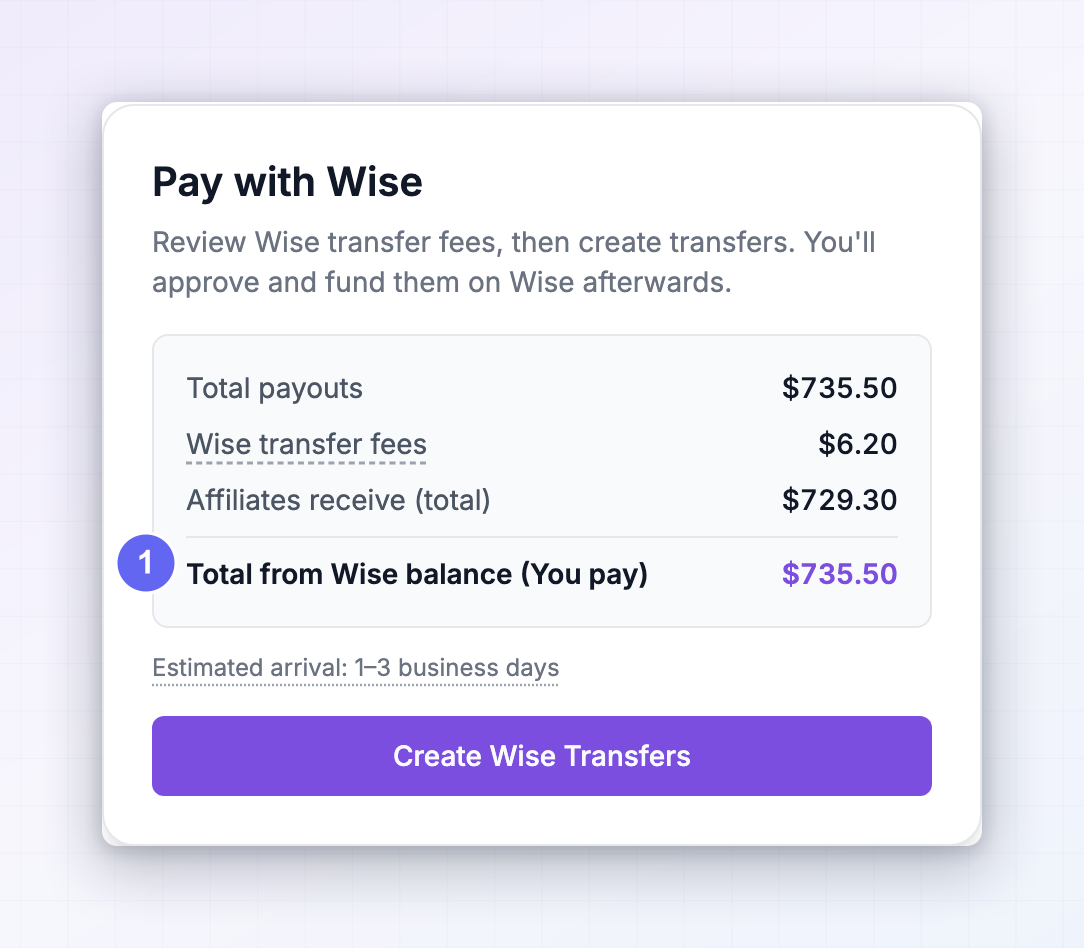
Create the transfers
Select Create Wise Transfers. Referly groups them into a single batch on Wise and hands them over. Nothing has moved yet. The confirmation says Transfers Created on Wise, with the status Awaiting approval.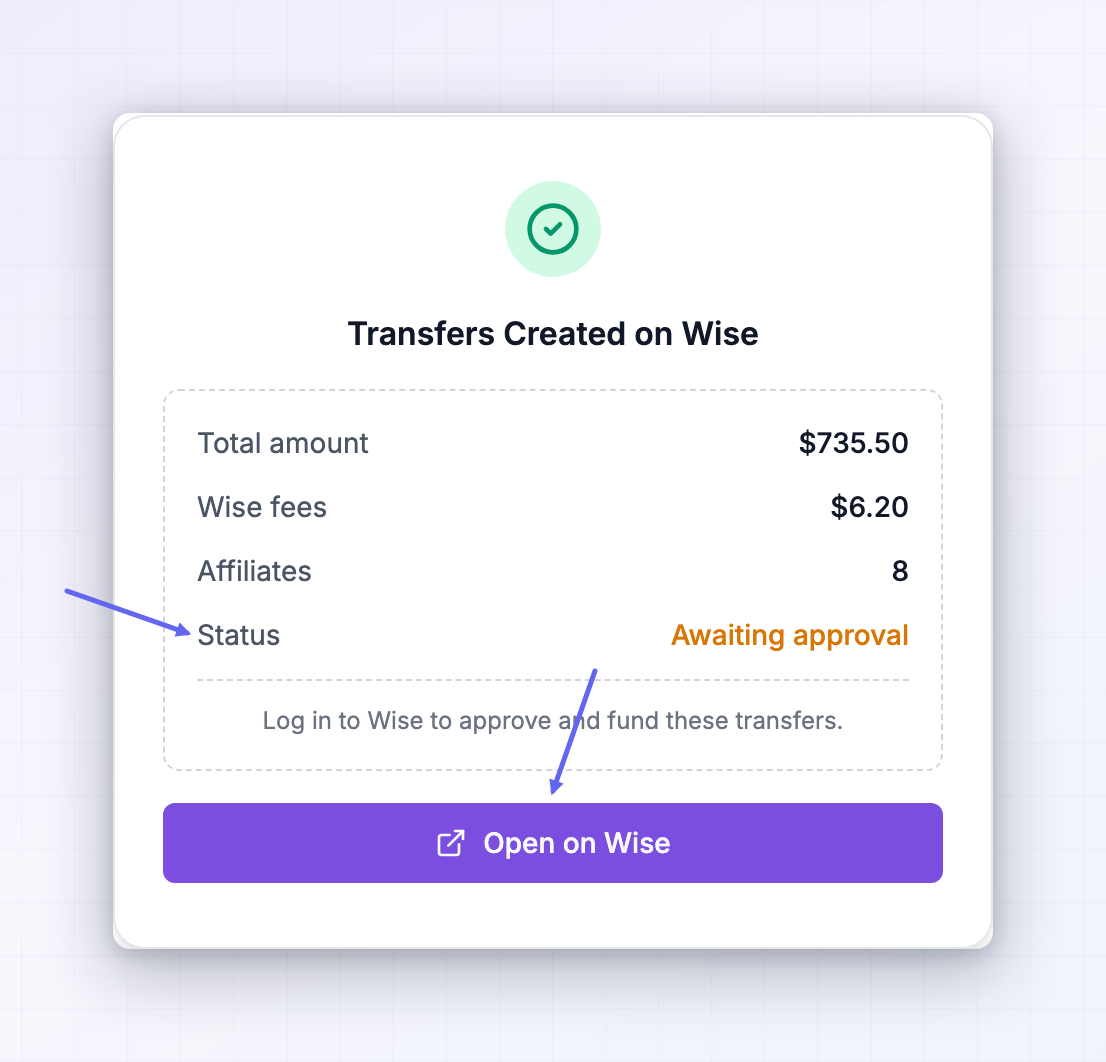
Approve and fund them in Wise
This step happens in Wise, and it’s the one people forget.Open the batch in Wise
Sign in and review
Approve and fund from your balance
Watch the statuses settle
Once you’ve approved in Wise, you don’t have to do anything else. Wise tells Referly what’s happening and the statuses move on their own: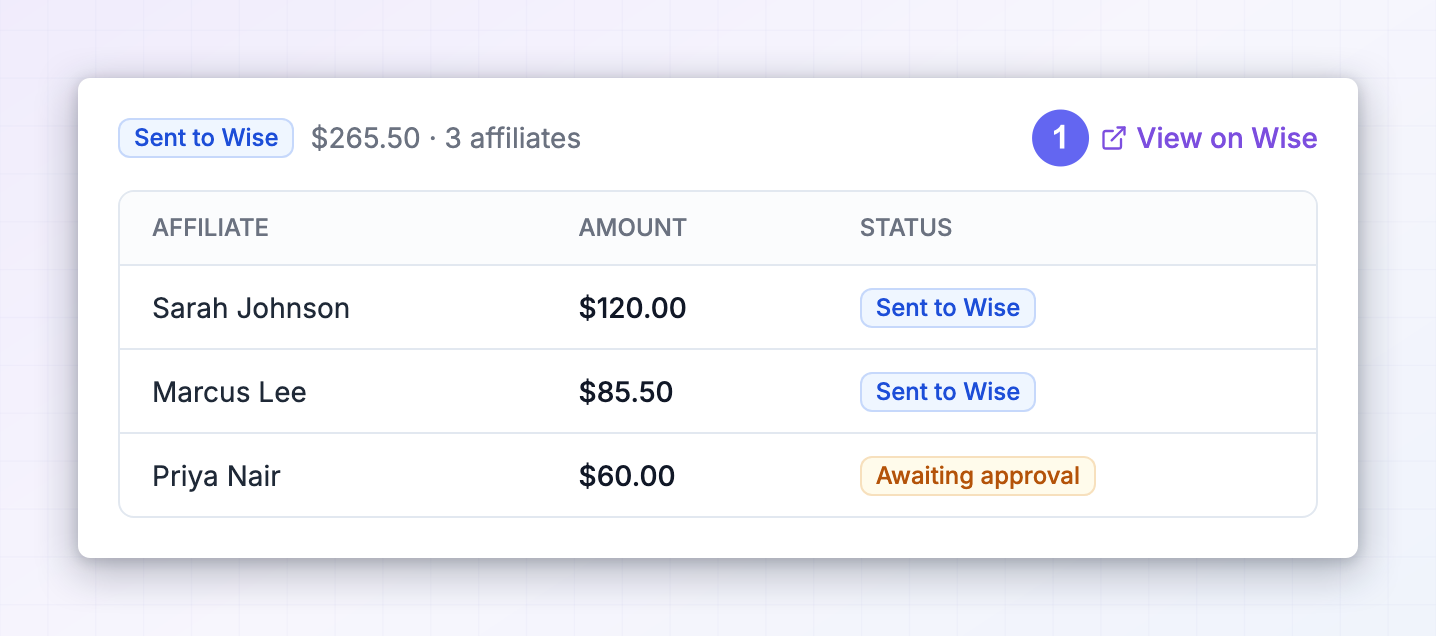
Fees, currencies, and delivery times
- Fees. Wise charges per transfer, and the amount depends on the route, the currencies, and the size of the payment. Referly shows you Wise’s own quote before you pay rather than estimating. For the underlying pricing, Wise’s pricing page is the source of truth.
- Exchange rates. When you pay in one currency and an affiliate receives another, Wise converts at its own rate and shows it in the breakdown. The rate is locked when the transfer is created, not when you approve it.
- Delivery time. After you approve and fund, money typically reaches affiliates within 1 to 3 business days, depending on the currency route. Referly shows Wise’s estimate for your specific batch.
- Where you can send. Wise sends to a large and changing list of countries and currencies. Rather than repeat a list that goes stale, check Wise’s send-money coverage for your destination. If a route isn’t supported, Referly surfaces it as an unquotable payout during the fee review.
If you’d rather pay in Wise directly
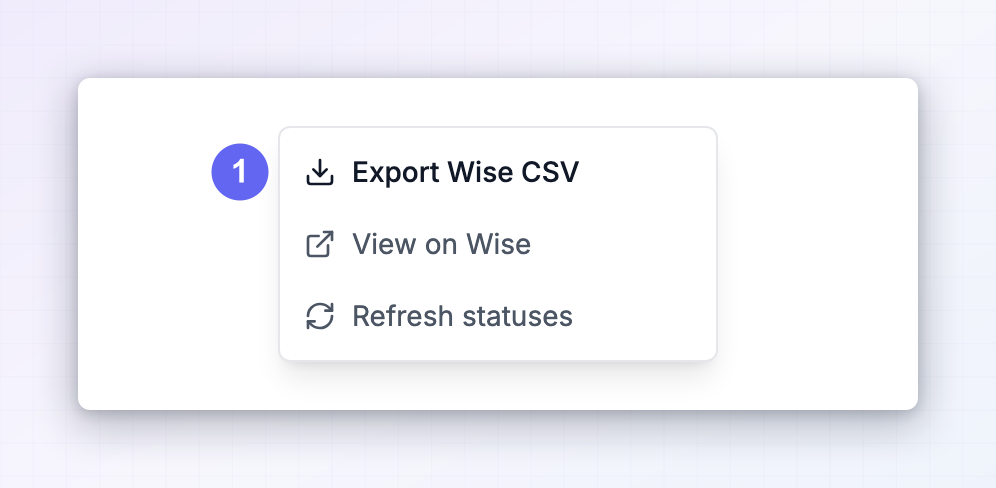
You don’t have to use the connected flow. From a batch, open the actions menu and choose Export Wise CSV. You get a file formatted for Wise’s own bulk upload, with each affiliate’s name, payout email, the source and target currency, the amount, and a reference. Upload that file in Wise and pay the batch there. Bear in mind that when you pay this way, Referly can’t track it — you’ll need to mark the batch as paid yourself. See Export payouts.