Stripe is the most complete integration Referly offers. Once your Stripe account is connected, Referly watches every payment that happens in it — first purchases, subscription renewals, trials that convert, refunds, and coupon redemptions — and turns the ones that came from an affiliate into referred customers, sales, and commissions. You don’t export anything, and you don’t record sales by hand. This guide is the starting point for every Stripe setup. It covers what the integration can and can’t do, how to connect your account (on both the Stripe side and the Referly side), how to send the referral through to your checkout, and how to test the whole thing before you go live. Each checkout style — Payment Links, Pricing Tables, Buy Buttons, your own Checkout code, coupon codes — has its own detailed guide, linked from Step 3.
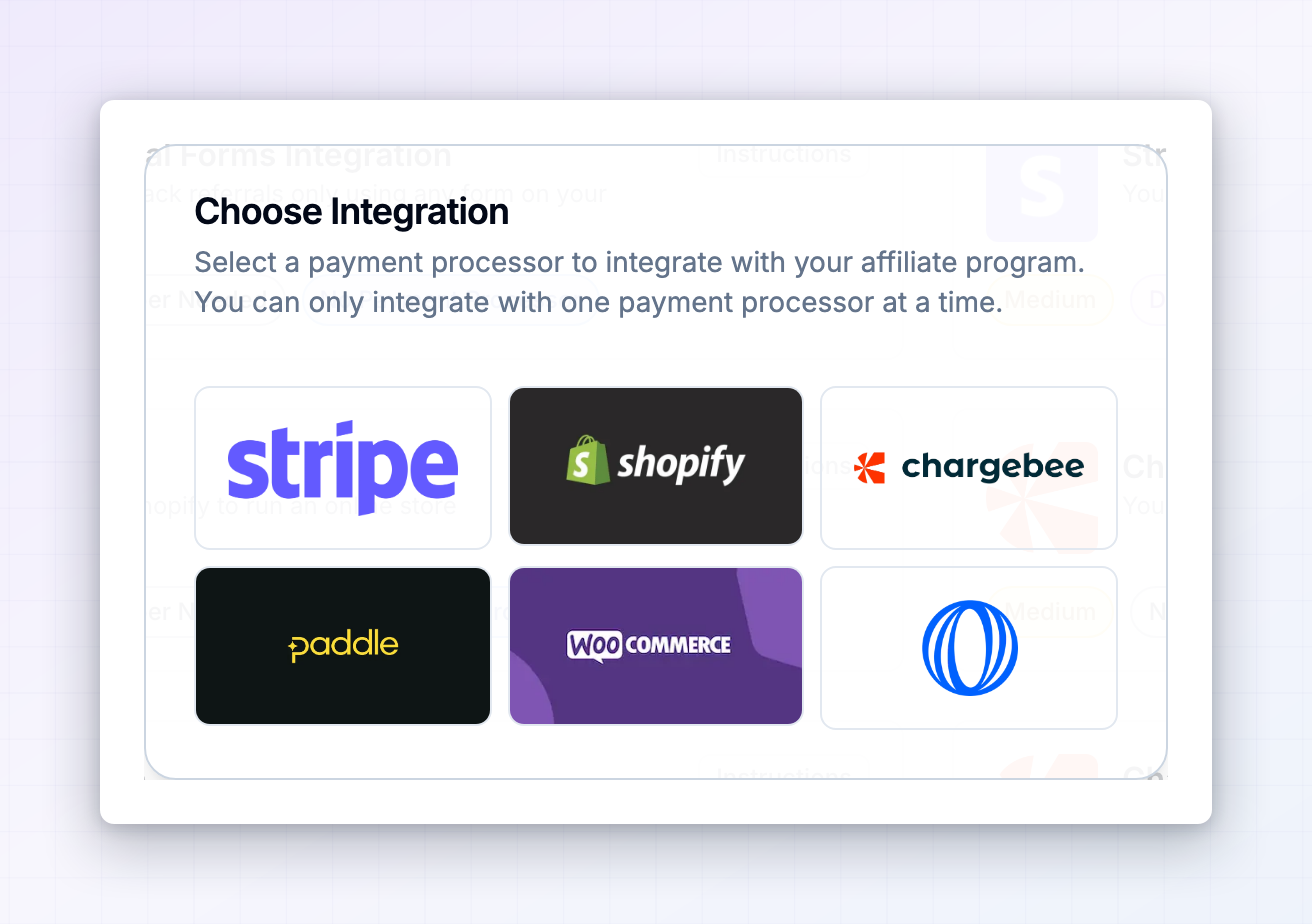
Referly can only be connected to one payment processor at a time. Connecting Stripe means Shopify, Chargebee, Paddle, WooCommerce, Polar, and Zylvie stay disconnected for this program.

What the Stripe integration can and can’t do

Connecting Stripe covers the money side of your program completely. It does not cover clicks or sign-ups on its own — those come from the Referly tracking script and from other integrations.
Referly only processes Stripe events while your Referly subscription is active. If your plan lapses, payments that happen in the meantime are ignored and won’t appear later.

Before you start

You’ll need:
  • Owner or admin access to your Stripe account, so you can approve the connection when Stripe asks.
  • The ability to add a line of code to your website, or someone who can do it for you. This is what tracks clicks and carries the referral to checkout.
  • An active Referly plan on the program you’re connecting.
  • A decision on test mode or live mode. Referly connects to one or the other, never both at once. If you want to rehearse first, read Step 4 before connecting.
You’ll also want to have decided how your customers pay — Payment Links, a Stripe Pricing Table, a Buy Button, or a checkout you built yourself — because that decides which guide you follow in Step 3.

Step 1: Install the tracking script on your site

The tracking script is what recognises a visitor who arrived from an affiliate link, records the click, and remembers who referred them until they buy. Without it, Stripe payments can still be credited through coupon codes, but you’ll have no clicks, no conversion rate, and no link-based attribution.
1

Open your integration instructions

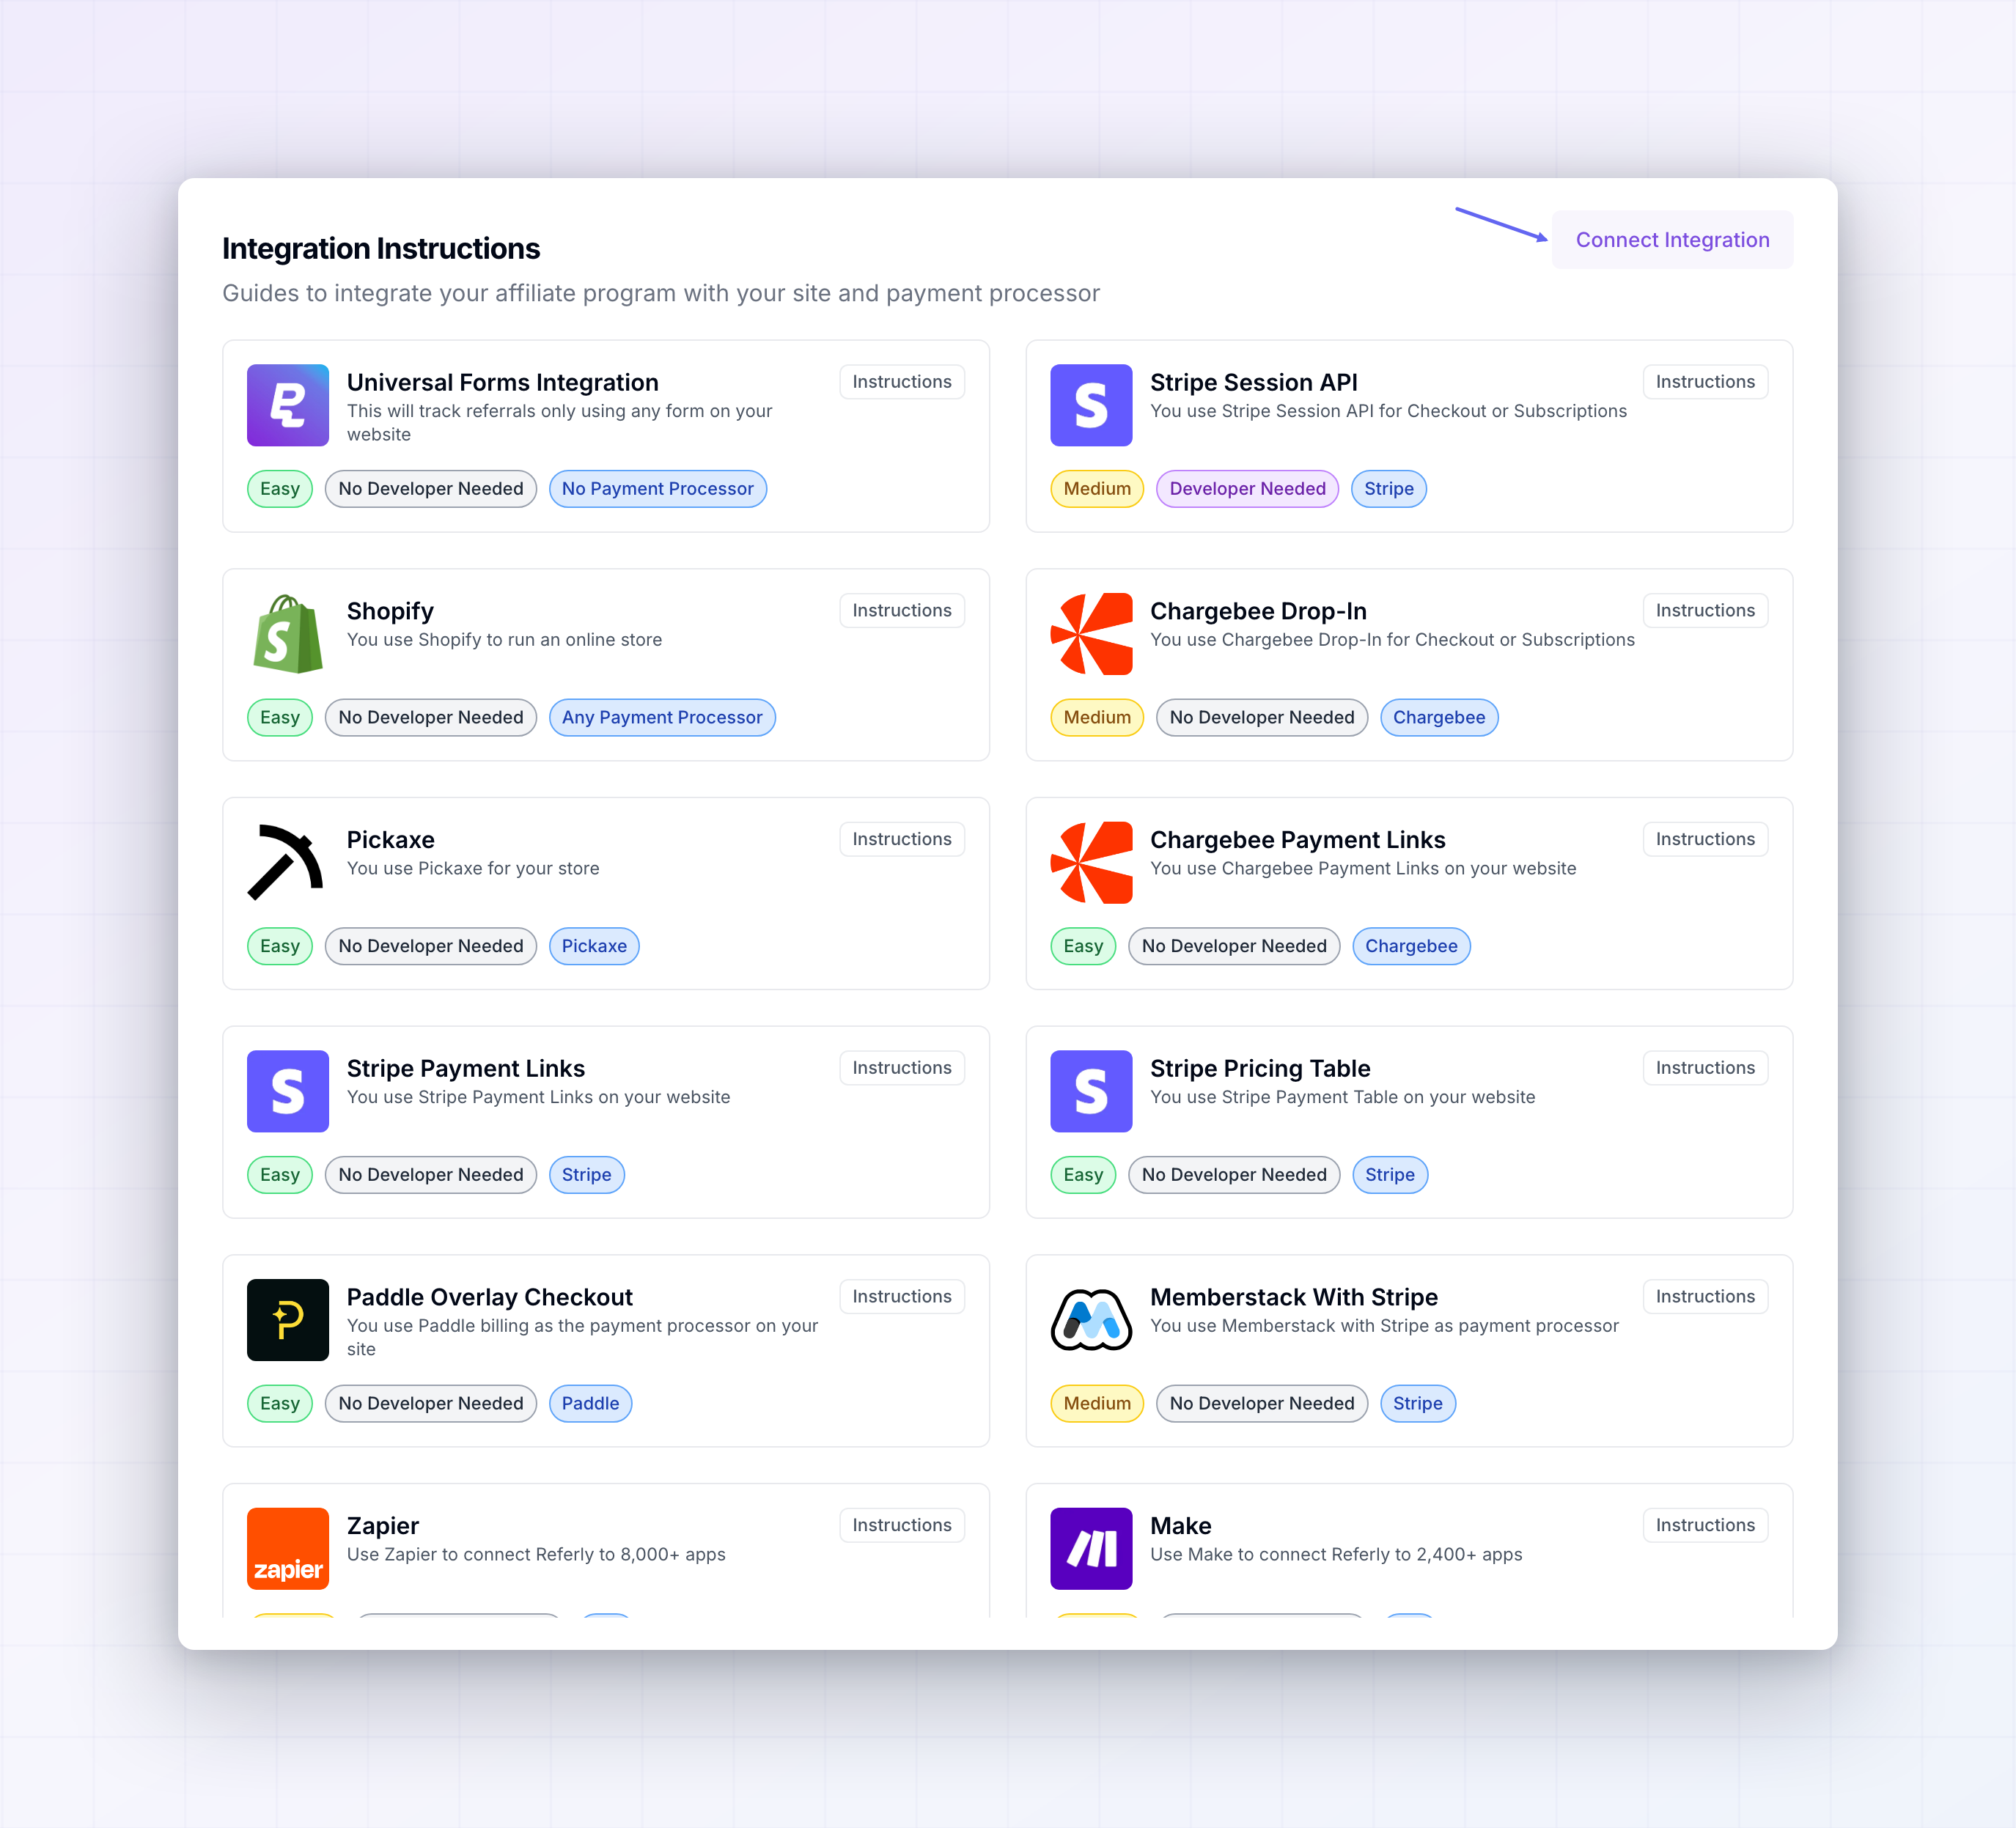
In your Referly dashboard, open your program, go to Settings, then Integrations. The page is titled Integration Instructions.
2

Open the guide that matches your checkout

Select the card for the way you take payments — for example Stripe Payment Links or Stripe Session API. The first step of every guide shows your tracking script, already filled in with your program’s ID.
3

Copy the script and paste it into your site

Paste it inside the head section of your website, on every page. If you use Google Tag Manager, switch to the Using Google Tag Manager tab in the guide and copy that version instead.
The snippet looks like this, with your own program ID in place of the placeholder:
Tracking script
Copy the snippet from your dashboard rather than from here — it comes pre-filled with your program ID, and programs run by an agency use a different script address.
For everything the script does and how attribution is decided, see Install the snippet and Tracking methods.

Step 2: Connect your Stripe account

Connecting is a single approval — you don’t create API keys, and you don’t add a webhook endpoint in Stripe by hand. Referly uses Stripe’s own app connection flow, so Stripe asks you to approve access and then sends Referly the events it needs.
1

Open the integrations dialog

On the Integration Instructions page, select Connect Integration in the top right. A Choose Integration dialog opens with every payment processor Referly supports.
2

Choose Stripe

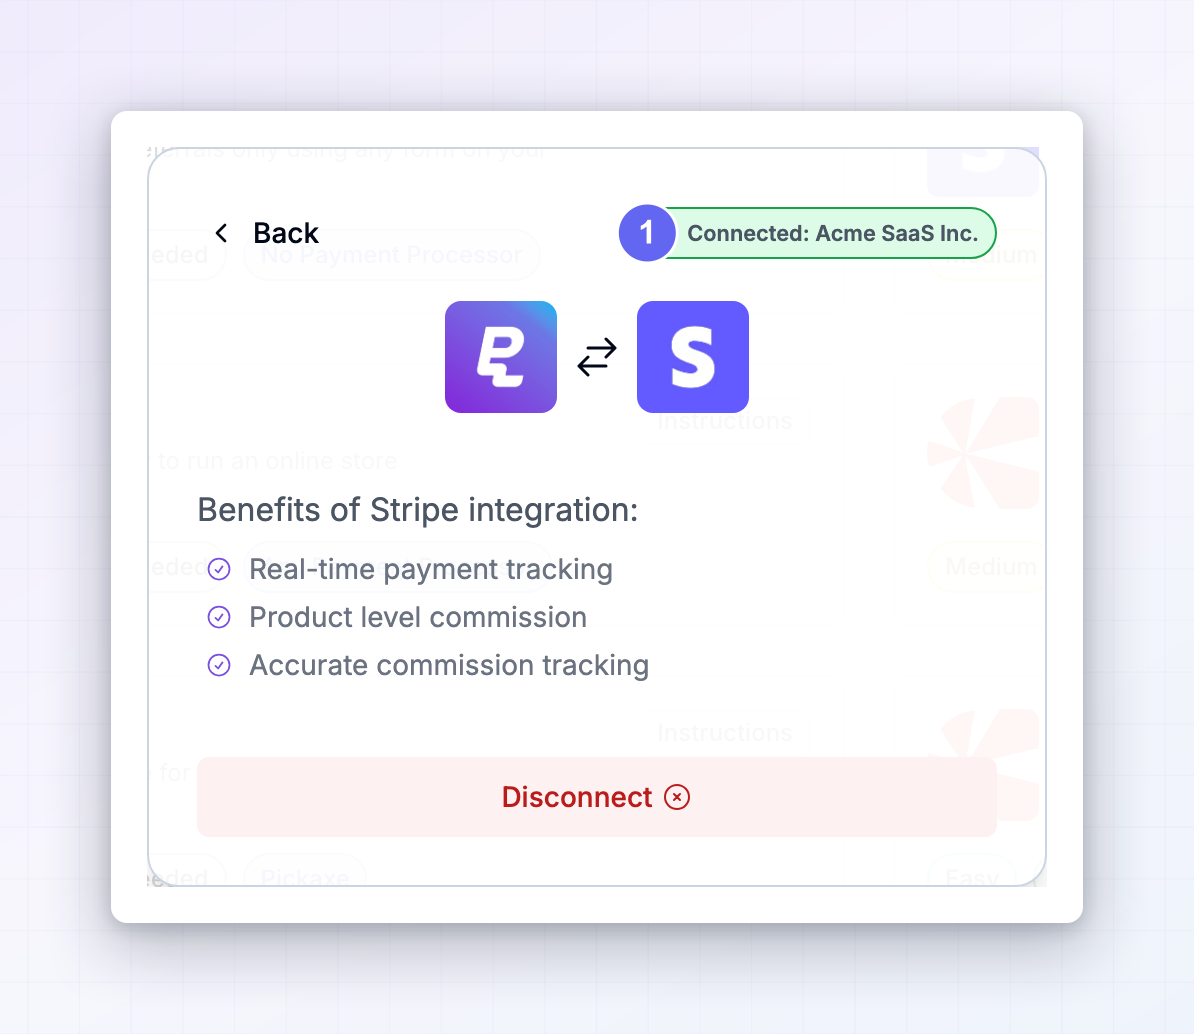
Select the Stripe card. The panel that opens lists what the integration gives you — real-time payment tracking, product-level commission, and accurate commission tracking.
3

Select Connect Stripe Account

A new tab opens on Stripe’s site. If a pop-up blocker stops it, allow pop-ups for Referly and select the button again.
4

Sign in to Stripe and approve

Sign in to Stripe if you aren’t already. Stripe shows you which account you’re about to connect and what access it’s granting. If you have more than one Stripe account, check carefully that the right one is selected — a Stripe account can be linked to only one Referly program. Approve the connection.
5

Wait for the redirect back to Referly

Stripe sends you back to Referly, which shows Adding your stripe account… and then a confirmation that your Stripe account is connected. Select Proceed to dashboard.

Check that it connected

Open Connect Integration again and select Stripe. A green Connected badge appears at the top with your Stripe account’s display name — the same name Stripe shows in its own dashboard. If you connected in test mode, the badge is yellow and reads Test Mode instead. If you see the message that the Stripe account is already linked to another campaign, that account is connected to a different Referly program. Disconnect it there first, or connect a different Stripe account.
Connecting in test mode

The Connect Test Mode button connects your Stripe account’s test data instead of your live data, so you can rehearse the whole flow with test cards before real money is involved.
Test mode and live mode are mutually exclusive. While your program is connected in test mode, Referly ignores every live payment. While it’s connected in live mode, it ignores every test payment. Nothing is queued up and applied later — those payments are simply not recorded. Connect in test mode only while you’re testing, and switch to live before you launch.

Step 3: Send the referral through to Stripe

Connecting your account tells Referly which payments to watch. This step tells Referly who to credit for each one. When someone lands on your site from an affiliate link, the tracking script records the click and stores a reference for that visitor. That reference has to travel with them into Stripe. Referly looks for it in three places on the payment:
  • The Client reference ID field on the checkout — the field Stripe shows as client_reference_id.
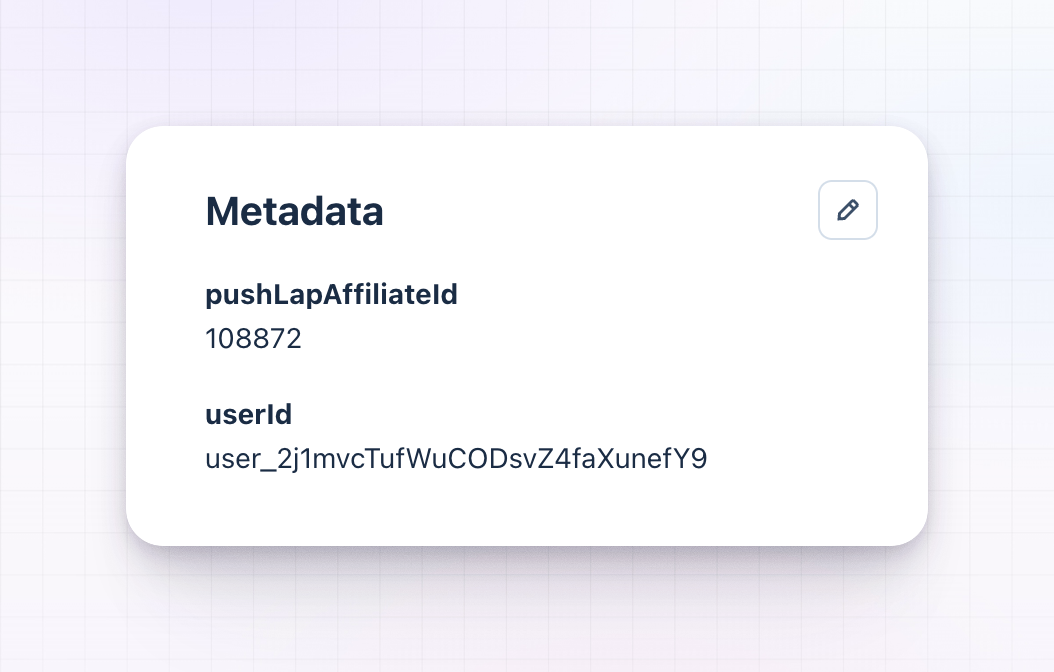
  • Checkout metadata under the key pushLapAffiliateId.
  • Customer or subscription metadata under the key pushLapAffiliateId.
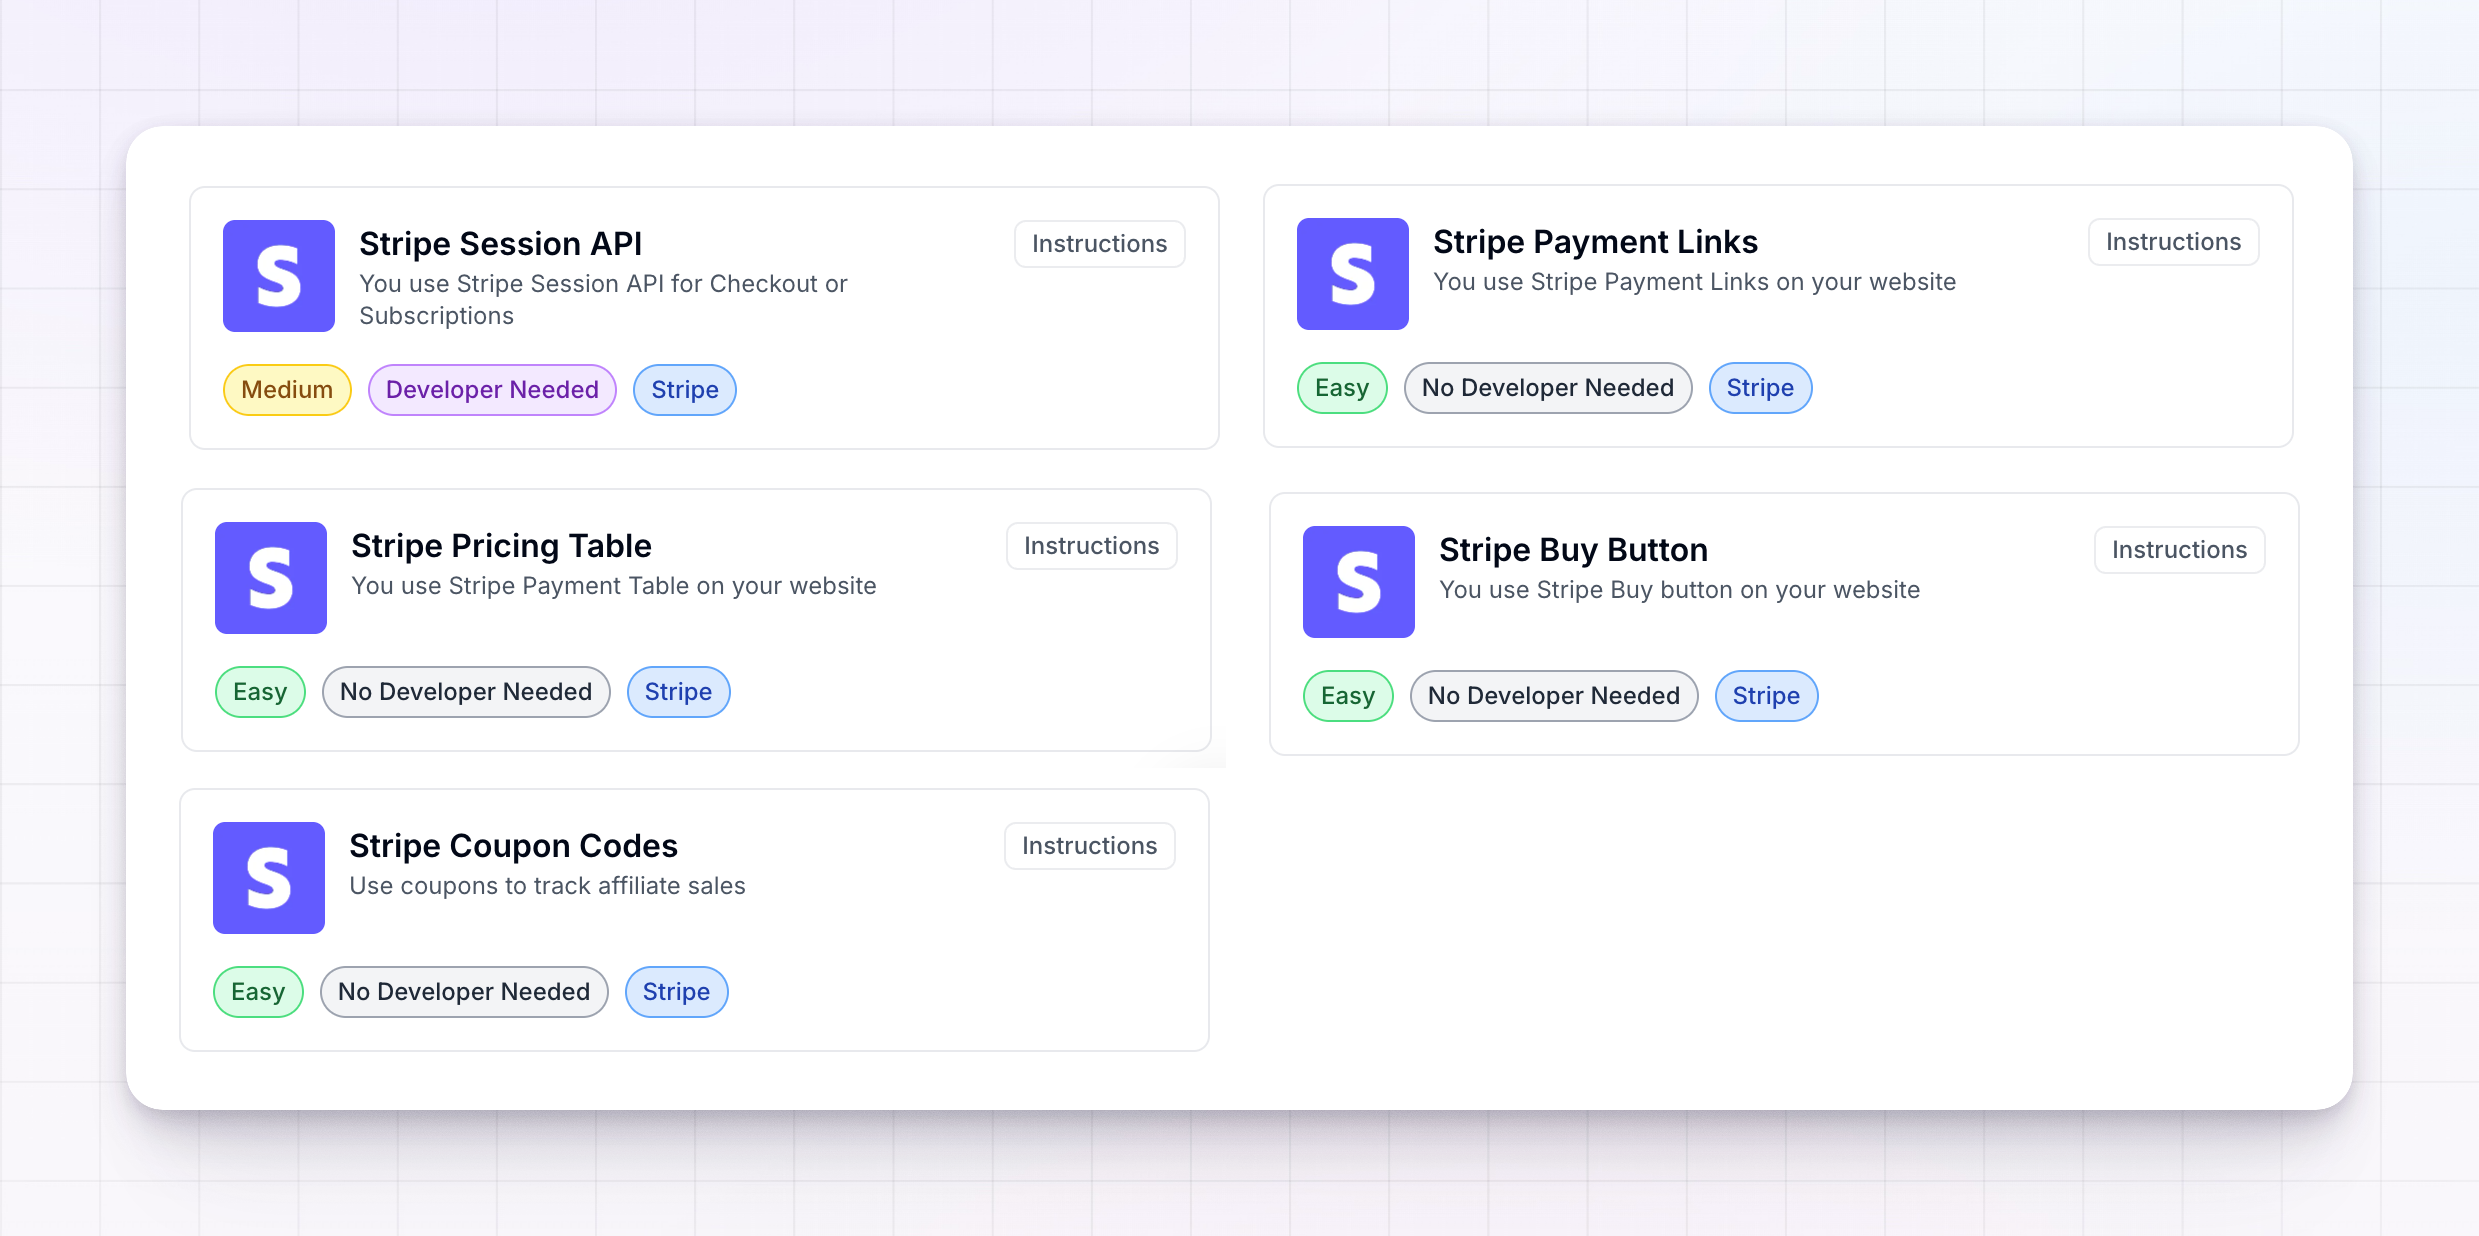
You don’t need all three. Pick the guide that matches how you take payments, and it walks you through exactly what to add:
When a payment carries both an affiliate’s coupon code and a link reference, the coupon code wins. This is deliberate: if the customer typed an affiliate’s code at checkout, that affiliate gets the credit.

A limit worth knowing about

If you’re adding the reference to a Stripe Payment Link URL, Stripe only accepts letters, numbers, dashes, and underscores in the client_reference_id parameter, up to 200 characters. Stripe silently drops anything else — the payment page still works, but the reference never arrives and the sale can’t be attributed. Referly’s snippet always sends a plain number, so this only bites if you build the URL yourself. See Stripe’s payment link URL parameters for the details.

Step 4: Test the whole flow before you go live

Rehearse in test mode. It takes ten minutes and catches the two mistakes almost everyone makes — the script on the wrong pages, and the reference never reaching Stripe.
1

Switch your Stripe Dashboard into test mode

In the Stripe Dashboard, use the account picker to switch into your account’s test sandbox, or open Stripe’s Sandboxes page. Stripe’s test mode documentation explains how sandboxes and test mode relate.
2

Connect Referly in test mode

In Referly, open Connect Integration, select Stripe, and choose Connect Test Mode. If you’re already connected in live mode, select Disconnect first. Confirm you now see the yellow Test Mode badge.
3

Recreate your checkout in test mode

Payment links, pricing tables, and buy buttons are separate objects in test mode — the live ones won’t work. Create test versions in Stripe and point your test page at them.
4

Visit your own site through an affiliate link

Open your site with an affiliate’s referral parameter on the end, for example your-site.com/?ref=TESTAFFILIATE. Use a real affiliate’s code from your Affiliates page. If you changed your link parameter in your program settings, use that instead of ref.
5

Complete a test payment

Go through your checkout and pay with Stripe’s test card 4242 4242 4242 4242, any future expiry date such as 12/34, any 3-digit CVC, and any postal code. Stripe’s testing documentation lists more test cards, including ones that fail on purpose.
6

Check the payment in Stripe

In the Stripe Dashboard, open Payments and select the test payment you just made. Look for the Client reference ID on the payment, or the pushLapAffiliateId entry under metadata. If it’s empty, the reference never left your website — go back to your Step 3 guide.
7

Check the customer in Stripe

Open the customer record in Stripe. When Referly credits a payment, it writes the affiliate’s name and email, your program name, and a link back to Referly into that customer’s metadata. Seeing those means Referly matched the payment to an affiliate.
8

Check the result in Referly

In Referly, open Customers — the test buyer should be there, attached to the affiliate, with their plan name. Open Sales and confirm the amount, and check the affiliate’s commission on the Rewards page.
9

Go live

When you’re happy, open Connect Integration, select Stripe, choose Disconnect, then Connect Stripe Account to reconnect in live mode. Swap your test payment links and buttons back to the live ones.
Test data doesn’t carry over to live mode. Test customers and test sales stay in Referly after you switch — delete them from your Customers and Sales pages so they don’t distort your reporting.

What happens automatically once you’re connected

You don’t have to do anything for these — Referly acts on them as soon as Stripe reports them.
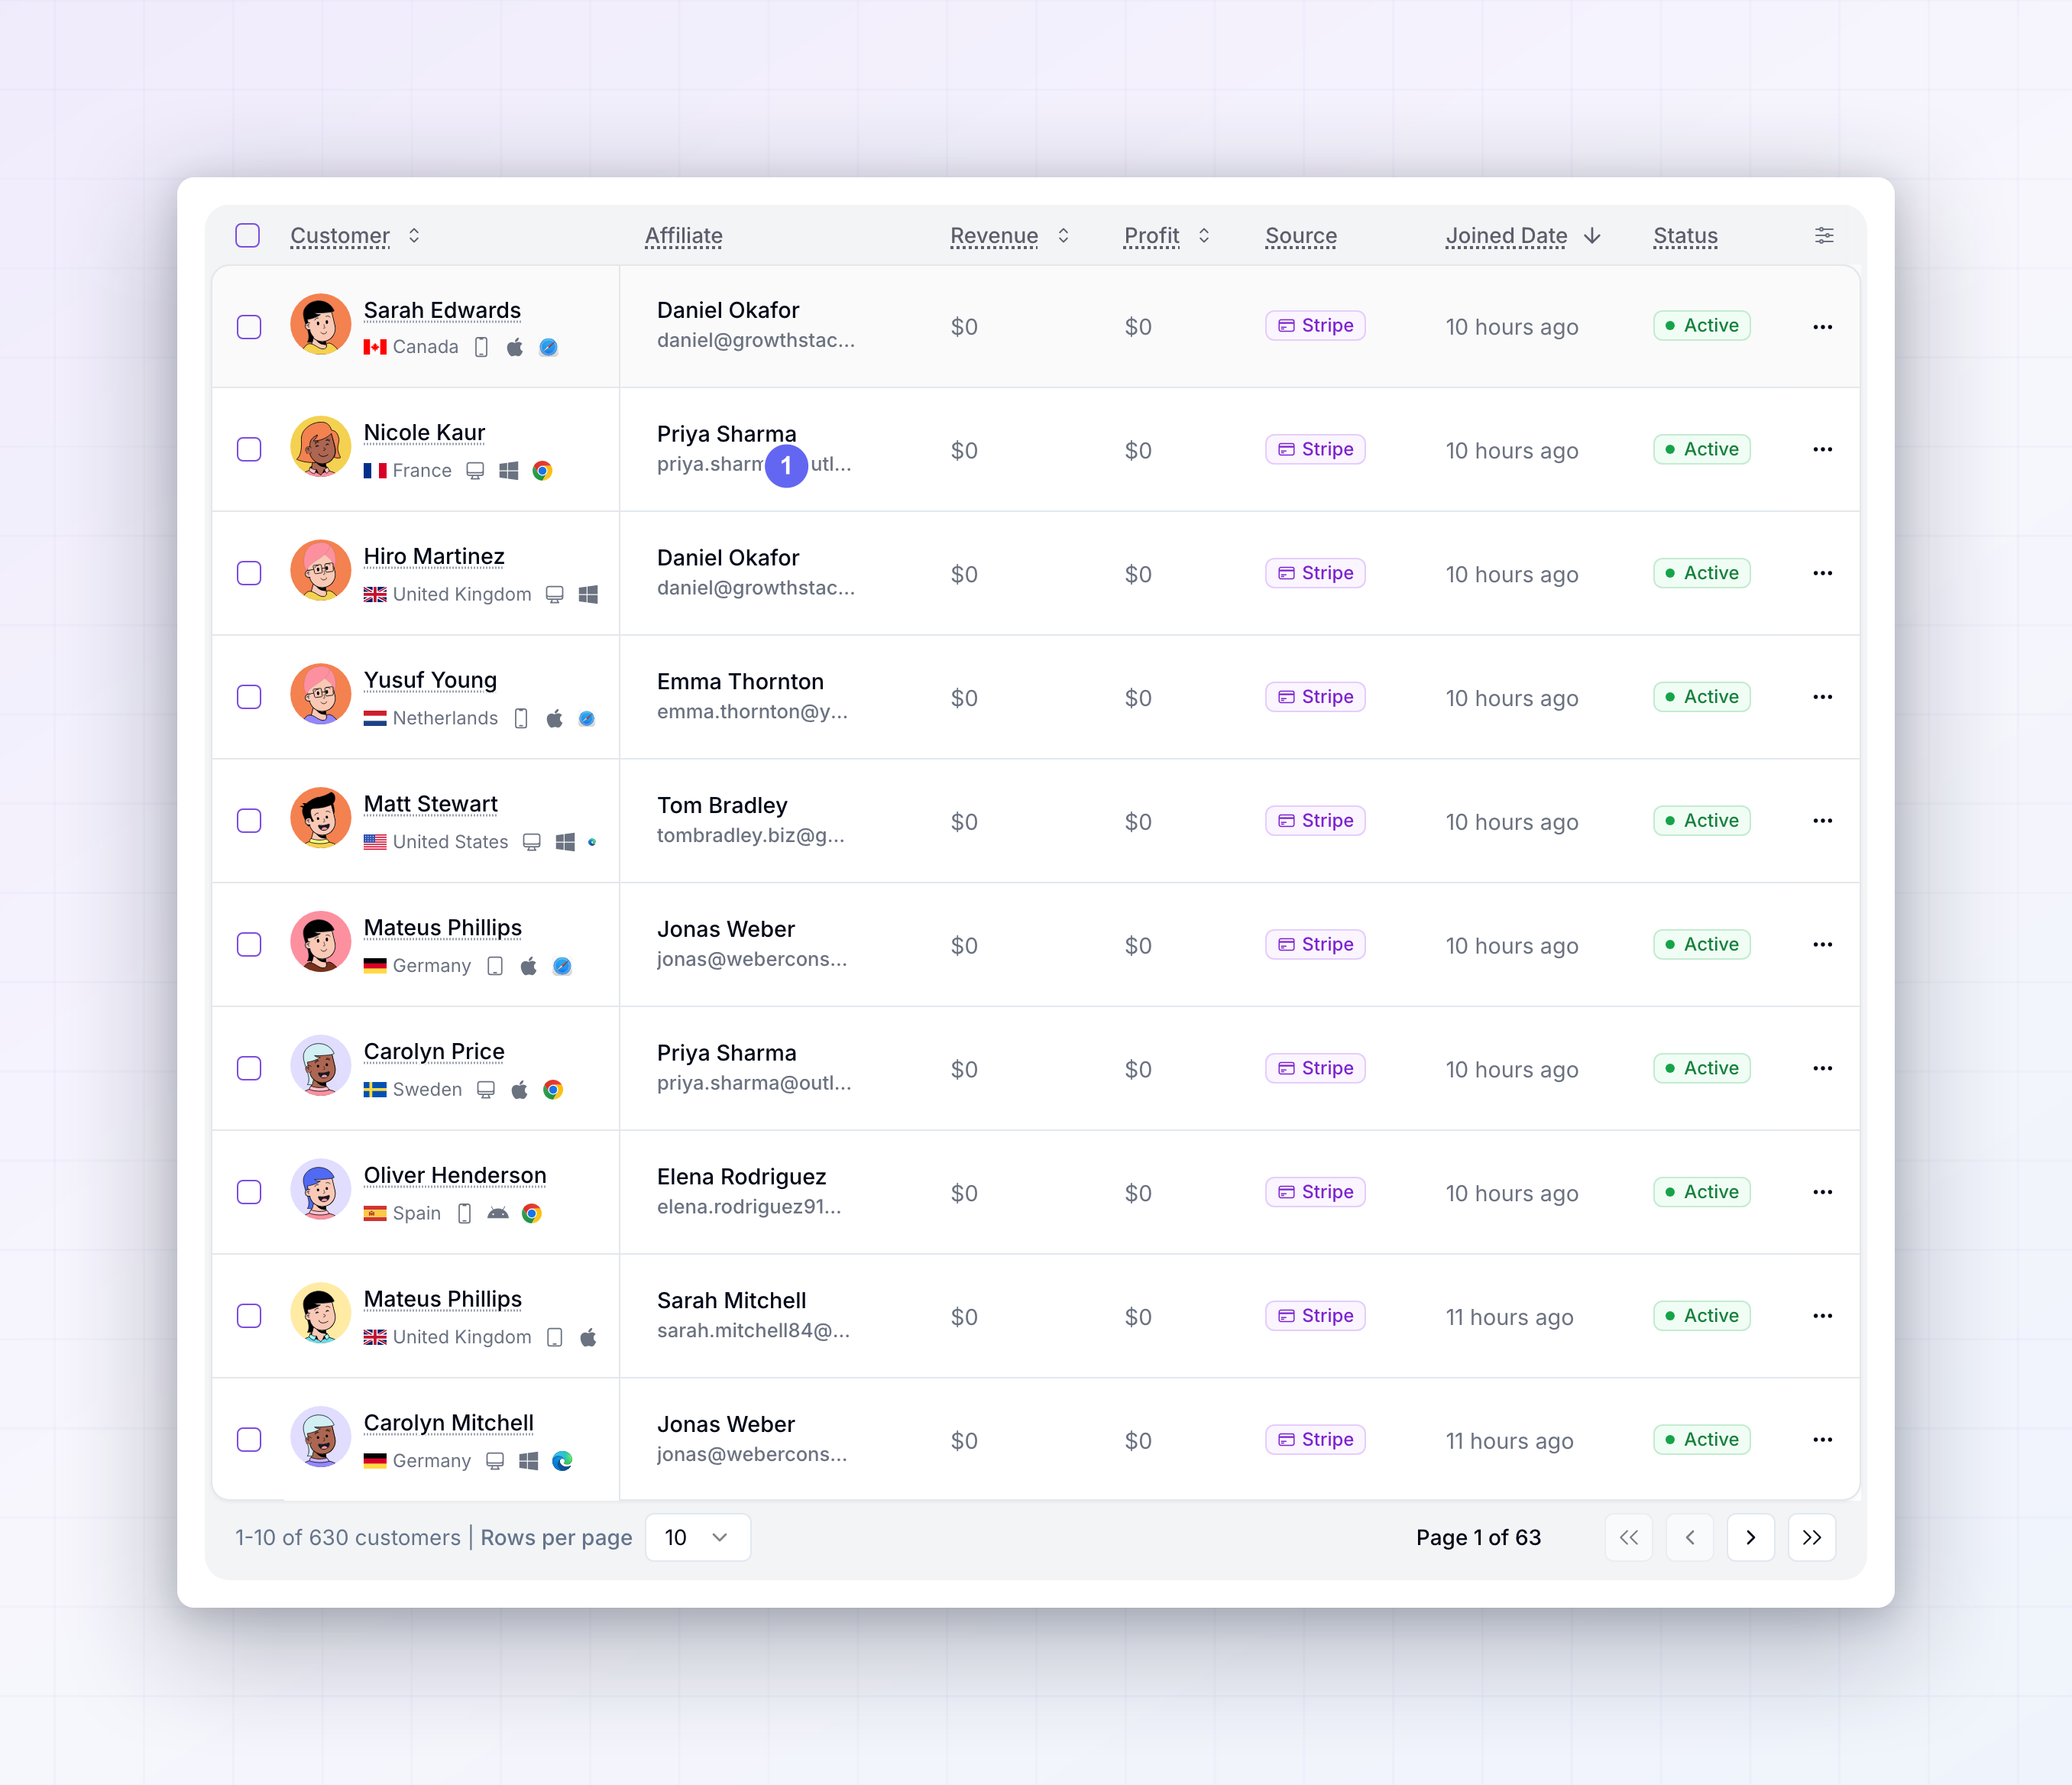
The buyer becomes a referred customer in Referly, attached to the affiliate identified by the reference on the checkout, or by the coupon code they used. Their email, name, and plan come across with them. If the checkout was for a free trial, the customer is created with a sale value of zero — no commission yet.
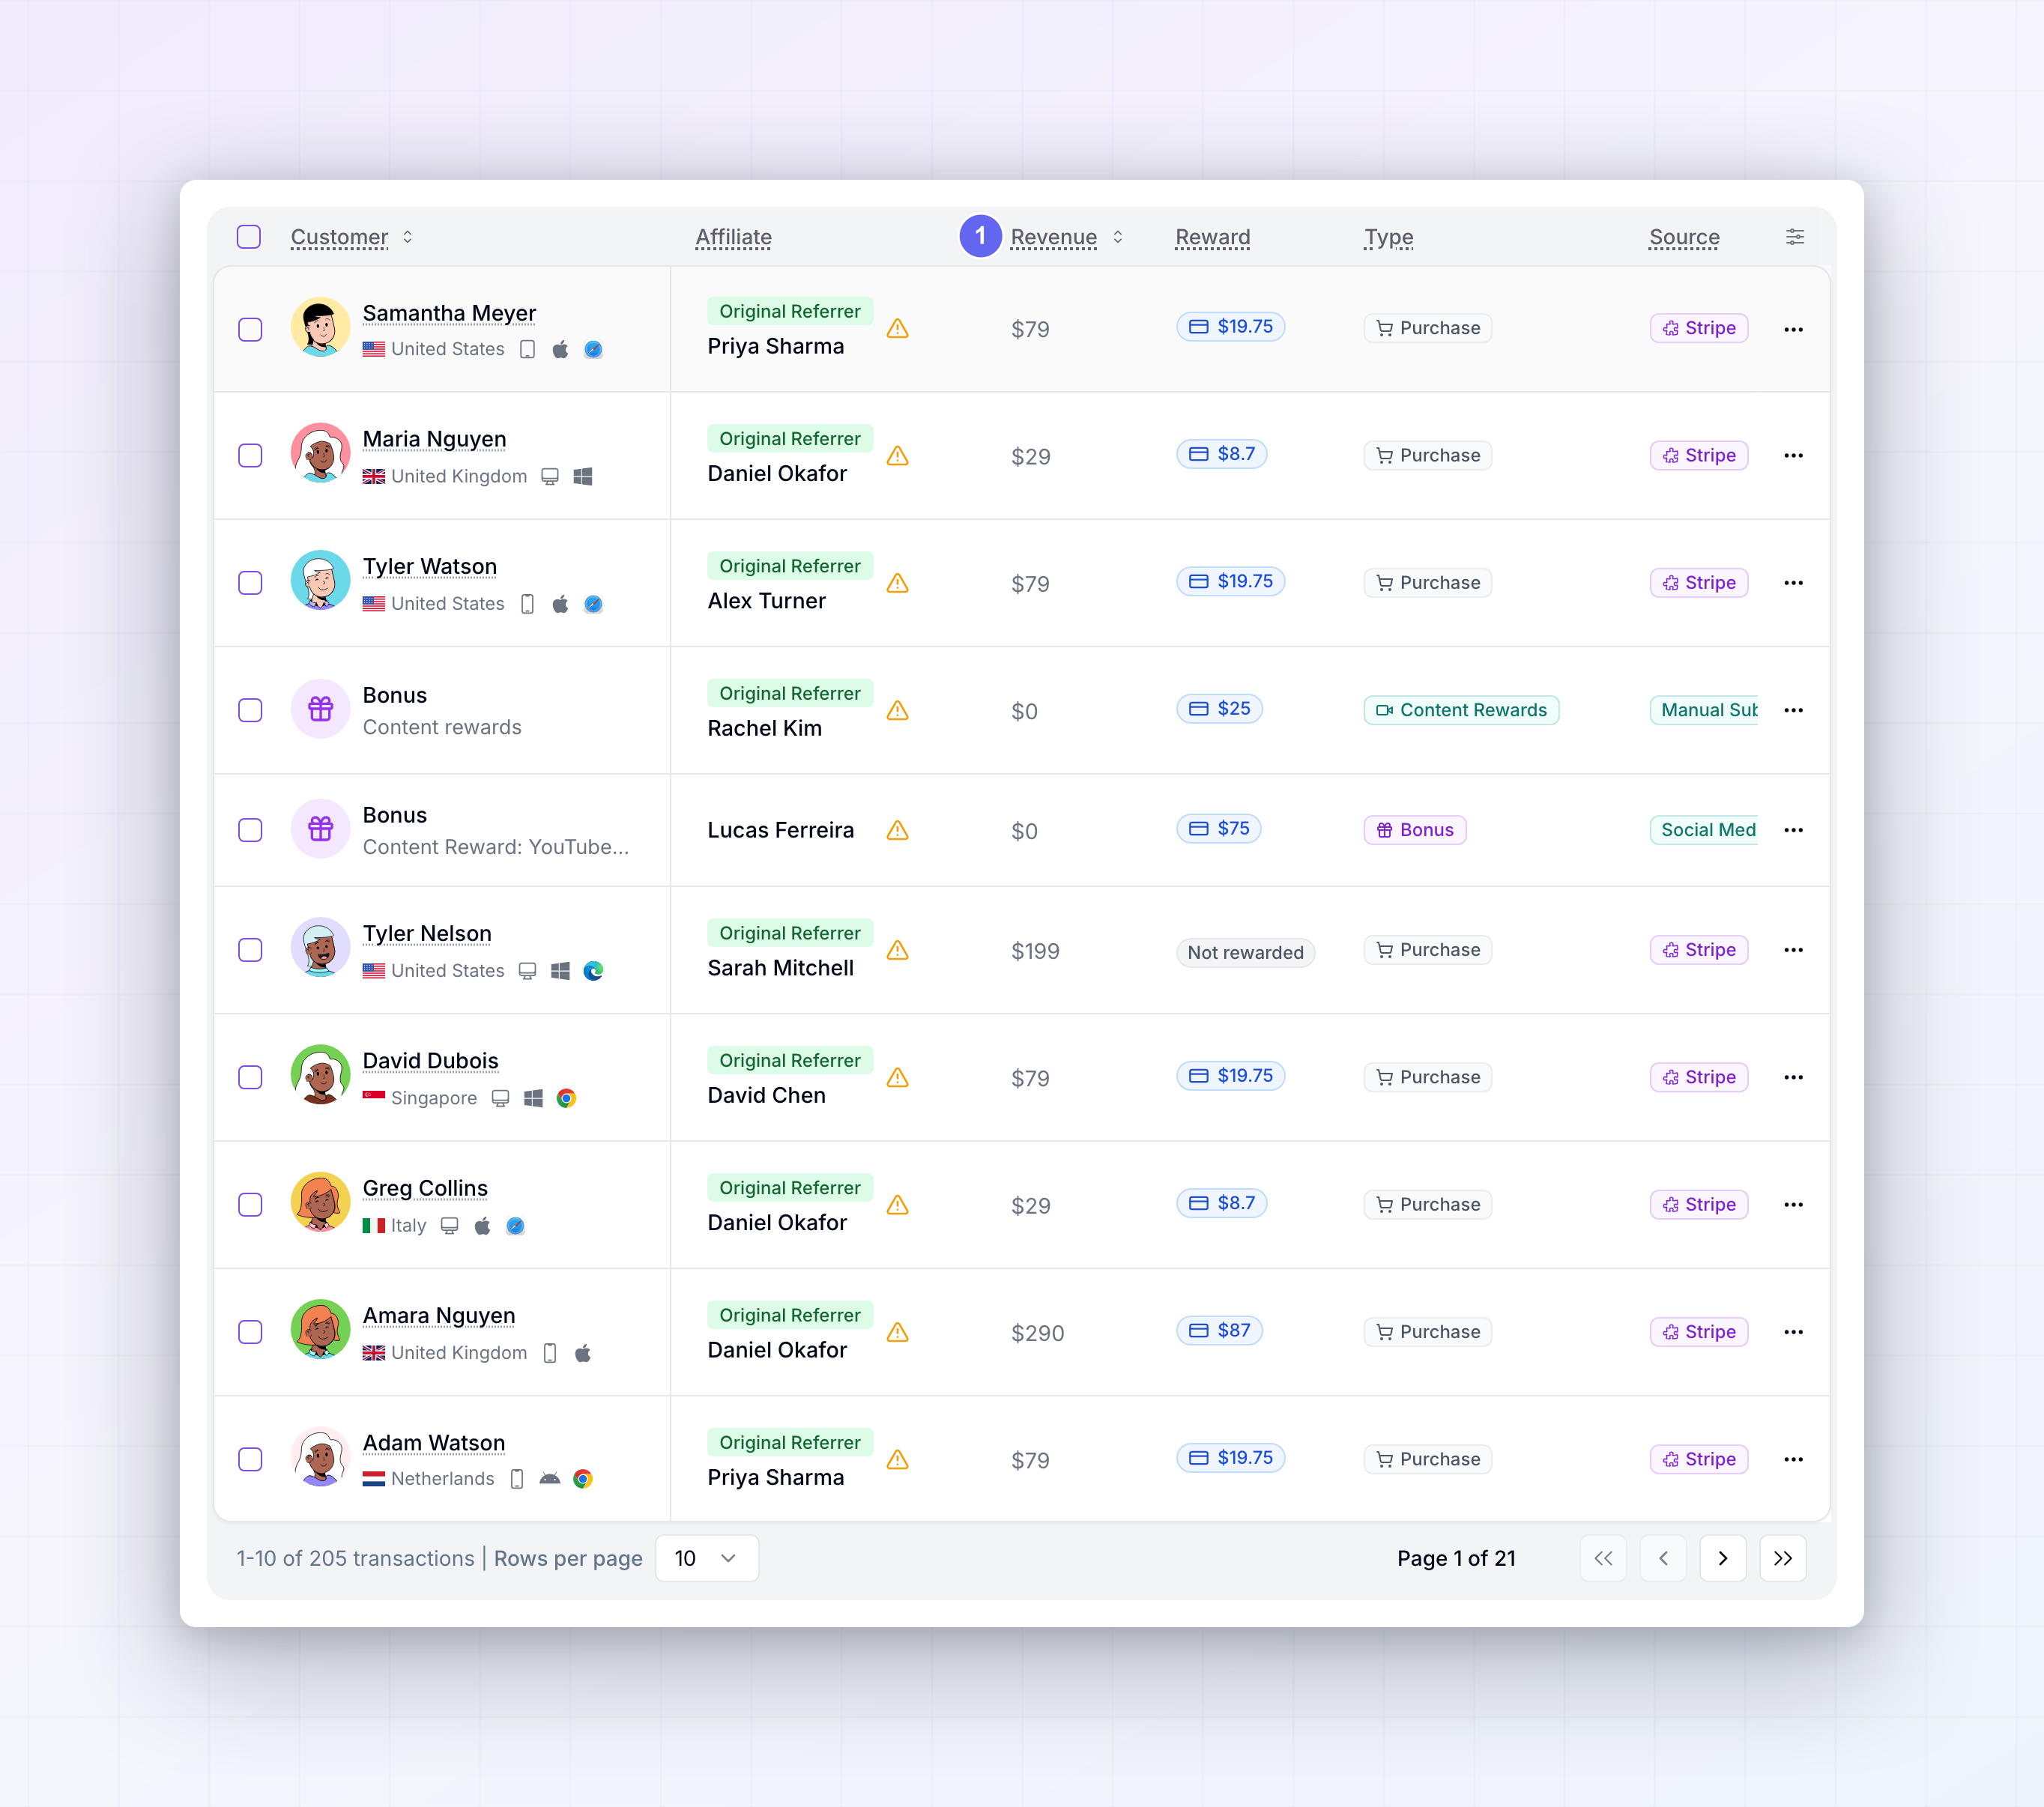
The charge becomes a sale, and commission is worked out from the affiliate’s plan. The line items, tax, and shipping all come across, and the amount is converted into your program’s currency if the customer paid in a different one. This is where trial conversions land too — the first real charge after a trial creates the first commission.
Renewal charges carry no referral reference, so Referly matches them to the referred customer by email address within your program. That’s what makes recurring commissions work month after month without any extra setup.
The customer’s plan name is kept up to date on their record in Referly, and clears when their subscription ends.
If you attach the reference to the customer in Stripe rather than the checkout, that alone is enough to create the referred customer in Referly. This is how flows that don’t use Stripe Checkout — a payment form you built yourself, for instance — get their customers attributed.
Referly keeps its copy of your Stripe coupons and promo codes in step — redemption counts, whether a code is still active, and codes you delete in Stripe. See Coupons and promo codes.

How refunds are handled

When Stripe reports a refund, what happens depends on whether the affiliate has already been cleared for payout on that sale. Your hold period is the number of days you set in your payout settings. See Refunds and Reward holds for how this fits with approving rewards.

Changing or disconnecting your Stripe account

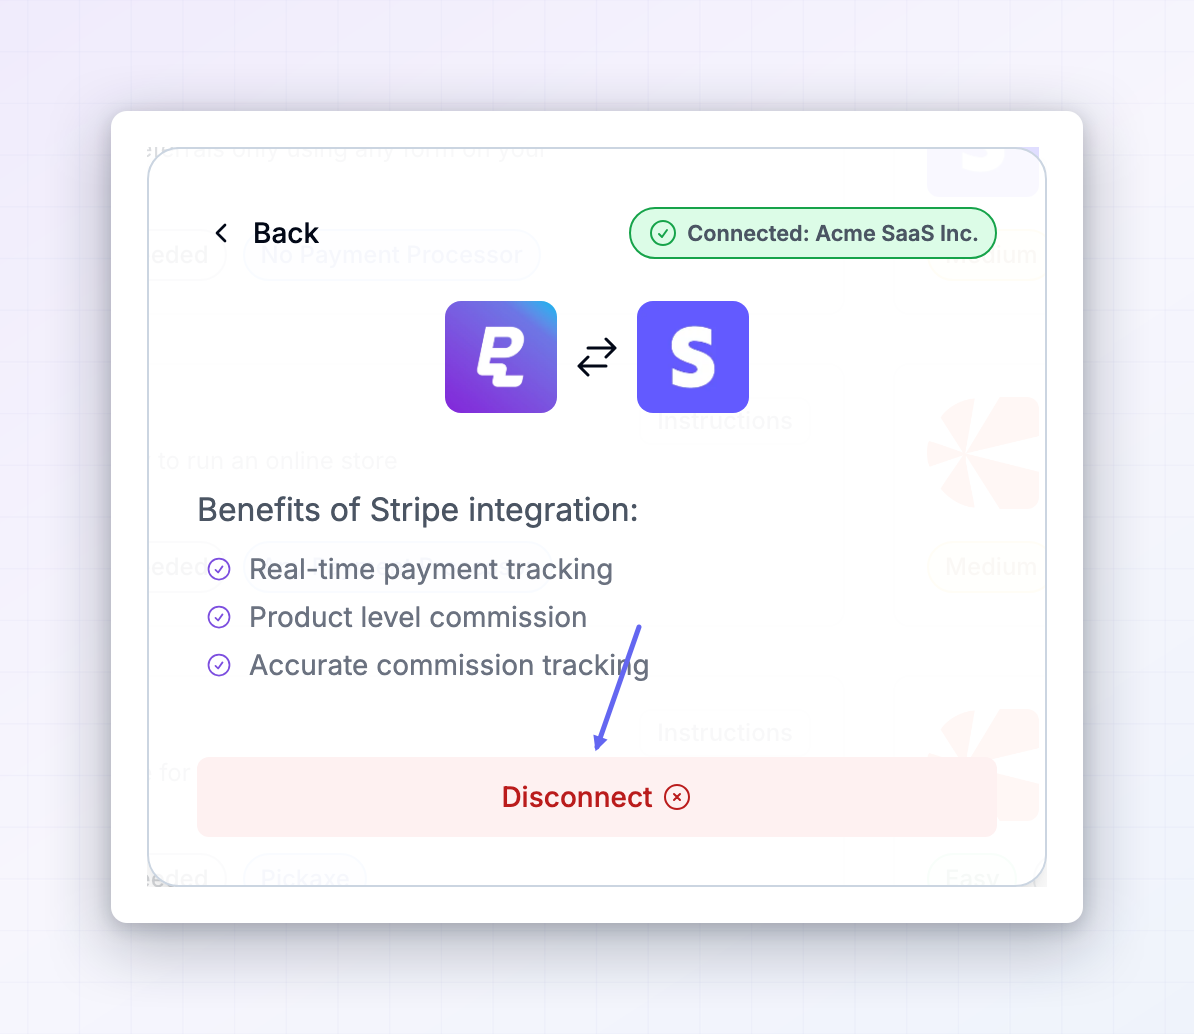
Open Connect Integration, select Stripe, and choose Disconnect. Referly stops receiving events from that Stripe account immediately. Disconnecting does not delete anything you’ve already tracked — your referred customers, sales, and rewards all stay. What stops is new tracking: payments taken while you’re disconnected are not recorded, and they won’t be picked up when you reconnect. To move to a different Stripe account, disconnect first and then connect the new one. A single Stripe account can only ever be linked to one Referly program.
Troubleshooting

The payment reached Referly, but nothing on it identified an affiliate. Make a test purchase and check the Client reference ID on the payment in Stripe. If it’s empty, the problem is on your website — recheck the guide for your checkout type in Step 3, and make sure the tracking script is on the page where the checkout starts.
Check three things, in order. First, that the Connected badge shows the right Stripe account. Second, that the badge colour matches where the payment happened — a yellow Test Mode badge means live payments are being ignored, and vice versa. Third, that your Referly subscription is active.
The tracking script isn’t running on the page the visitor landed on. It has to be on every page of your site, not only your checkout page. Test by visiting your site with an affiliate’s referral parameter and checking whether the click appears on that affiliate’s record.
Renewals are matched by email address. If the customer pays under a different email in Stripe than the one on their Referly record, the renewal won’t match. Correct the email on the customer’s record in Referly so future renewals line up.
That Stripe account is connected to a different Referly program. Open that program, disconnect Stripe there, then connect it here.
The code the customer used has to be a code Referly knows about and has assigned to an affiliate. See Connect a coupon source and Stripe coupon codes.

Stripe Session API

The most accurate setup, for checkouts you built yourself.

Stripe Payment Links

Track sales from Stripe’s hosted payment links.

Stripe coupon codes

Give every affiliate a discount code instead of a link.

Commission plans overview

Decide what your affiliates earn on these sales.
Last modified on July 21, 2026